
Wheels Wednesday is on hiatus this week. Instead, World Standards Day is celebrated on October 14 to honor the thousands of experts who create technical agreements that are published as international standards. This date marks when delegates from 25 countries met in London to create an international organization focused on standardization, which led to the founding of the International Organization for Standardization (ISO) a year later.
Today’s Post by Joe Farace
Have no fear of perfection – you’ll never reach it.—Salvador Dali
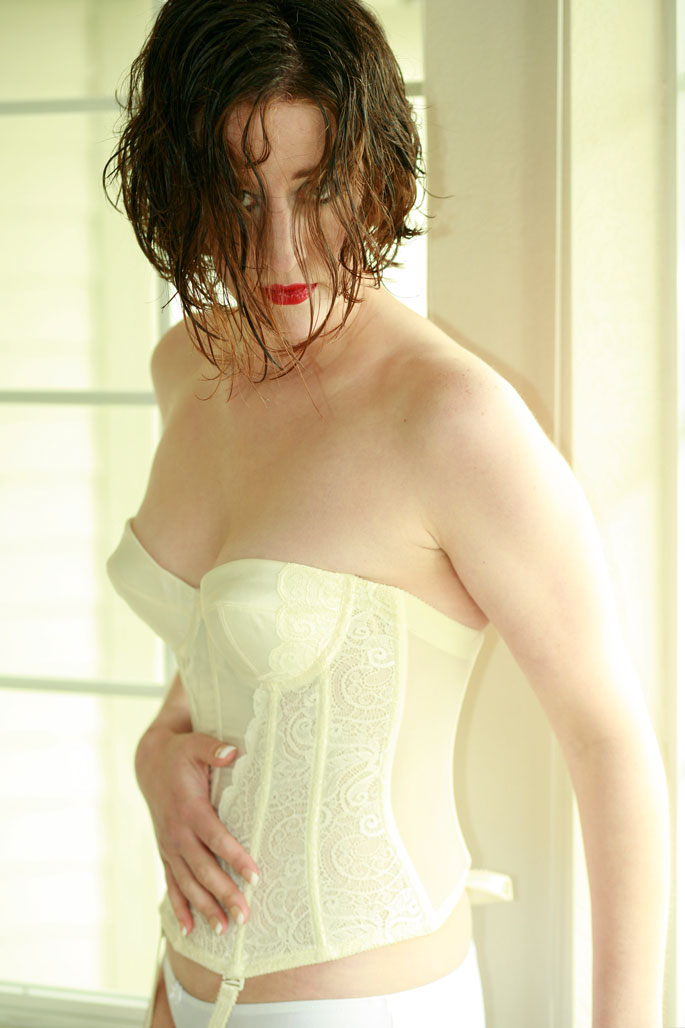 Out in the real world, photographers sometimes make mistakes and when making portraits, I occasionally lose track of my camera settings, don’t keep up with changing lighting conditions or simply forget to chimp when shooting with a DSLR. For film photography, don’t get me started. A combinations of these kinds of errors can result, more often than not, in an underexposed image, which for some reason I’ve noticed frequently occurs with my older Canon EOS DSLRs.
Post-production Tips
One solution for correcting these kinds of underexposure problems is to use Photoshop’s Levels (Image >Adjustments> Levels) command: When using it, some people just slide the right hand triangle to the left to increase exposure but, at the same time, that can increase contrast. Another method you can try is Photoshop’s Curves controls (Image >Adjustments> Curves) to increase overall exposure. Unless your are skillful using this function, it can can also produce contrasty results but it doesn’t have to. Instead, I like to use Photoshop’s Layers feature but this is my choice, your method may work great for you and if you’re good with it, I’m happy for you.
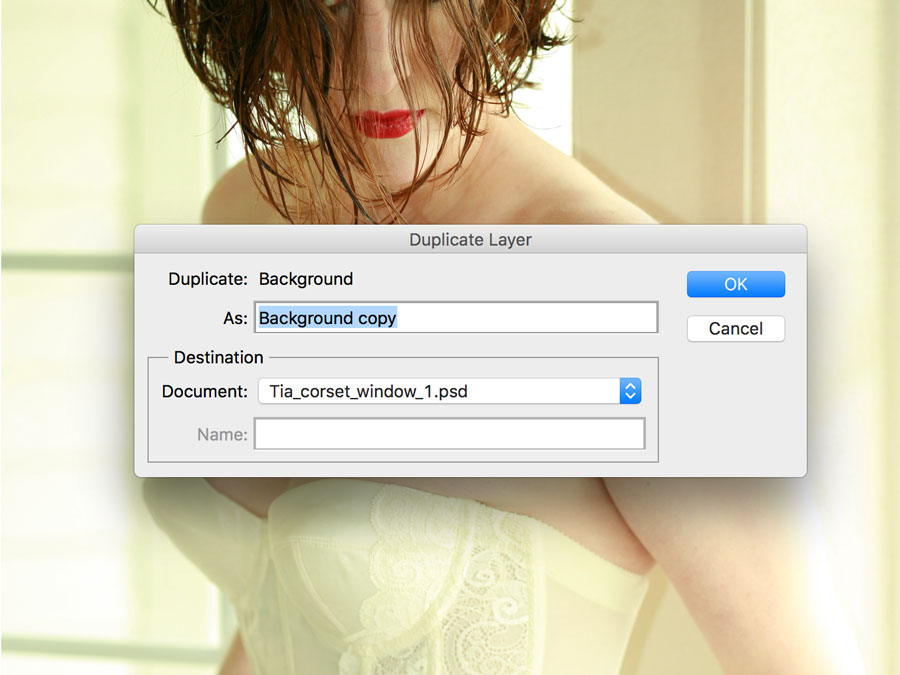 Here’s what I do: I start by creating a duplicate layer using the Layer > Duplicate Layer command. You can name this layer or not using the default “Background copy.” Next, select Screen from the Layer’s palette’s Blending Mode menu.
If you’re lucky the underexposure will be instantly corrected but you will probably have to modulate the effect by using the Layer’s palette’s Opacity slider to change the overall exposure of the duplicate layer. For example,I used an opacity of 40% for the corrected image. When the image looks the way you want, you can use Flatten (Layers > Flatten) and create a single layer and smaller file.
 As with any under-exposed image you may find some digital noise in it. The amount of noise, if any, that occurs depends on how badly underexposed the image file was to start with. If te noise bothers me, I’ll use the Dfine plug-in–there are others available– to minimize any noise and I used it here before lightly retouching this image using my normal tips and tools.
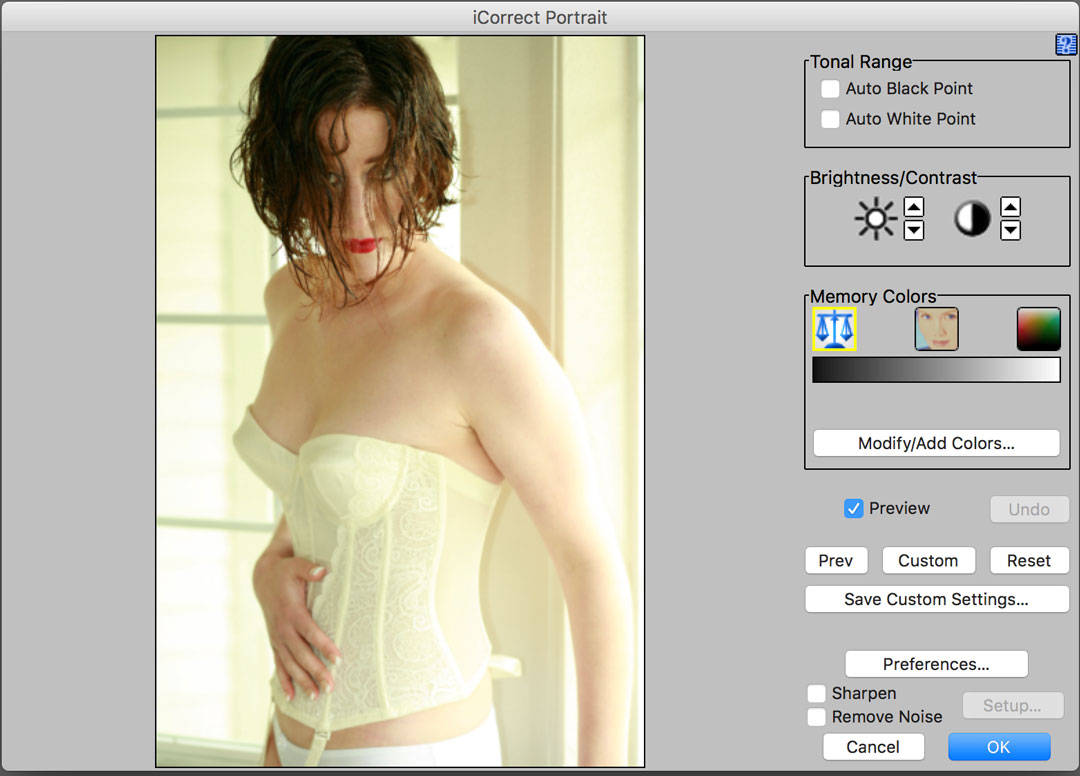
The final image has its under-exposure corrected and was color corrected using the PictoColor Portrait plug-in (at right) to remove the overall warm, yellow look and this image, It’s simple to use and just takes a single click using one or more of the Memory Color icons, including one for skin tone.
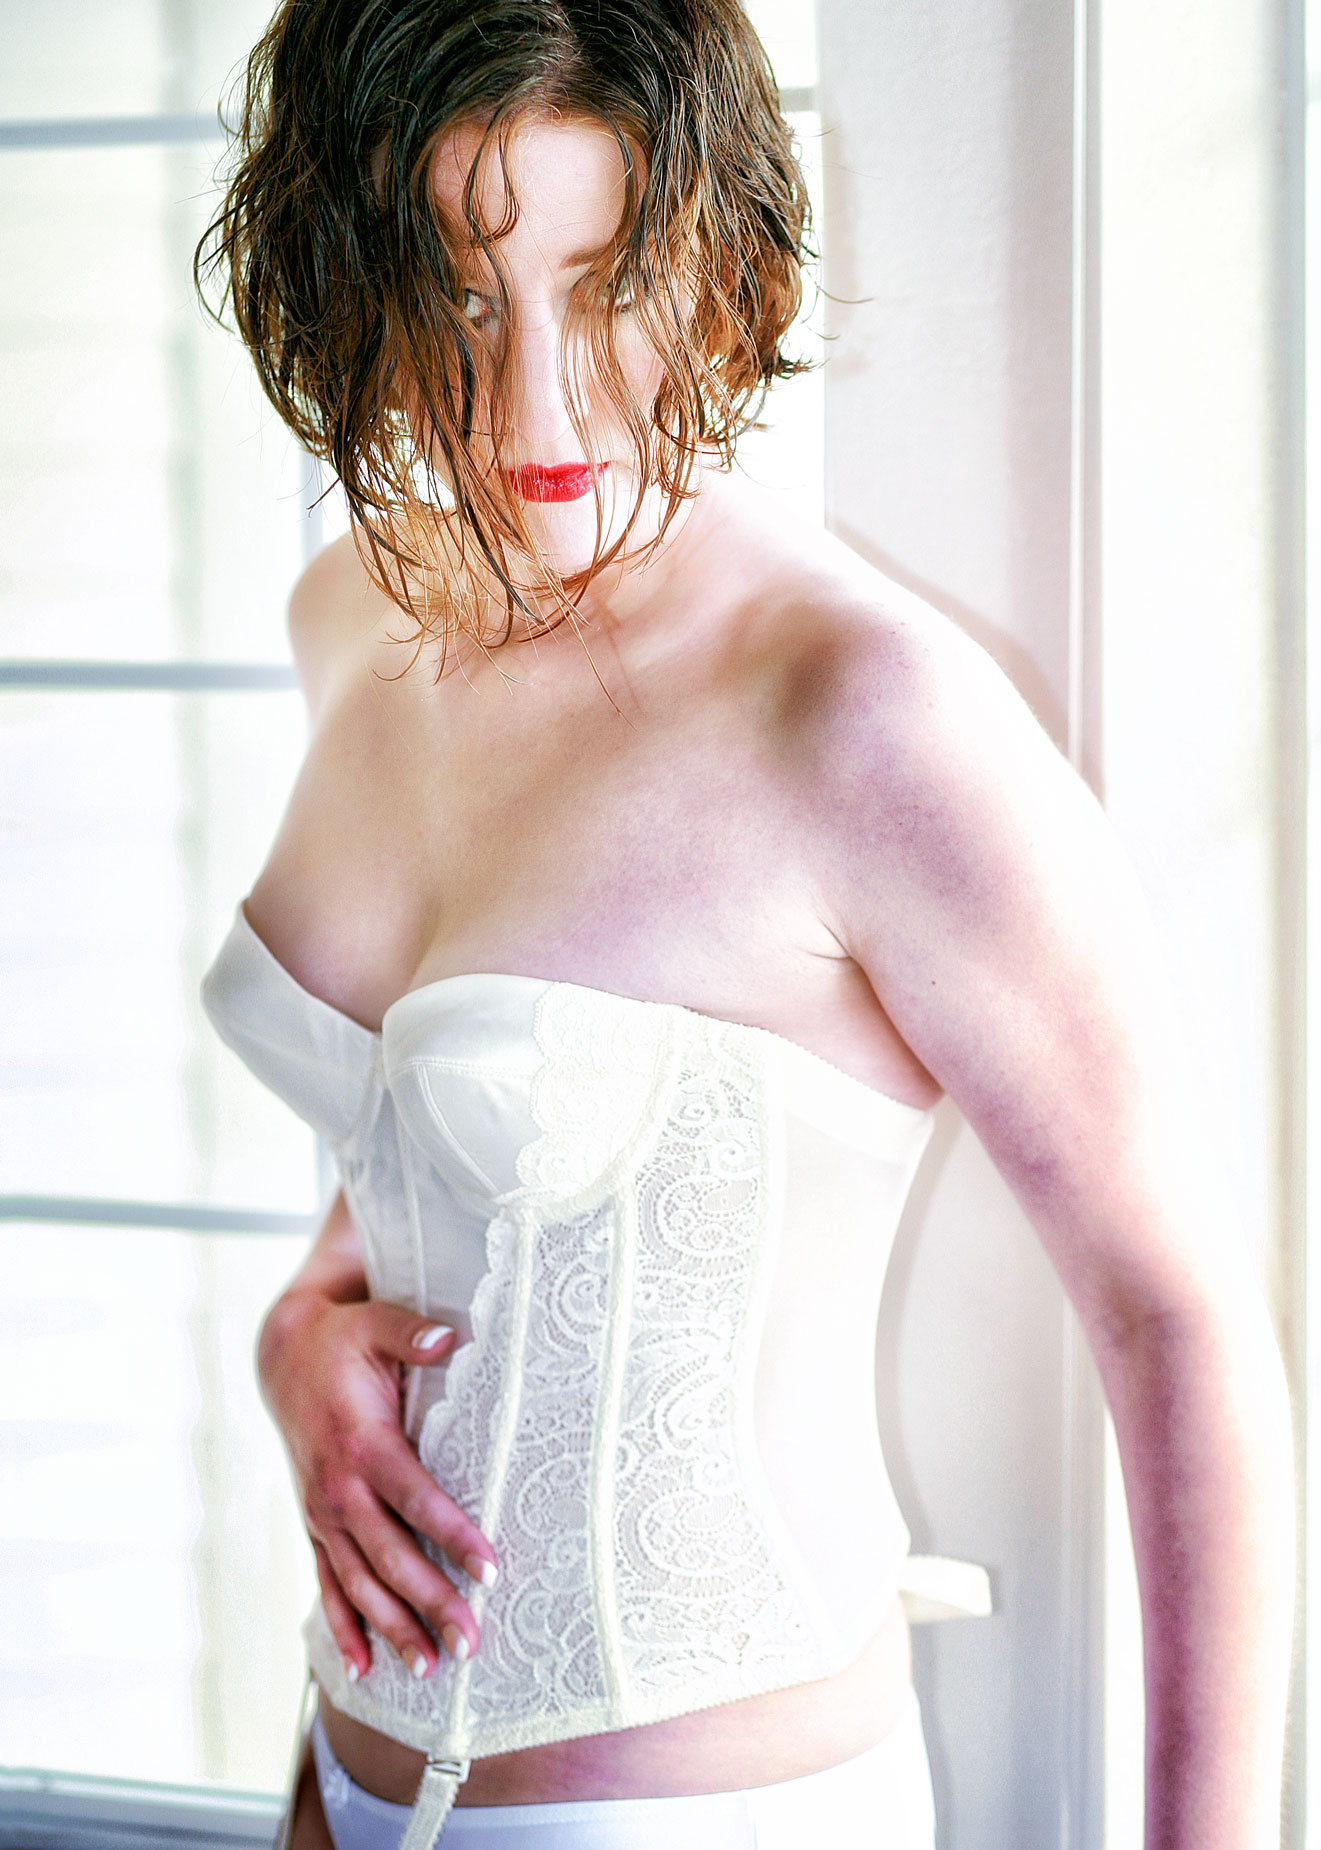 How I Made this Portrait: I photographed Tia Stoneman in the North Facing bay window of my former home’s kitchen. The camera used was a Canon EOS 5D Mark I with my go-to portrait lens, the EF 85mm f/1.8 with an Auto White Balance white balance setting. (top right) The exposure of 1/160 sec at f/3.5 and ISO 400 with a plus one and one-third stop exposure compensation. A Canon 420EX speedlight with Sto-Fen Omni-Bounce diffuser was used as fill and to keep the strong backlight from the window from turning Tia into a silhouette.
Notes about the model: I have been fortunate at several points in my life to have had a muse that worked with and motivated me. One of the first and most influential to my portrait and glamour photography was Tia Stoneman who is featured today. For many years Tia inspired me and you’ve seen her photographs on my blog and in my books but she has retired from modeling to concentrate on raising her children.
If you know of any models or aspiring models or just women who would be interested in posing for photographs that will be used in this blog,, please have them click the Contact tab or contact me at joefarace at gmail dot com and let’s talk.
If you enjoyed today’s blog post and would like to buy Joe a cup of Earl Grey tea ($3.50), click here. And if you do, thank so very much.
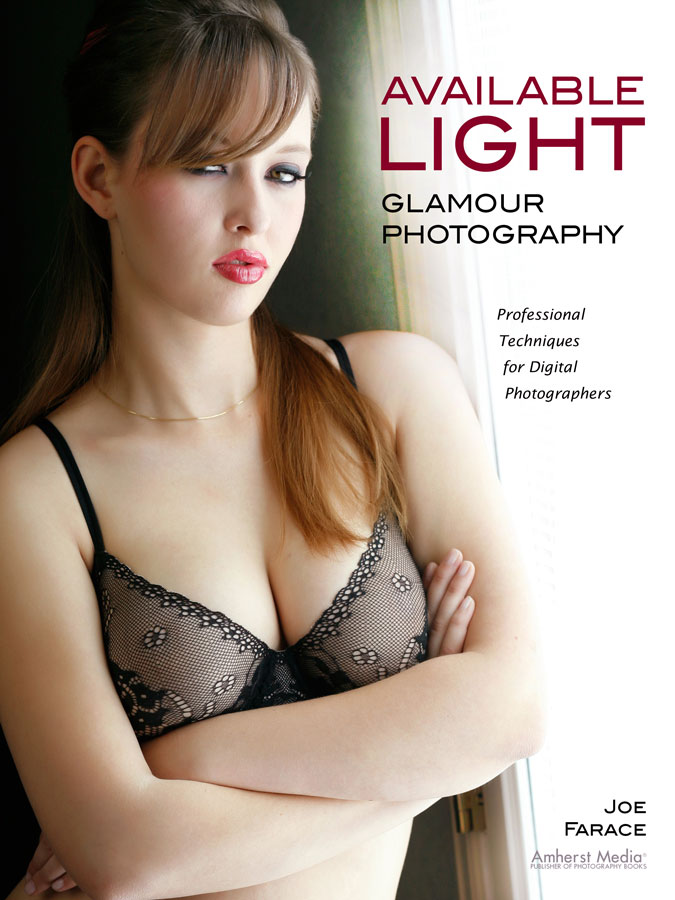
Several photographs of Tia appear in my book Available Light Glamour Photography that’s available from Amazon with used copies of the book for $49.94 as I write this. The Kindle version is $27.36 for those preferring a digital format.