It’s #anythingcanhappenday. You may have noticed that I’ve increased the number or glamour and portrait-related posts appearing here. This is a genre I’m passionate about and was the topic of my previous four books. I strive to keep a balance of subject matter on this blog and Anything Can Happen Day seems to be a perfect place to talk about my passion.
Today’s Post by Joe Farace
I like styling girls that don’t normally dress in vintage clothes and don’t normally wear red lipstick; I like seeing those kind of girls restyled in a retro way.— Dita Von Teese
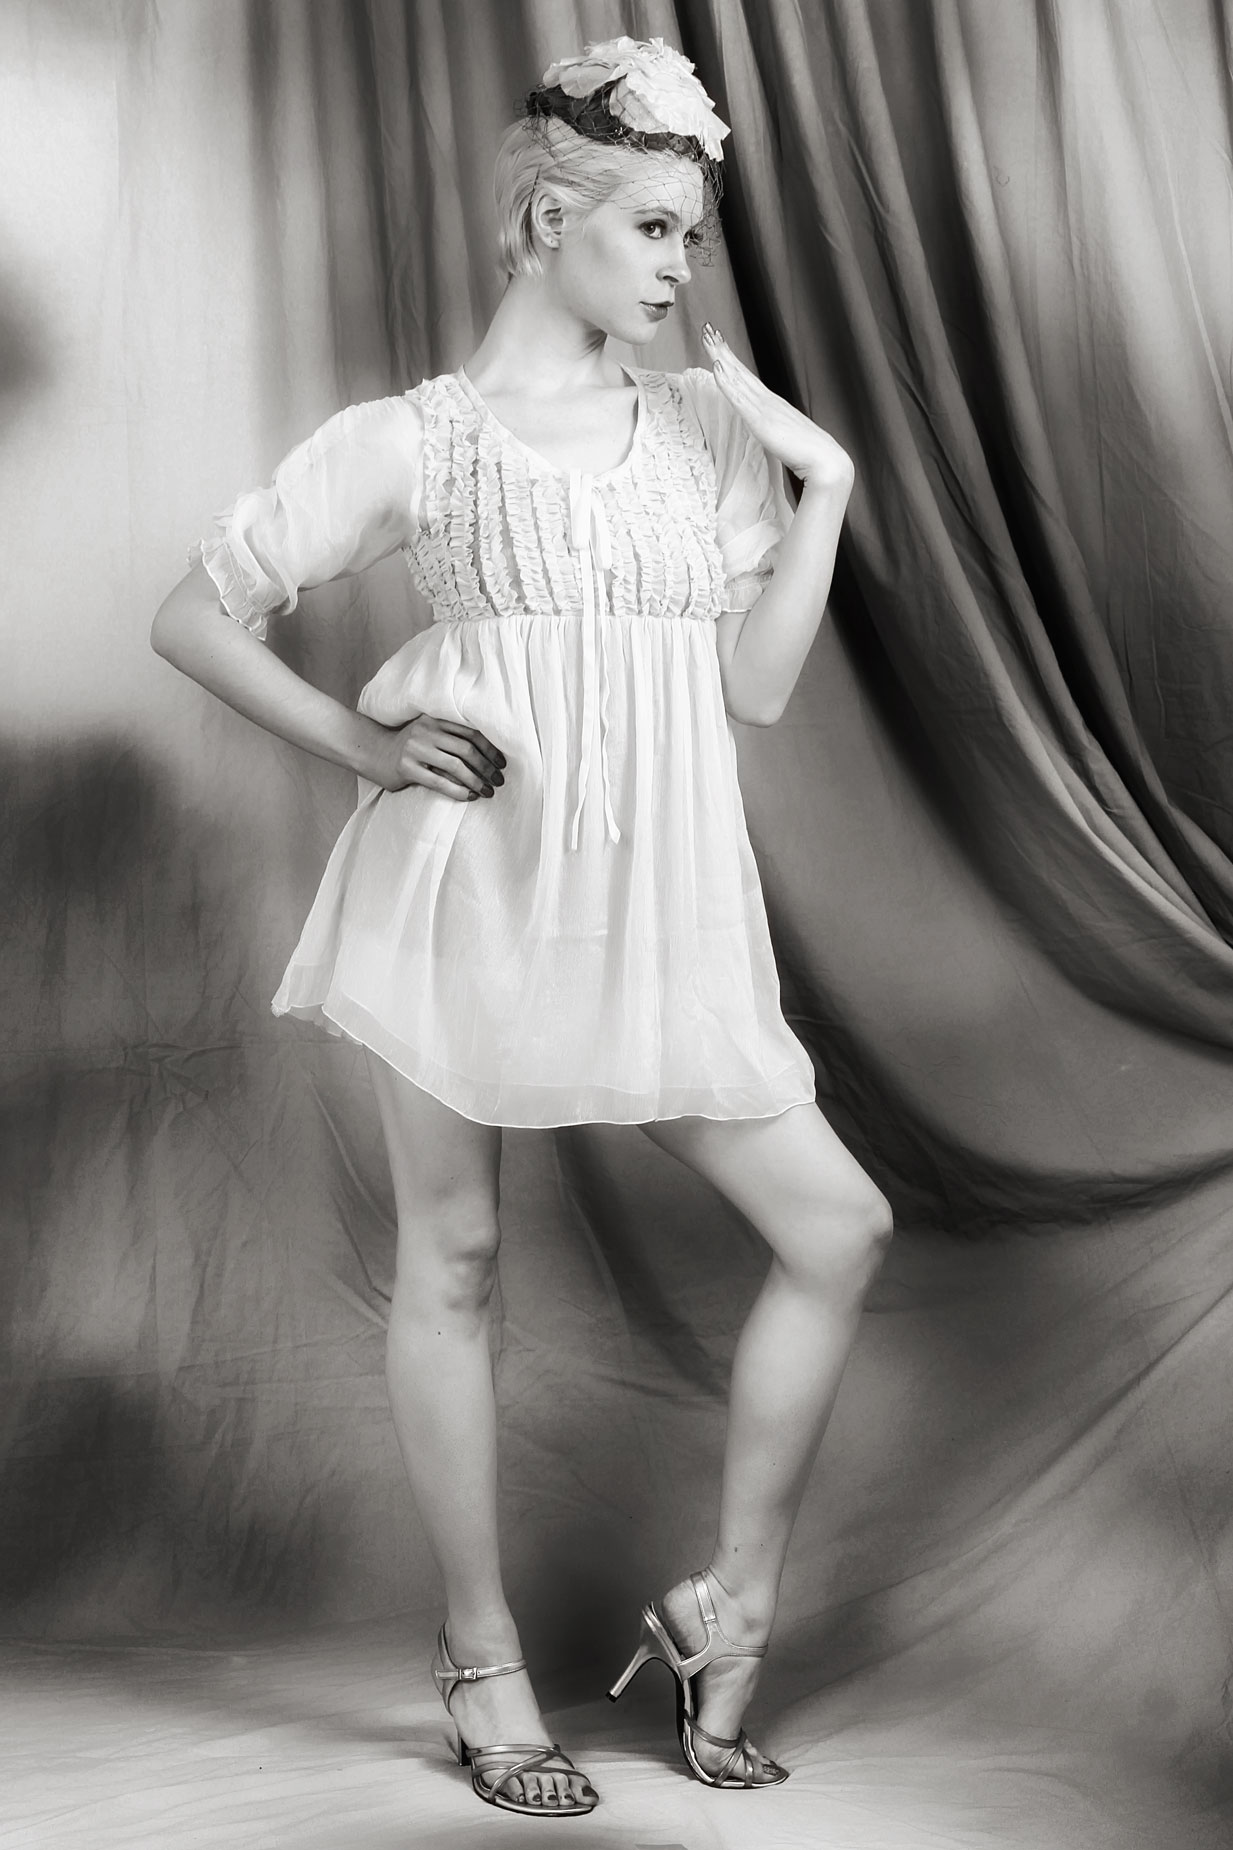
It may be #anythingcanhappenday but I’m getting #throwbackthursday vibes from today’s featured image! I wrote today’s post after hearing from one of most talented models I’ve ever photographed—Pam Simpson. Our last shoot was five years ago and she recently emailed asking “would I be up for a shoot sometime?” Yes, I would! So while we are hopefully scheduling an upcoming shoot, I wanted to go down memory lane with some images made during the six years that we worked together, starting with…
The Lost Files
After hearing from Pam, I dove into Adobe Bridge taking a look at some of our shoots that happened during the Fall of 2012 , back when most all our sessions were related to reviews of lighting equipment that I was writing for the print edition of Shutterbug magazine.
In looking in one of the folders I saw a blank document icon labeled “Satin Pam.book.” Clicking on it launched DxO FilmPack 5. The software is up to version 7 and wouldn’t update my copy, The program displayed 300 thumbnails that, at first, I didn’t think i shot because the images didn’t look like mine. That was until I saw one of the sequences with Pam siting on my blue metal folding chair. The only way that FilmPack would export the images was as a batch process applying one of it’s film look presets. I picked a random color slide emulation and 18 minutes later the images were recovered albeit in a modified form.
 I didn’t care for the slide film emulation and tried again using the software’s Color Negative presets. I didn’t know if this emulation would produce positive or negative images but after a quick test, the images were positive. So I used Kodak Portra 160, the most neutral emulation I could think of and the resulting files looked much better. However, some of the photographs from my previous batch process were missing. These included the featured image that I call “jammies” because her outfit reminds me of a vintage nightgown. I made a new folder containing all the Portra images and the “jammies” files from the color slide emulation.
Not satisfied, I did a Get Info on the blank icon file and saw that I could also open it using Olympus Workspace, so I changed the Open With setting to the Olympus software and double-clicked the blank icon. It worked and displayed almost all the files. Once again, the “jammies” files were missing but it would let me export the JPEG files as-is and so I created another folder with all the pristine exported JPEG files along with the DxO film emulation “jammies” images including the one that was used to make the featured portrait!
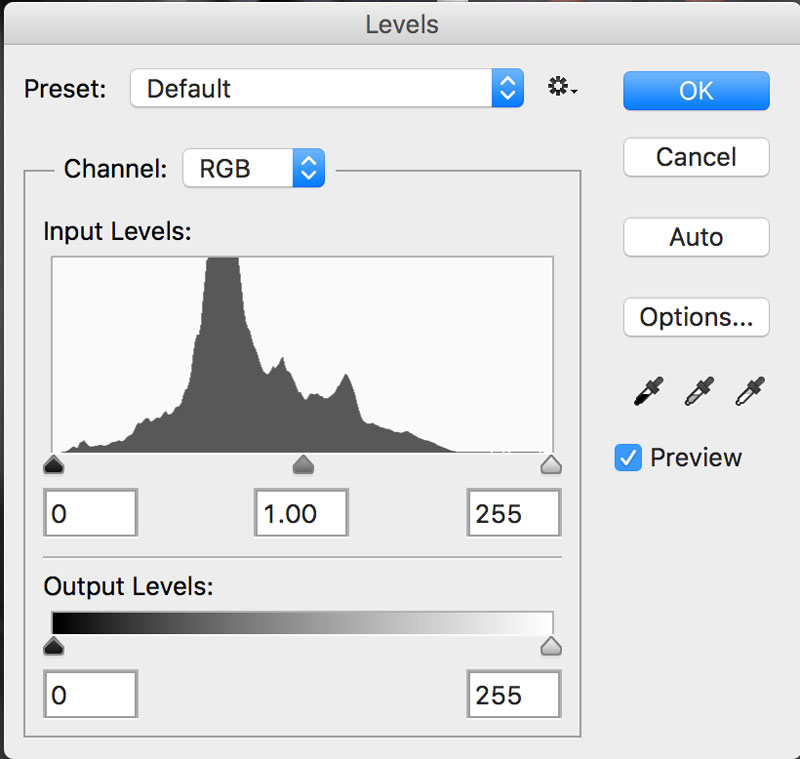
How I Made this portrait: The first thing I noticed when looking at the recovered files in Adobe Bridge was that the images were from the second shoot that Pam and I did together. The starting point for the featured image (at left) is one of the “jammies” photographs that had the DxO slide film emulation applied. It was also slightly underexposed. (You can see the DxO FilmPack file above right.) To adjust exposure I used Photoshop’s Levels command and tightened up the histogram. Some people say you shouldn’t do that but I’ve found it works for slight adjustments. If you want to take a more nuanced approach you can use a technique similar to How to Correct Underexposed Portraits. It’s your choice.
While the EXIF data gave me the camera information, I found a photo in the recovered files showing the lighting set up. For this photograph, lighting was provided by a single Flashpoint monolight with a 24×36-inch Flashpoint soft box attached and placed at camera right; that’s it. The background was an inexpensive generic, grey muslin that was later destroyed when my basement flooded. It was hung on my old JTL background stands and I used Bessey spring clamps from Home Depot clips to give the background some draping for added interest and enhance the retro vibe. The camera used was a Canon EOS D60 with EF-S15-85mm f/3.5-5.6 IS USM lens at 38mm. The exposure was 1/125 sec at f/9 and ISO 100.
 The image was slightly cropped while maintaining the original’s 3:2 aspect ratio. After some light retouching, the color JPEG image was converted to monochrome using Silver Efex’s High Structure (smooth) preset, The resulting monochrome image had the Glamour Glow filter from Color Efex applied with the Glow Warmth slider bumped to 33 to give it a warm toned retro look.
Postscript: While editing this post I realized what “Satin Pam.book” meant. This folder had all the images from a shoot the editor of my book
 If you enjoyed today’s blog post and would like to buy ($2.50) Joe a cup of tea, click here.
The original title of my book Posing for Portrait and Glamour Photography was The ABC’s of Portrait Posing. On this blog there are many posts about posing. Use the Search box in the upper right-hand corner and type “posing” to find appropriate posts. If you want something more lasting, take a look at my book that’s available used from Amazon for around seventeen bucks, as I write this. The Kindle version is $28.45 for those preferring a digital format.