Today’s Post by Joe Farace
 By now, I think it’s obvious that LED studio lighting is a trend that isn’t going away any time soon.
Working in the studio with LED lighting systems brings you face-to-face with perhaps unfamiliar terms such as lux, lumens and foot-candles. Don’t worry, there was a time when megapixels were alien too.
Light Value Charts, such as Jim Beecher’s show the relationships of shutter speed to aperture at a given EV for a specific ISO setting so with a little practice you can convert these numbers into shutter speed and lens apertures for LED lighting, if only on a order of magnitude basis.
Lux is a unit of illumination that’s equal to one lumen per square meter or the equivalent of 0.0929 foot-candles. It’s not just the way that light from LED sources are measured it’s also the quality of that light because not all LEDs are created equal and there doesn’t seem to be a direct correlation between price of a light and its quality.
 Although the output quality of some cheap LED lights reflect their price point others are surprisingly good, just as some expensive LEDs are not that great.
No matter the source, light from LED’s can also appear harsh and some, but not all, models have told me that the intensity of the lighting bothers them and I’ve had to use different kinds of on-light diffusion to make them comfortable. Yet others subjects do not seem to be bothered by the lights. Tip: Take the time to ask; don’t assume because the model hasn’t said something they are happy with the lighting. Happy models equal better photographs.
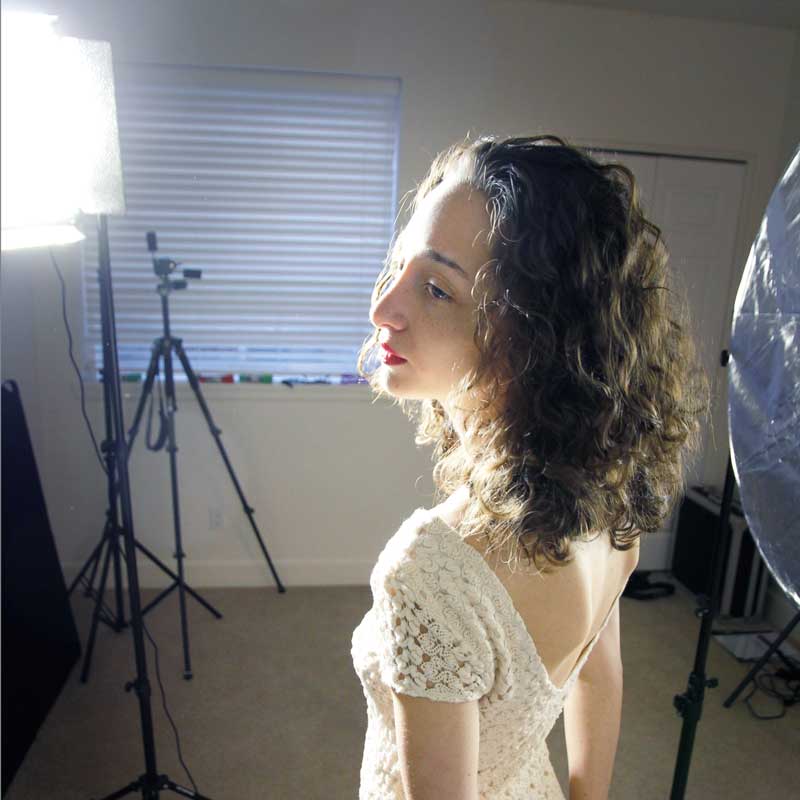
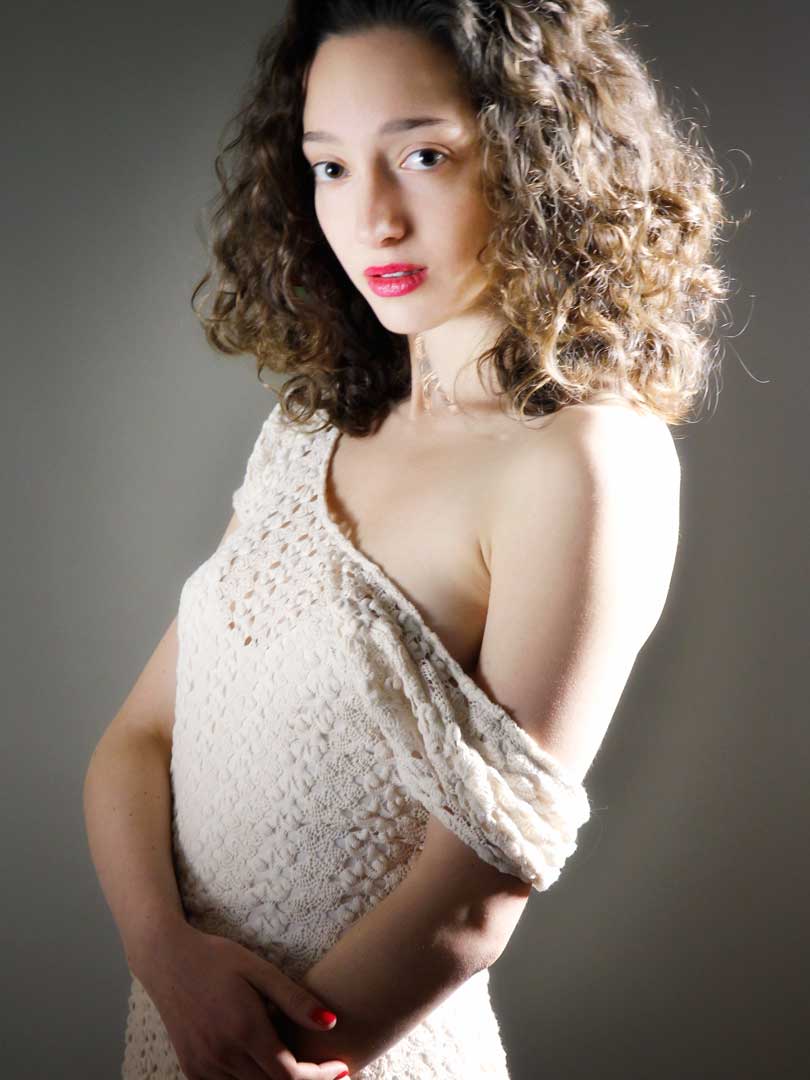
How I made this shot: The above portrait of aspiring model Laura Bachmeyer was made using a 12×12-inch Daylight LED Panel at camera right with no diffusion in place but barn doors were used to narrow the light. A 32-inch reflector was placed at camera left. She was photographed against a 5×7-ft Savage Photo Gray Infinity backdrop. The portrait was shot with a Canon EOS 60D and EF-S 15-85mm f/3.5-5.6 IS USM lens with an exposure of 1/15 sec at f/5.6 and ISO 800.
Although your eyes automatically adjust for missing color bands or spikes, your camera cannot and this difference results in time spent in Photoshop (or whatever) trying to get the color “right.” I have found that in order to measure the quality of LED or fluorescent studio lighting, a some kind of spectroscope is useful because it lets me visually inspect a light source’s spectrum and see peaks and missing color bands. You can find devices like this on eBay that are used by rock and mineral collectors for affordable prices.
 If you enjoyed today’s blog post and would like to treat me to a cup of Earl Grey tea ($2.50), please click here. And if you do, thanks so much.
If you’re interested in learning how I shoot portraits and how I use cameras, lenses and lighting in my in-home studio and on location, please pick up a copy of my book Studio Lighting Anywhere that’s available new from Amazon.com for $31.88 with used copies starting around $3.50, as I write this. The Kindle version is $19.99, if you prefer a digital format format.