
It’s “Tricky Tuesday,” a way for me to share some of the tricks, tools and techniques that I use for shooting portraits in my home studio, Today’s post features Pam Simpson; You can follow her on Instagram as Polaris Dreamer.
Today’s Post by Joe Farace
To me, photography is an art of observation. It’s about finding something interesting in an ordinary place. I’ve found it has little to do with the things you see and everything to do with the way you see them.–Elliott Erwitt
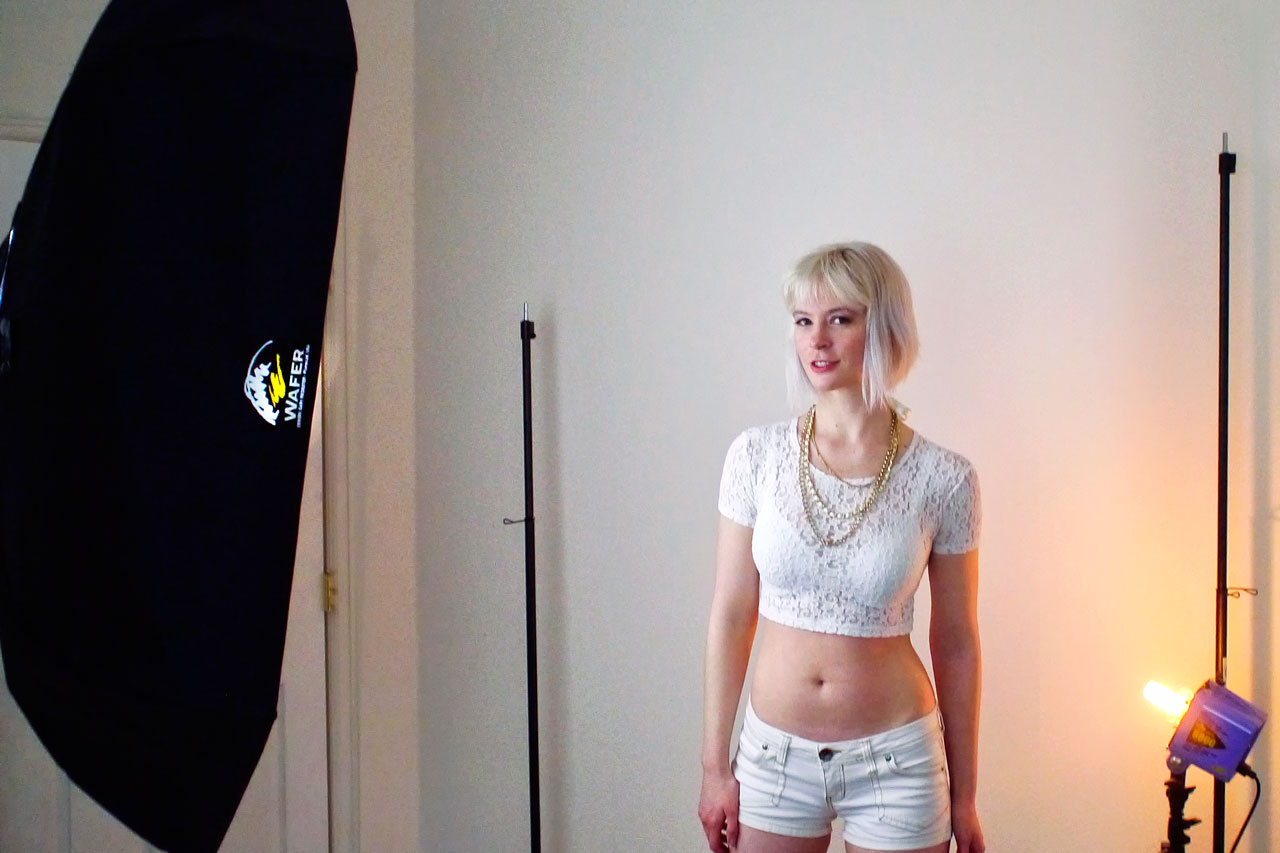 When Mary and I started our studio, we didn’t have a dedicated studio. So when he had a portrait shoot, we would set up the lighting equipment and background in the living room of our condo. Afterwards, we would knock it all down and pack it away. It wasn’t the most efficient way to operate but it got the work done. I even won an award from the state PPA for a bridal portrait I made with this setup, so that approach could work for you too. But having a dedicated studio space, even a small, 11×15-foot one that I currently have, is more than just a convenience,
Tips for your Home Studio
If you decide to use a spare room in your house, many homes have white or light colored walls that while aesthetically pleasing can be good or bad depending on how you want to control the lighting. When this portrait of Pam Simpson was made, my studio was the generic white color that builders like to use. Brigette Romanek of Romanek Design Studio claims, “there are more than 900 shades of white alone.” After my basement was flooded, a story for another time, Mary and I painted the studio’s walls Sherwin Williams Lazy Grey, that’s similar to 18% grey, We chose that color to minimize unwanted reflections but after using it for a few years now, I’m not sure of that was the best decision. I think I miss the white walls, mainly because how it enable me to make simple high key images.
 After wall color, the next decision has to do with any other kinds of backgrounds you want to use. Having dedicated supports, like my JTL Background Support System or Savage Universal’s affordable ($165.99) Background Stand Kit that supports backdrops up to 107-inch x 36-foot seamless paper or 9 x 10-foot vinyl backdrop rolls are a necessity. If you’re handy with tools, Google “build a photo background stand” and you will find a number of DIY solutions you may be able to build yourself.
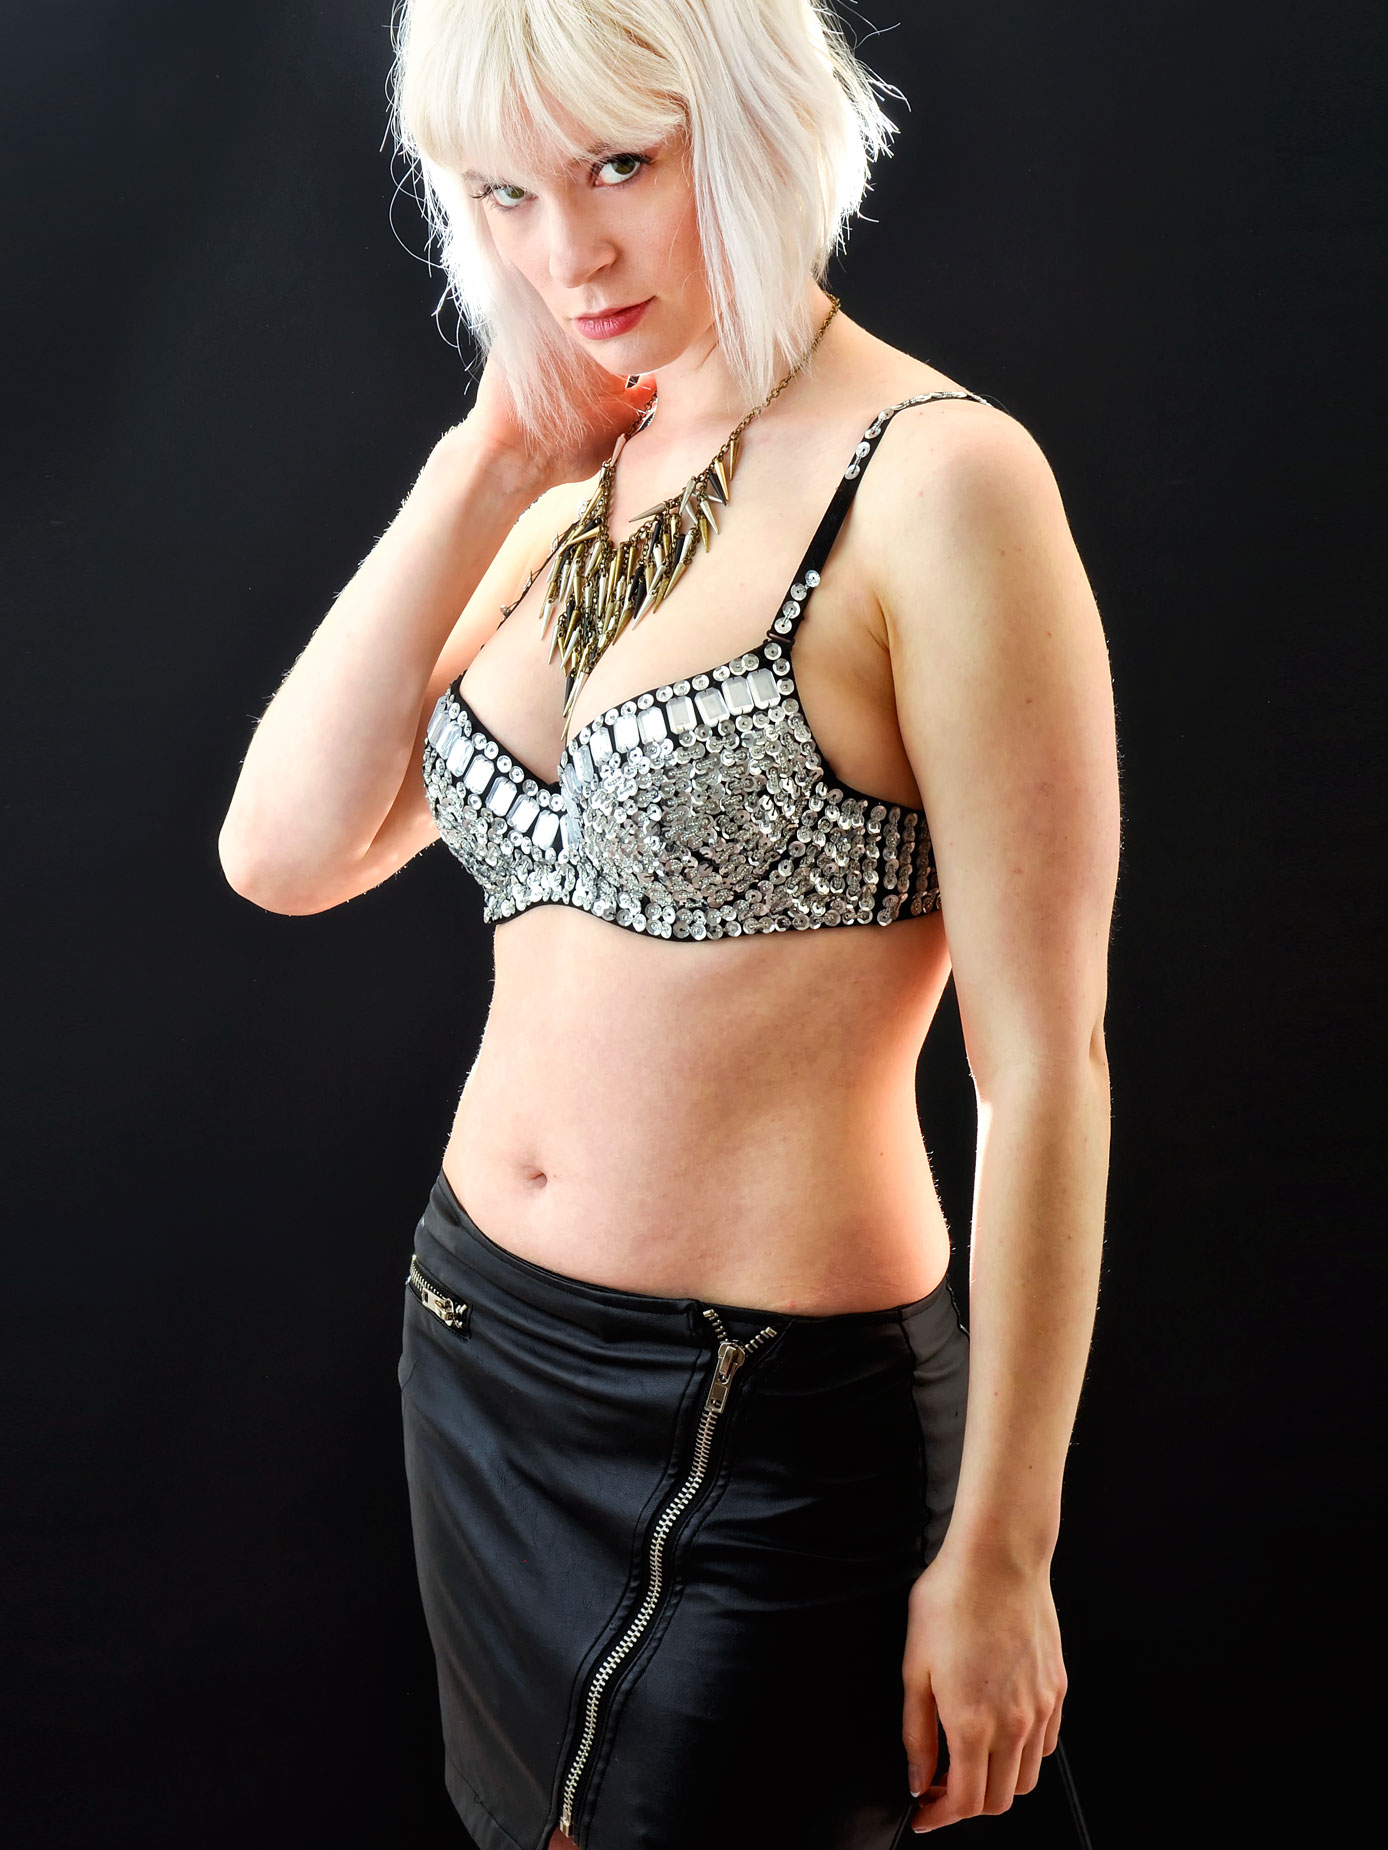
How I Made this Portrait: The low key lighting setup that I used for this portrait of Pam could not have been simpler. A Paul C. Buff DigiBee 800 monolight with a Plume Ltd hexagonal Wafer soft box attached was placed at camera left. At camera right was an AlienBees 800 with no reflector, just the bare tube, aimed mostly at the Pam side and back. The background , which in this case was a Savage Universal Black Infinity vinyl backdrop is hung from JTL background stands. The camera used was an entry level Nikon D5100 with an 18-55mm f/3.5-5.6 kit lens at 55mm with an exposure of 1/200 sec at f/9 and ISO 200.
Next to lightstands, something it seems you never have enough of, another thing you’ll need is clamps. The best of these spring heavy-duty steel clamps have vinyl tips to protect whatever you’re clamping and have holes in the handles for hanging clamped objects. They also can be used to get a grip on your seamless paper to keep it from becoming a runaway and clamps can turn a flat muslin background into draped elegance. You’ll think of other uses. You can buy official photo clamps but I get mine from Home Depot and Lowes.because they are cheaper and work just as well.
 When it comes to portraiture, lighting isn’t only about the quantity of the light produced but is more often about the quality of that light. You can use Scrim Jims, like I do or make your own reflectors and scrims? The late Dean Collins was a lighting innovator and his Tinker Tubes concept uses PVC tubes and connector to make a framework for reflectors and scrims. If you poke around on the Web and you will find information on this idea as well as other DIY solutions for making your own reflectors and scrims.
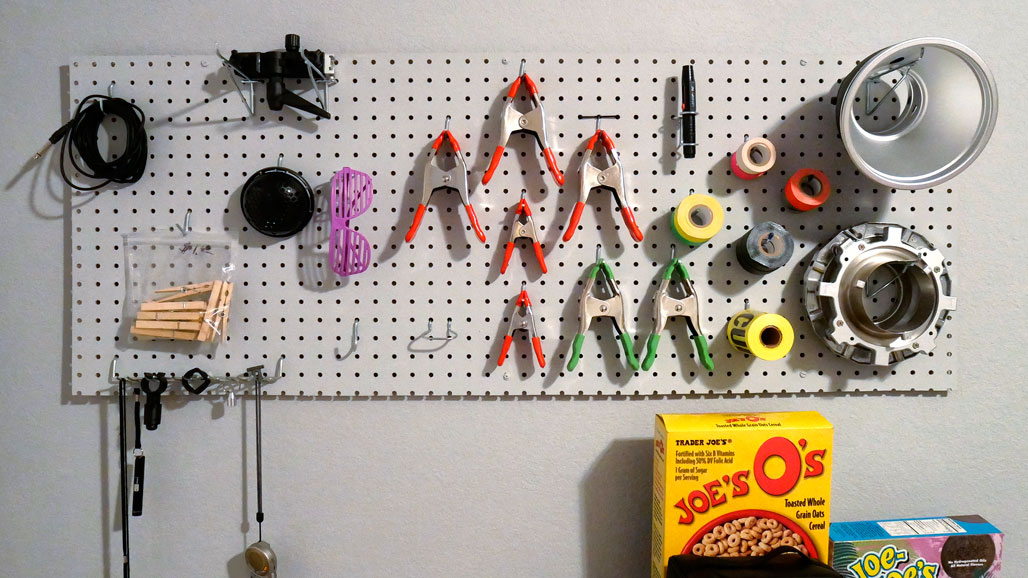
Another item no home studio should be without is pegboard. Over time, you’ll end up accumulating many small items from clamps to speed rings to reflectors to gaffers tape and all kinds of flotsam and jetsam. Hanging them on a piece of pegboard keeps them instantly at hand. And while you may be able to get a good set of pegboard hooks from Ace Hardware, I’ve found the selection at all home improvement stores to be small; I get my pegboard hooks from Amazon, of all places.
 If you enjoyed today’s blog post and would like to buy Joe a cup of Earl Grey tea ($3.50), click here. And if you do, thanks so much.
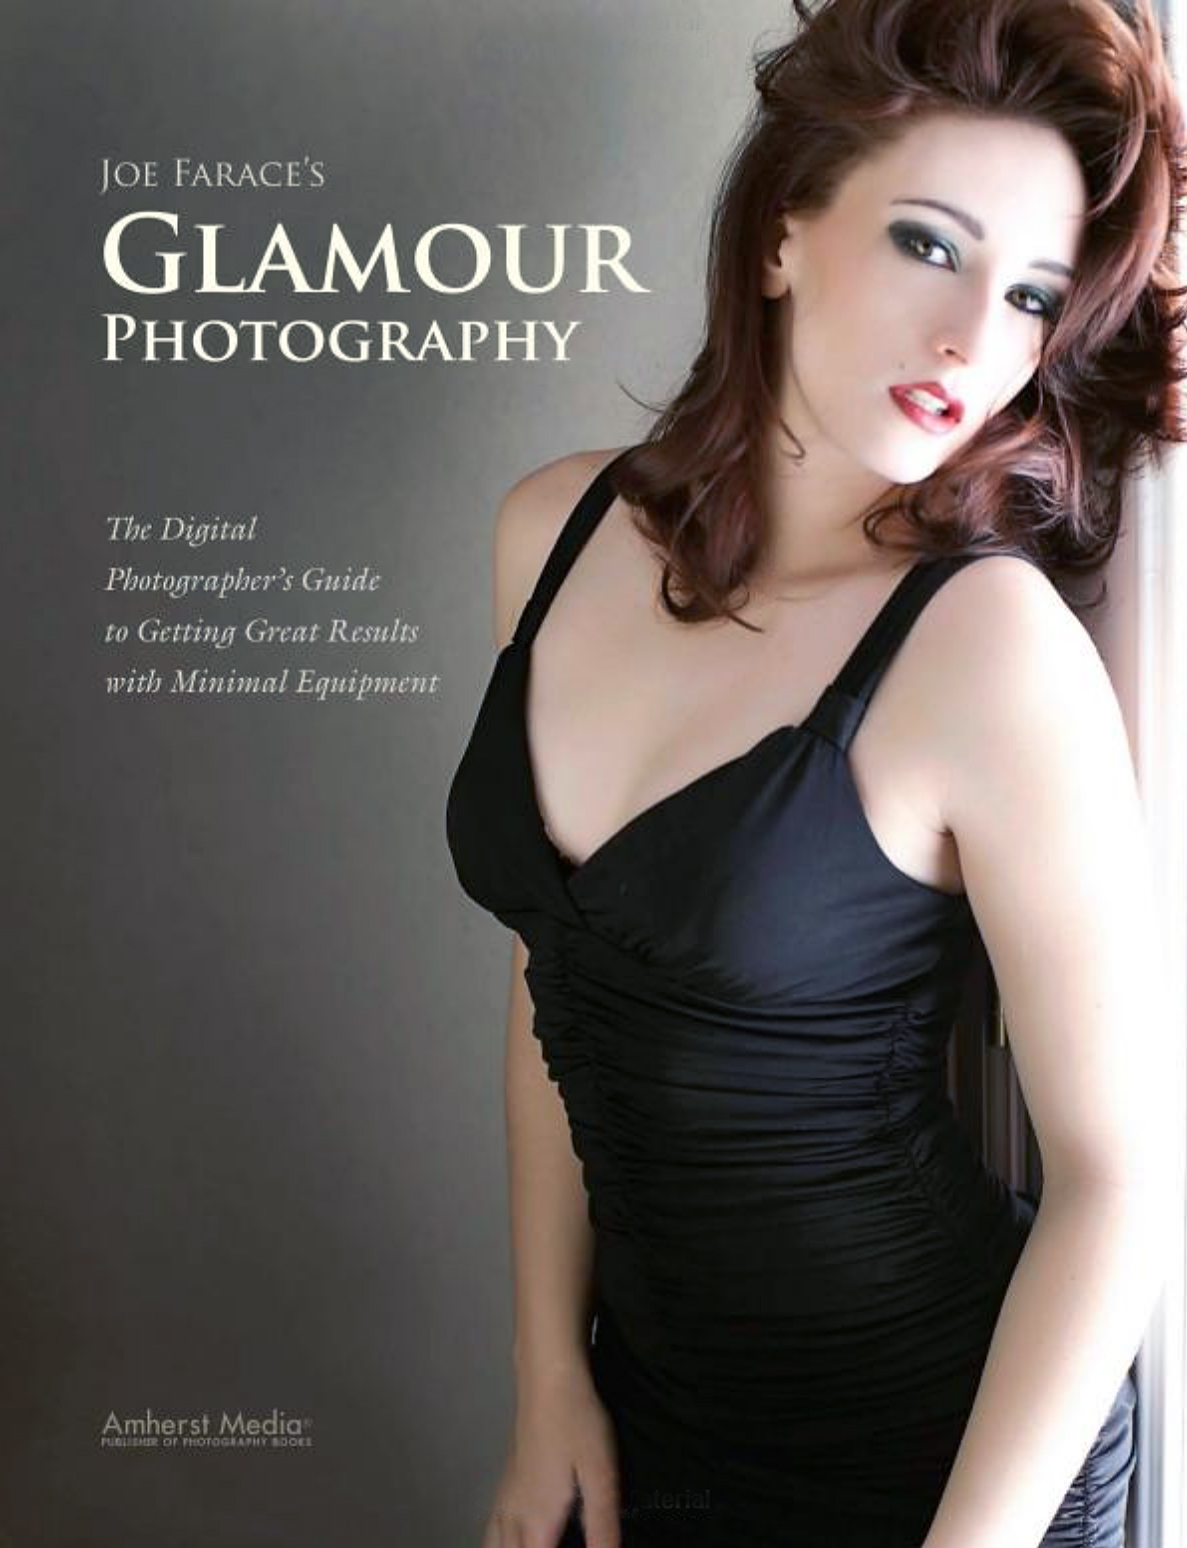
My book Joe Farace’s Glamour Photography is full of tips, tools and techniques for glamour and boudoir photography and includes information on all of the cameras and lenses used as well as the complete exposure data for each image. New copies are available from Amazon for $45.08. with used copies selling for around twenty-eight bucks, as I write this. The Kindle version is $19.99 for those preferring a digital format.