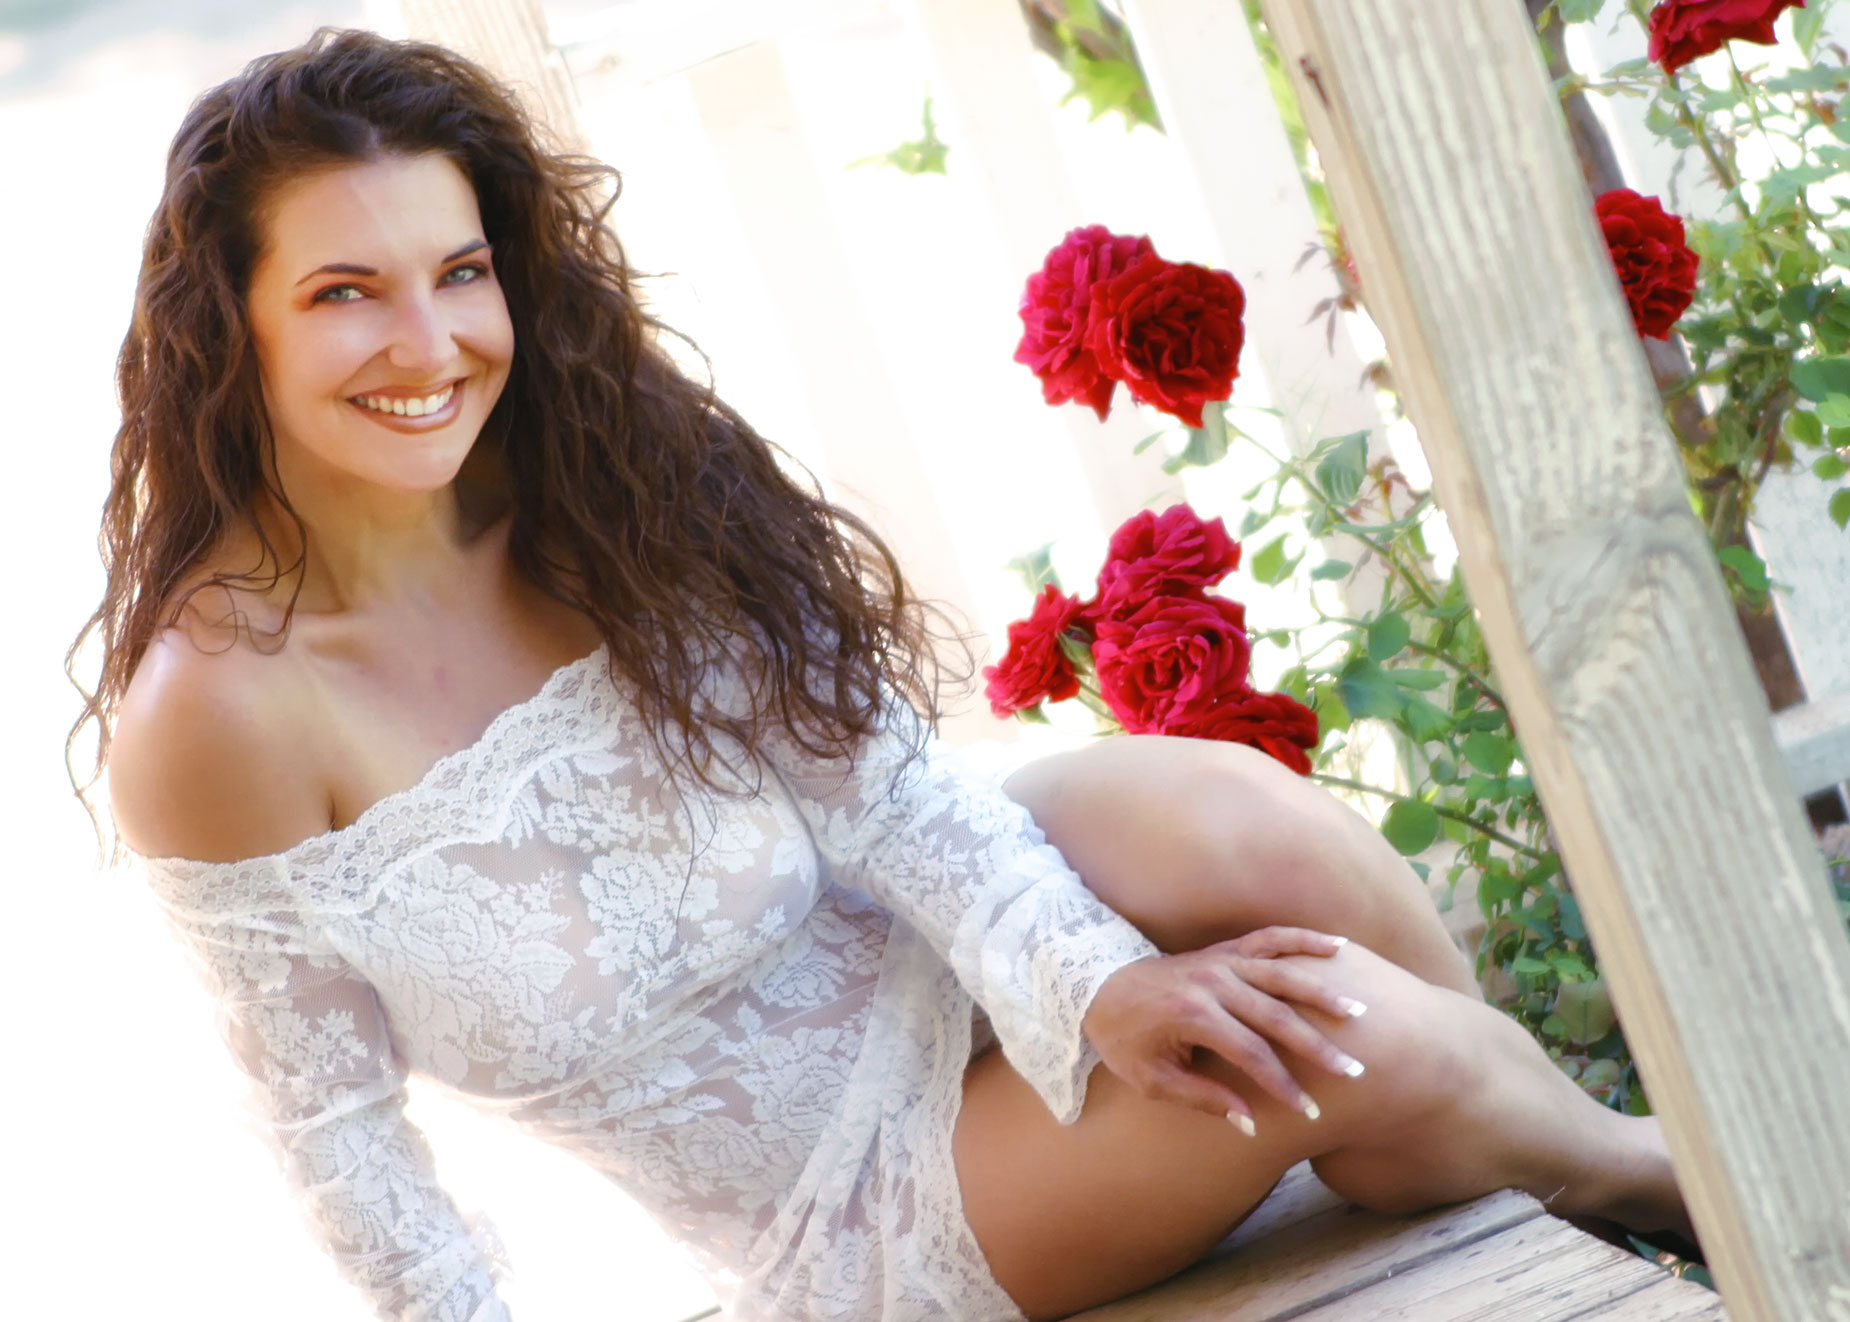
My Sunday series about making outdoor portraits continues today with a portrait of Rya, who I photographed at a group model shoot in Phoenix. Arizona several years ago.
Today’s Post by Joe Farace
To me, the exposure compensation control is one of the most important parts of any DSLR or mirrorless camera and it’s the first control—after adjusting the ISO setting—that I look for when considering purchasing (or using) a new camera. It’s always been my belief that camera designers realized that no amount of automation will produce a “perfect” exposure under all possible lighting situations and what some people might like others might not so they needed a control to fix that. Exposure compensation does just that.
Your Get to Decide
 One early application of the concept of exposure compensation was the Zone System that was developed by Ansel Adams and Fred Archer, which is, perhaps, a topic for another time.
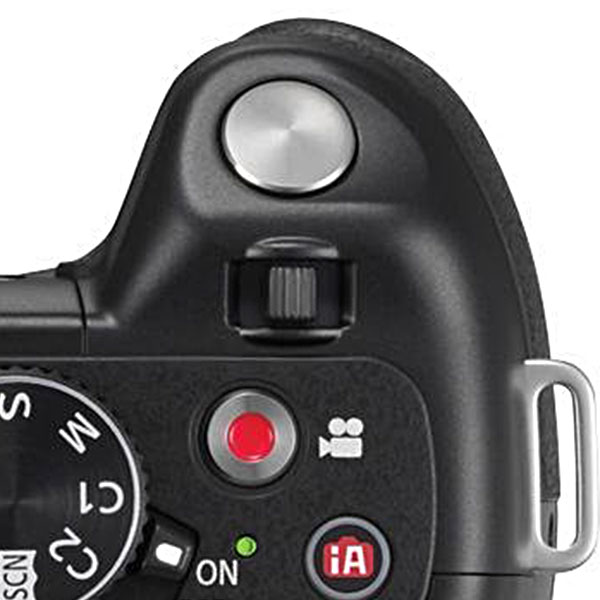
Since I believe that you are the final arbiter of what’s “correct” the Exposure Compensation feature lets you increase or decrease the camera’s automatic exposure settings by up to three f-stops in one-half or one-third stop intervals. Some digital cameras allow a greater range of up to four, five or even six stops in both directions. On the Panasonic Lumix G5 and G6, the control to do this is a simple toggle switch that conveniently sits just behind the shutter release and any adjustments are visible in the EVF or LCD preview screen. For some reason, the company removed this useful switch from subsequent models instead dumping it into the camera’s menus making for more menu diving.
How it works: If the camera is set in Aperture Priority (Av) mode exposure compensation changes the exposure time; if the camera is in Shutter Priority (Sv) mode, the aperture is changed. If electronic flash is being used, some cameras will adjust the (compatible) speedlight output as well.
One of the first tips I like to give to aspiring photographers is that If your camera lets you set the amount of exposure compensation by one-half or one-third stop increments, I suggest using the one-third stop option because it provides a more nuanced difference in exposure but, as always, this is your call.
What about an image like today’s that includes backlighting? You can always use fill flash or you could always bracket. I find it easier to use the exposure compensation dial on my camera, checking the histogram as I shoot.

How I made this shot: For this portrait of Rya on the porch of an old house, I used a “dutch angle” type of composition. (see below.)The camera used was Canon’s 6.3-megapixel EOS D60 and a Canon EF 135mm f/2.8 SF lens. Unfortunately the EXIF data doesn’t show the soft focus setting of the lens but my guess is that it was zero. Exposure was 1/320 sec at f/4.5 and ISO 400 with a plus one and two-thirds stop overexposure to compensate for the backlighting. (Some kind of fill flash might have helped and given the image a little more snap but I didn’t think of it at the time.)
After some slight cropping, while maintaining the default 2:3 aspect ratio, I did some light retouching, some tweaking in Vivenza before wrapping up with the Glamour Glow filter from Color Efex.
 If you enjoyed today’s blog post and would like to buy Joe a cup of Earl Grey tea ($2.50), click here. And if you do, thank so very much.
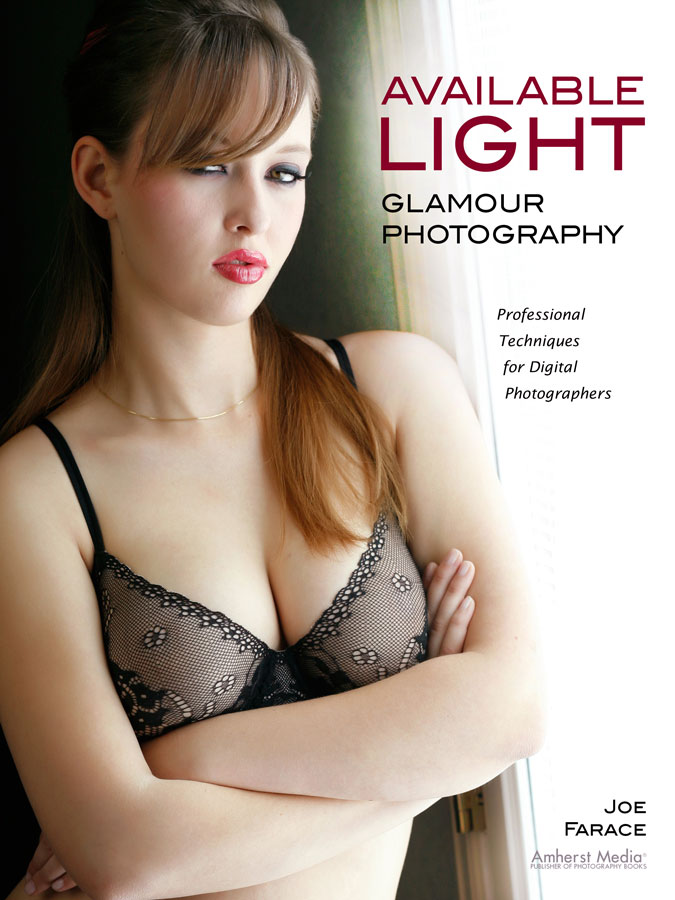
My book Available Light Glamour Photography that is available from Amazon with new copies selling for $29.95 and used copies starting around twenty-six bucks as I write this. Kindle copies are $28.45 for those preferring a digital format.