Today’s Post by Joe Farace
So far I’ve resisted Adobe’s subscription service for Photoshop mainly because I can’t afford to. But I recognize that active pros need (and can afford) the latest tools. All the Photoshop tips and tools you see on this blog were made using Photoshop CS6. For an interesting perspective on this choice, please read the last paragraph on this post that talks about my experience talking with a successful travel photographer and the software that he uses.
 Once upon a time. I received an e-mail from reader named Carol Baker. As a movie buff you gotta know that name got my attention. Carol told me that she likes “the effect that blur and selective blur can have” and feels “blur and selective blur can add mystery and depth to an otherwise ordinary photograph.”
As far as I know, there is no “rule” about how much blur or soft focus that you can apply to a portrait. My best advice, is as Emeril always says, to “season to taste,” but that doesn’t mean you can’t have a few Photoshop tricks up your sleeve.
- First, don’t be afraid to yank the sliders on a blur/soft focus plug-in to the extreme ends to see what this produces. Even after you apply a filter, there’s always the UNDO command waiting in the wings and I promise you that no pixels will be harmed performing this maneuver, especially when working with a copy of that original file.
- Second, don’t forget the FADE (Edit > Fade…) option that appears when most filters are applied to an image. You can use its slider to apply the Filter at anywhere from 1% to 99% to create the desired soft or blurry effect.
- Third, apply blur/soft focus to a separate layer. With the effect placed on a duplicate layer you can lower that layer’s opacity allowing part of the bottom layer to show through, giving you the ability to control how much blur is applied and more…
 Tip: For more control you can erase part of the duplicate layer allowing parts of the original file to show through. You can also change the Eraser tool’s opacity so it doesn’t erase everything and gently erase the blur/soft focus layer over a subject’s eyes to allow sharpness to show through. This is an especially good trick for portraits because the sharpness of the subject’s eyes are critical in getting the viewer’s attention.
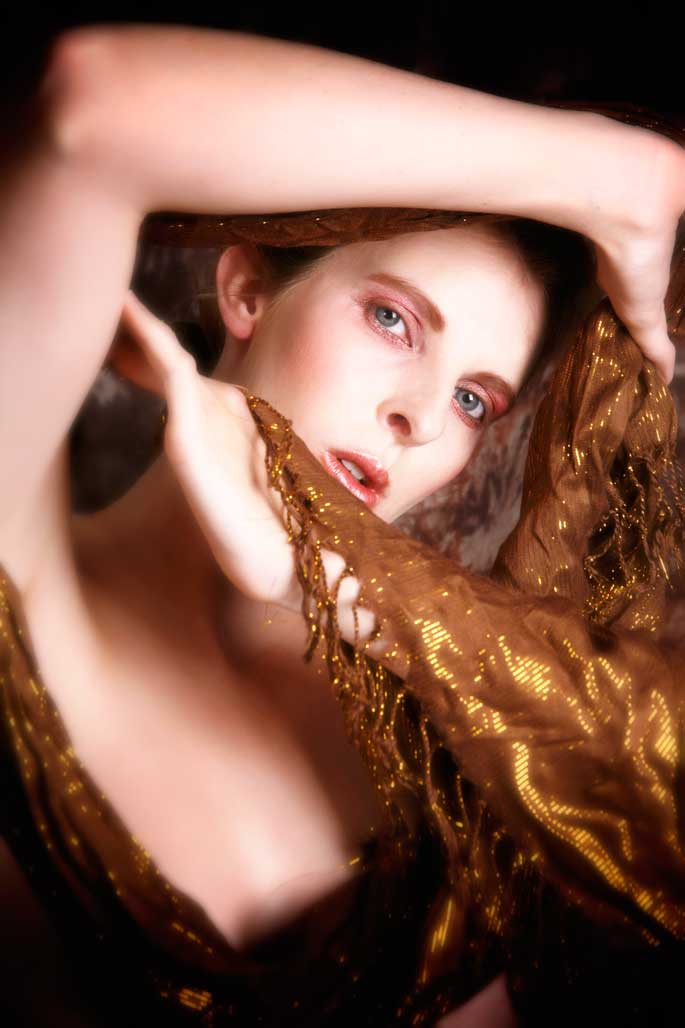
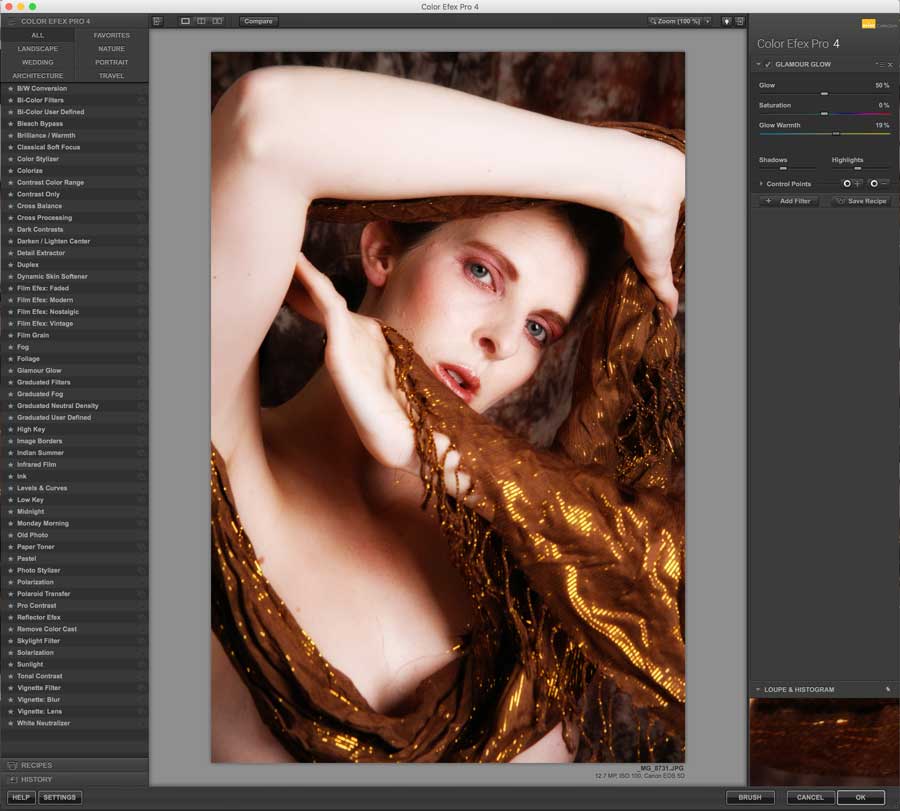
How I Made this Shot: The lighting setup for the above image was made with Speedotron’s DM402 2 CC Head Kit. The background, what you can see of it, was from Silverlake Photo Accessories. This portrait of Alice Ivers was shot with Canon EOS 5D Mark I and EF28-135mm f/3.5-5.6 IS USM lens (at 95mm) with an exposure of 1/125 sec at f/13 and ISO 100. Soft focus and diffusion effects that were added to the image (on seperate layers) include Classical Soft Focus and Glamour Glow from Color Efex Pro
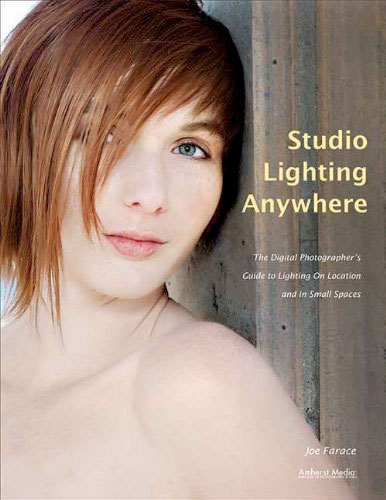
If you’re interested in learning how I shoot portraits and how I use cameras, lenses and lighting in my in-home studio and on location, please pick up a copy of Studio Lighting Anywhere which is available new from Amazon.com for $5.59 or used for the giveaway price of $2.23. The Kindle version is $5.31 for those preferring a digital format.
