
It’s “Tricky Tuesday,” which is a way for me to share some of the tricks, tips and techniques I’ve used over the years for shooting portraits in the studio,. Today’s post features yet another model, Sarah,who is a fine artist,
Today’s Post by Joe Farace
“There is only you and your camera. The limitations in your photography are in yourself, for what we see is what we are.”–Ernst Haas
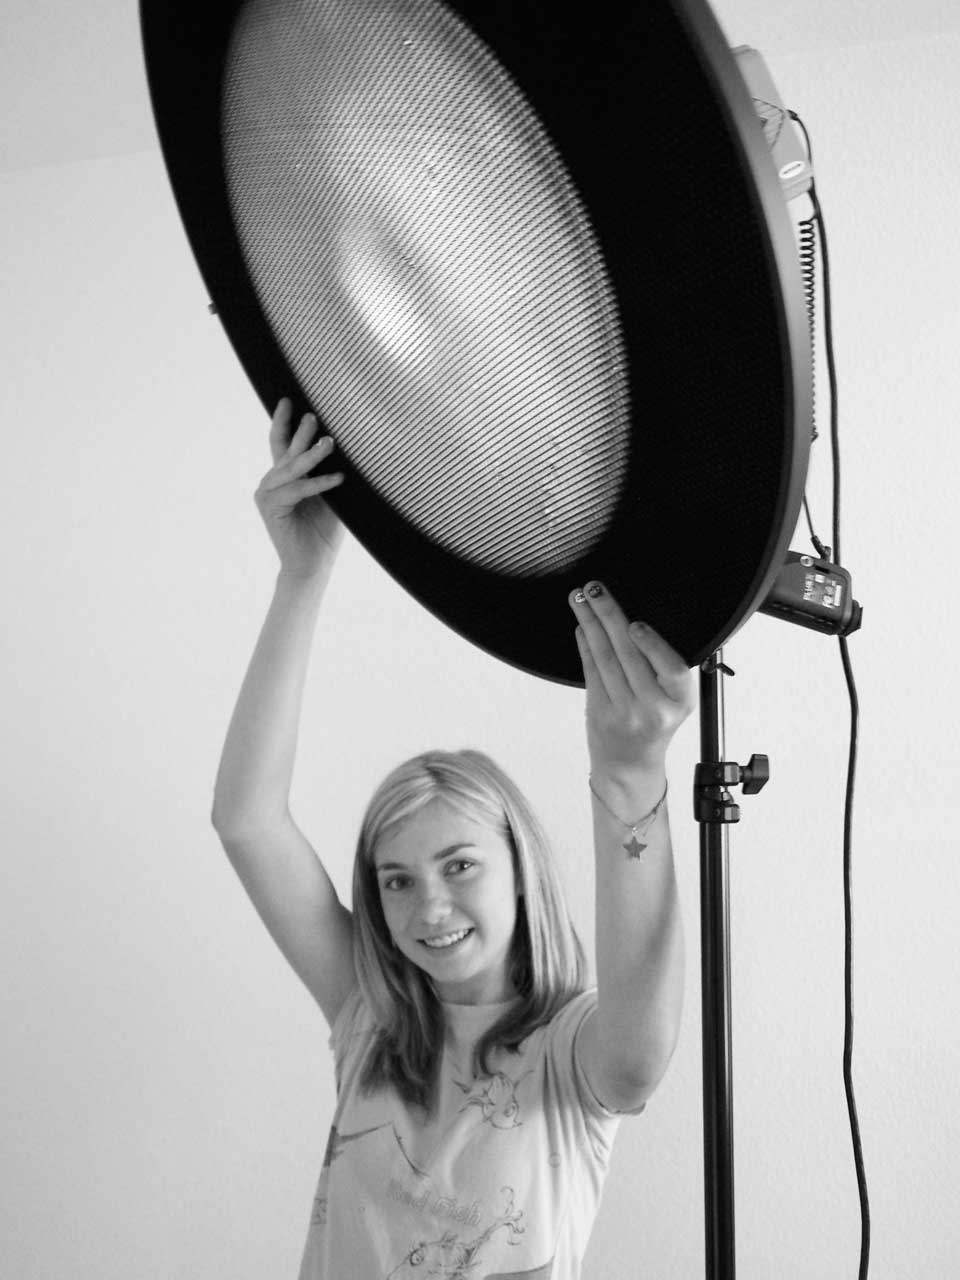 I think a grid is one of the most underrated yet most useful studio lighting tools available to the portrait photographer. Adding a grid to your studio lighting kit provides a slightly wider beam than a snoot and is useful for focusing light on a particular part of a subject and is versatile too, allowing you to produce multiple looks from a single light source. Grids also prevent light spill from the subject onto the background.
A snoot is a tube that fits over a studio light to control the direction and radius of the light and can isolate a portrait subject in the frame.
Using a GrId in the Studio
A lighting grid, sometimes called a honeycomb grid or egg crate, narrows the spread of light to create highly focused, directional light. It is usually made of mesh and features a pattern of geometric cells, hence the honeycomb nickname. It blocks stray light from scattering to the sides, giving you more precise control over exactly what gets illuminated. A grid can:
- Eliminate Light Spill by stopping light from bouncing off nearby walls, ceilings or the background. This is especially important in a small home studio, like mine, where light can bounce all over the place.
- Separate the Subject: from the background by narrowing the light, while highlighting the subject and allowing the background to fall into shadow, creating separation and depth.
- Adds Drama and Contrast: It produces a more directional beam with sharper shadow transitions, giving photos a high-contrast look.
 Since a grid blocks some of the light from your flash, your light source is going to produce less output, so you’ll need to either crank up the light’s power or increase your camera’s ISO setting to maintain the same aperture as an un-gridded shot. How much less? In my not-quite-scientific tests, I found that, depending on the grid used, it’s approximately one and one-thirds stops. When trying out any new lighting tool you should do your own tests. Although my suggestion is a good place to start, any time that you spend testing will pay off in time saved in future shoots.
Paul C. Buff offers a 20 degree grid that snaps inside the seven-inch standard reflector’s recessed outer lips and eliminates light spill and provides soft, selective lighting. Attaching a grid to the reflector is a simply a matter of snapping a few clips to its edge but if you have a big grid, you can always get an assistant, or the model’s sister (upper right), to hold the gird.
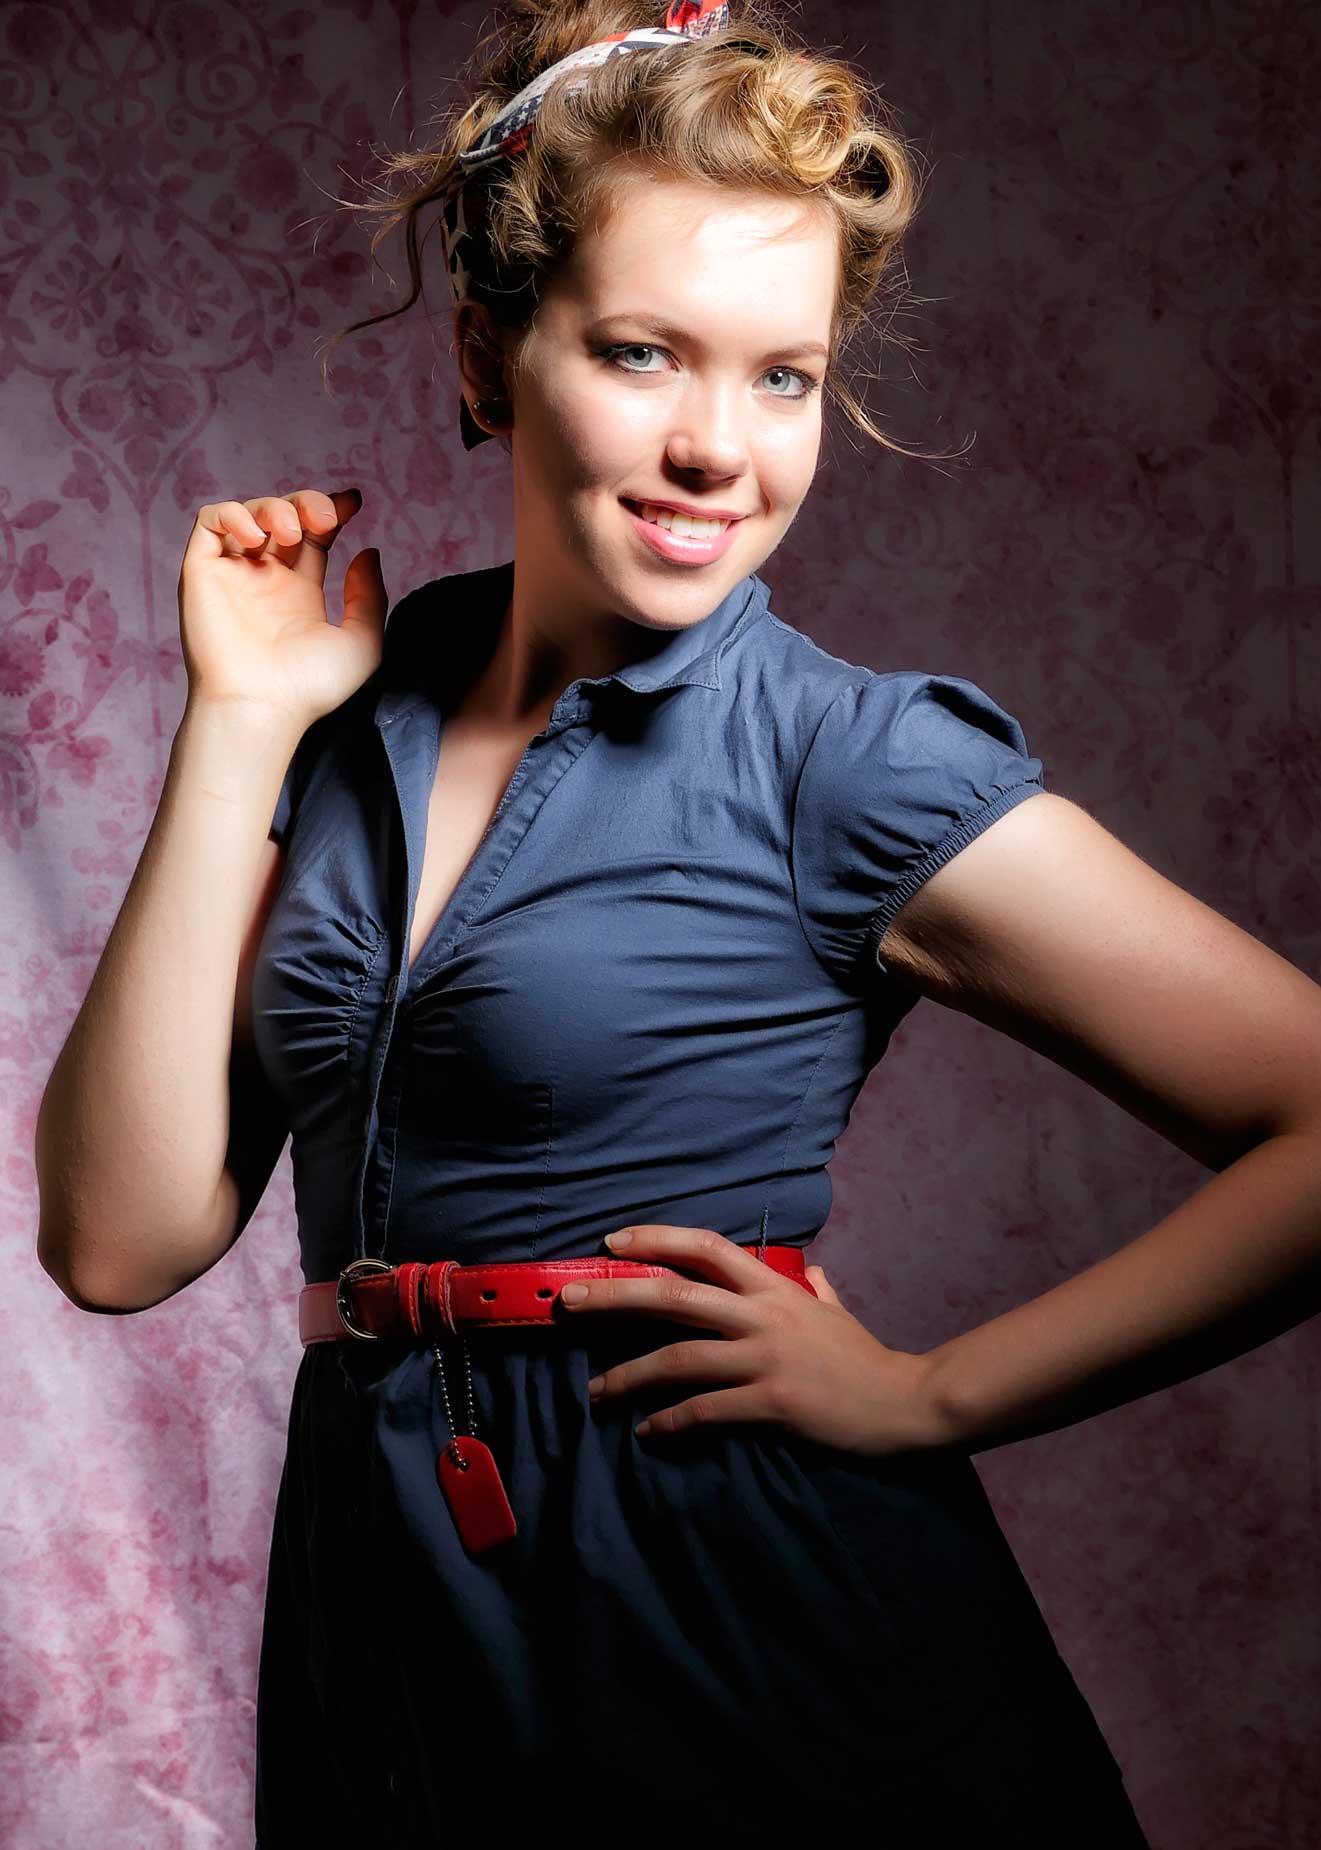
How I Made this Portrait: At left is a shot of Sarah giving her best turn as Rosie the Riveter that was made using a limited edition Paul C Buff Purple Haze AliensBees 800 monolight at camera right with a grid attached. A 32-inch reflector is at camera left. Paul C Buff is not a sponsor of me or this blog. I do not get a penny from you clicking this link; it’s provided just for your convenience.
The image was made with a Panasonic Lumix GH4 with Olympus 45mm f/1.8 lens attached with an exposure of 1/125 sec at f/9 and ISO 200. The RAW file was processed using the Vivenza plug-in followed by the Tonal Contrast and Glamour Glow filters that are part of Color Efex.
 If you enjoyed today’s blog post and would like to buy Joe a cup of Earl Grey tea ($3.50), click here. And if you do, thank you very much.
My book Joe Farace’s Glamour Photography is full of tips, tools and techniques for glamour and boudoir photography and includes information on all of the cameras used as well as the exposure data for each image. Used books are available from Amazon for $45.08, I write this. The Kindle version is $19.99 for those preferring a digital format.