
My Sunday Series of posts about available light portraiture continues today. In a previous post, I wrote about a similar topic and today might be considered part 2 of that discussion. Today’s portrait features Krystyne who I photographed at a group model shoot in Arizona.
Today’s Post by Joe Farace
It’s one thing to make a picture of what a person looks like, it’s another thing to make a portrait of who they are.–Paul Caponigro
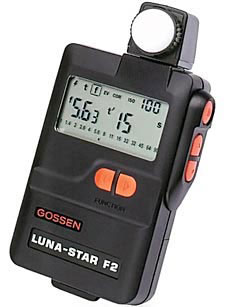 Almost every modern camera has some kind of built-in light metering system and some even have a spot metering function but I still occasionally use a hand-held meter, especially when photographing people outdoors.
Using a Hand Held Meter
My current hand-held meter is the Gossen Luna Star F2. Yes, it’s old but it’s also small, lightweight and takes reflected or the incident readings I like to use when making outdoor portraits like the featured portrait of Krystyne. Incident metering reads the intensity of light that’s falling on the subject, rather than what’s reflected by it.
The Luna Star F2 also measures flash, making corded or non-corded flash readings in my studio. The Gossen replacement for this meter is the Gossen DigiPro F2. If my Luna Star F2 ever failed, I’d replace it with that meter but I must confess to have a hankering for a Minolta Spotmeter F. That meter was discontinued in 2006, yet it commands top dollar used, around $300, which says a lot about the quality of this light meter. Still, I’d love to own one.
T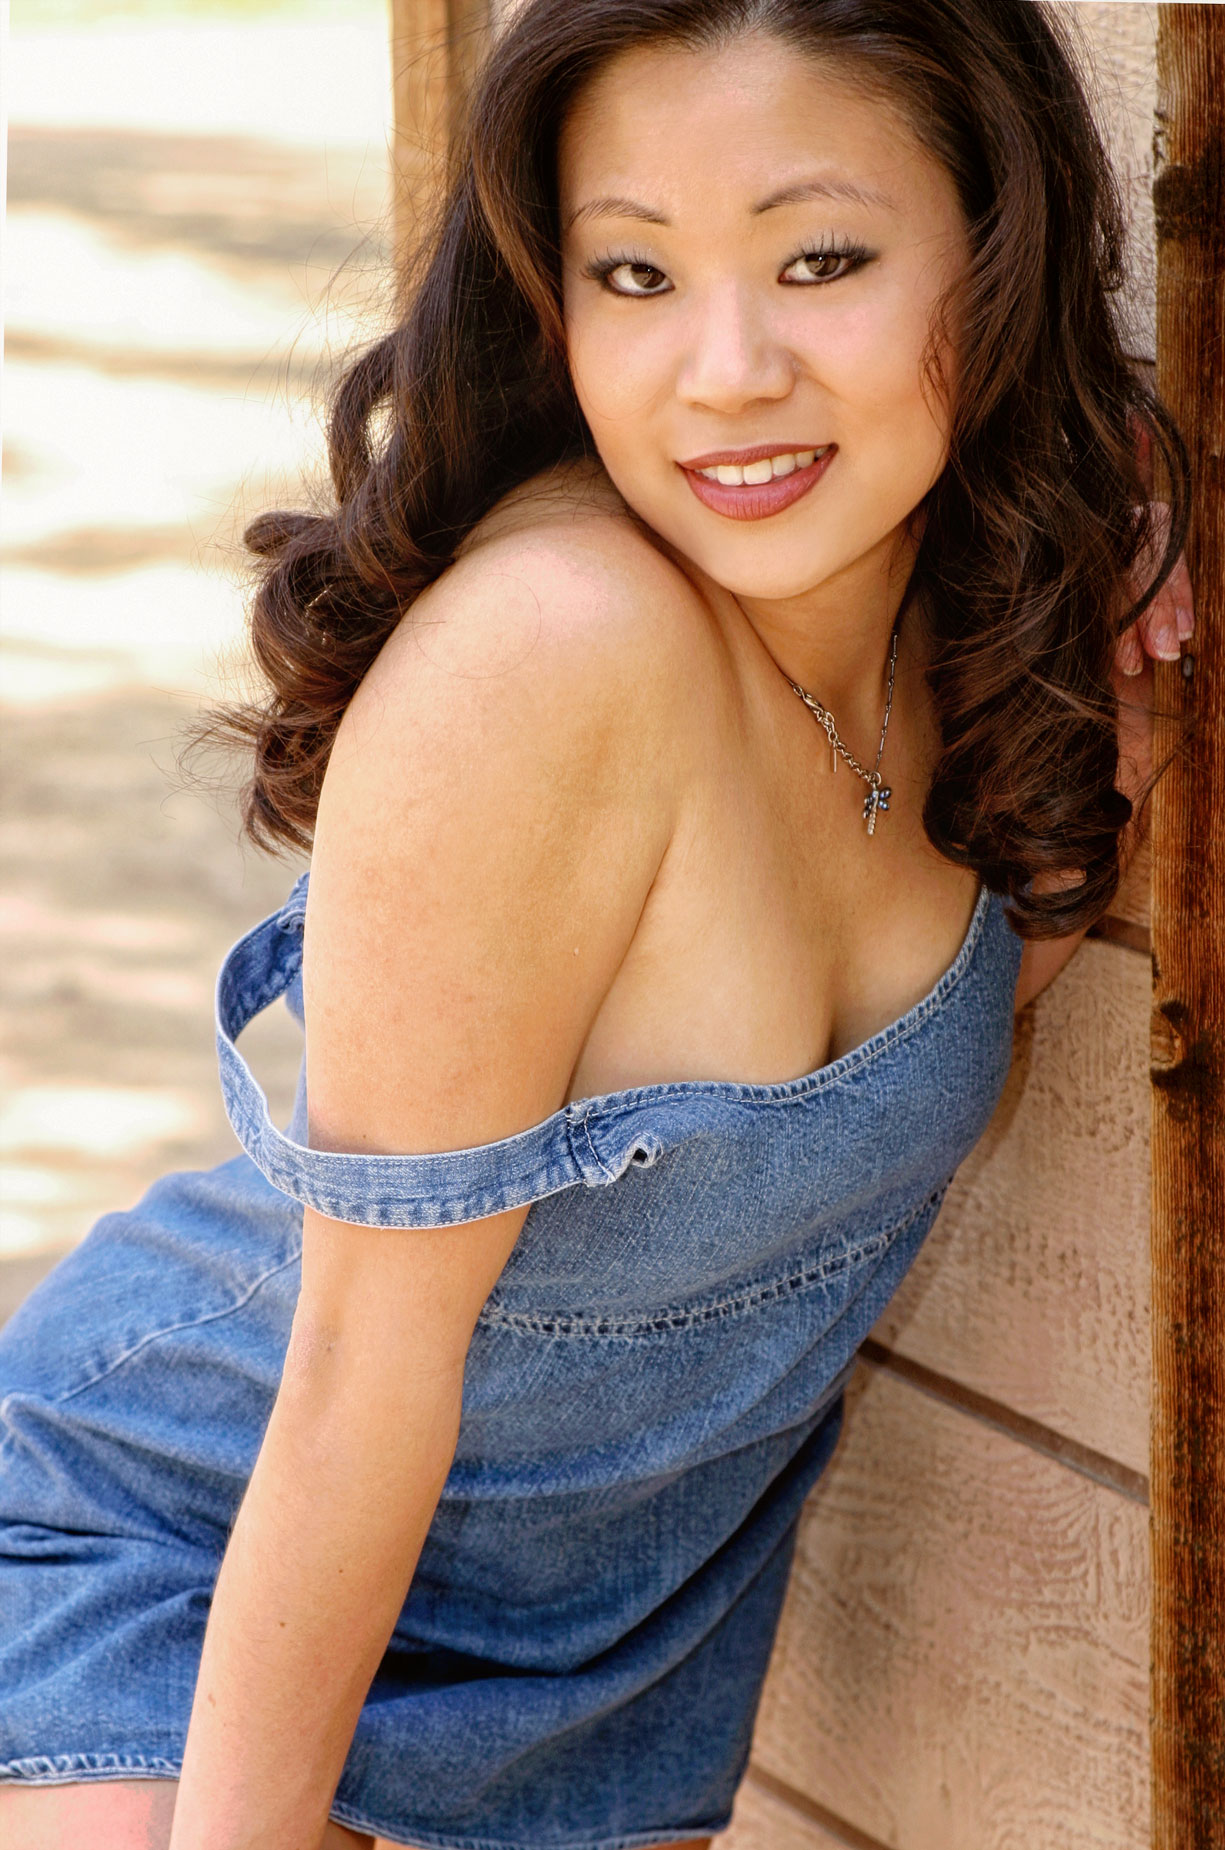 ip: If you don’t own a hand held meter but have a smartphone, consider Light Meter LM-3000, an iPhone app that lets you to use your phone as a light meter. Don’t know about Android, sorry.
While working with portrait subjects, I like to measure the light on both sides of a person’s face to determine the lighting ratio and then set my camera at an average of the two readings . There are all kinds of general; guidelines for determining exposure and especially the kind of lighting ratio that you could use for portraits, indoors our outdoors. These are broad, unwritten and practical principles based on experience rather than exact, scientific formulas. telling you what the ideal lighting ratio should be. But Renaissance painters used a technique called chiaroscuro that featured lighting ratios that would make most studio photographer’s hair stand on end but created art that has transcended the centuries. But…
…and here.s another but for you: You may not consider yourself to be a latter day Peter Paul Rubens and want your portraits to have a softer, more intimate look, which is kind of what I was trying to do with this portrait of Krystyne. The “right” ratio for you and your portraits will vary depending on the subject, the shape of the subject’s face and the final look you want to produce for the final image.
How I made this portrait: This portrait of Krystyne was shot using a Canon EOS 10D and one of my favorite lenses, the versatile EF 28-105mm f/3.5-4.5 II USM lens (at 90mm) that I stupidly sold. It’s been discontinued by the manufacturer but you can pick up used versions of this lens from many sources, including KEH Camera and MPB. The camera’s pop-up flash was used for fill producing a final exposure of 1/200 sec at f/5.6 and ISO 200. The image was originally captured as a JPEG file, before I fully embraced RAW+JPEG capture. It was retouched and processed in Vivenza and the Glamour Glow filter in Color Efex.
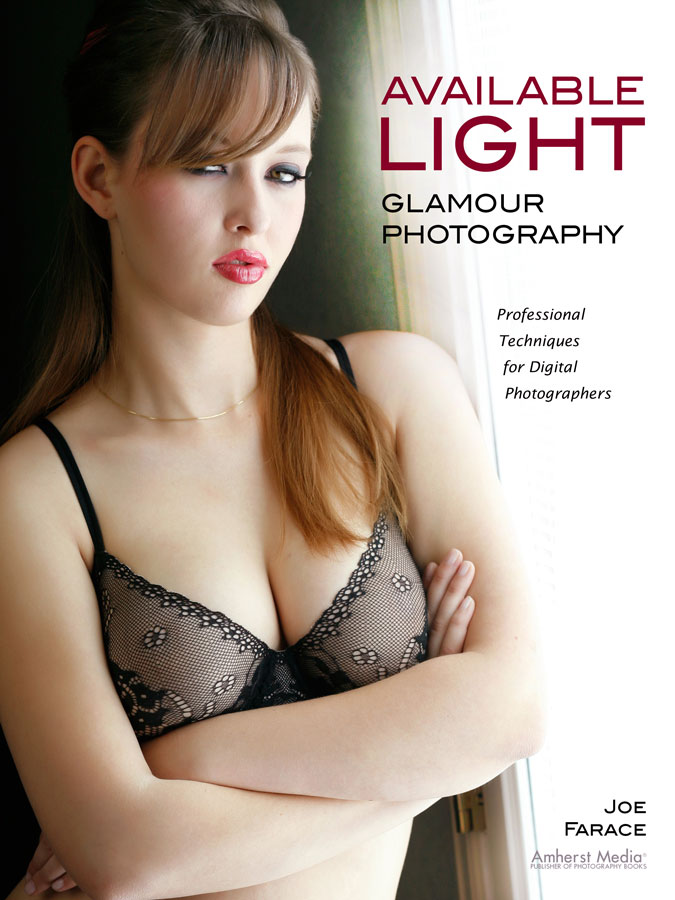
Krystyne is just one of the many wonderful models that I’ve photographed and who appear in my book Available Light Glamour Photography that’s available from Amazon with used copies starting at $24.12, as I write this. Kindle copies are $28.36 for those preferring a digital format.