Today’s Post by Joe Farace
Here comes 40. I’m feeling my age and I’ve ordered the Ferrari. I’m going to get the whole mid-life crisis package. —Keanu Reeves
In response to several suggestions from new readers of this blog, I wanted to go back to the basics with a look at some subjects that seem to challenge new photographers, especially those switching from using smartphones to a working with a DSLR or mirrorless camera.
When teaching at photo workshops and even during PhotoWalks, the number one question I hear from attendees and one that usually permeates the entire event is a quest for perfect exposure. Back in the late 1970’s when I was teaching Basic Photography to students at Howard Community College in Columbia, Maryland I would tell my that the perfect exposure was the one that they liked.

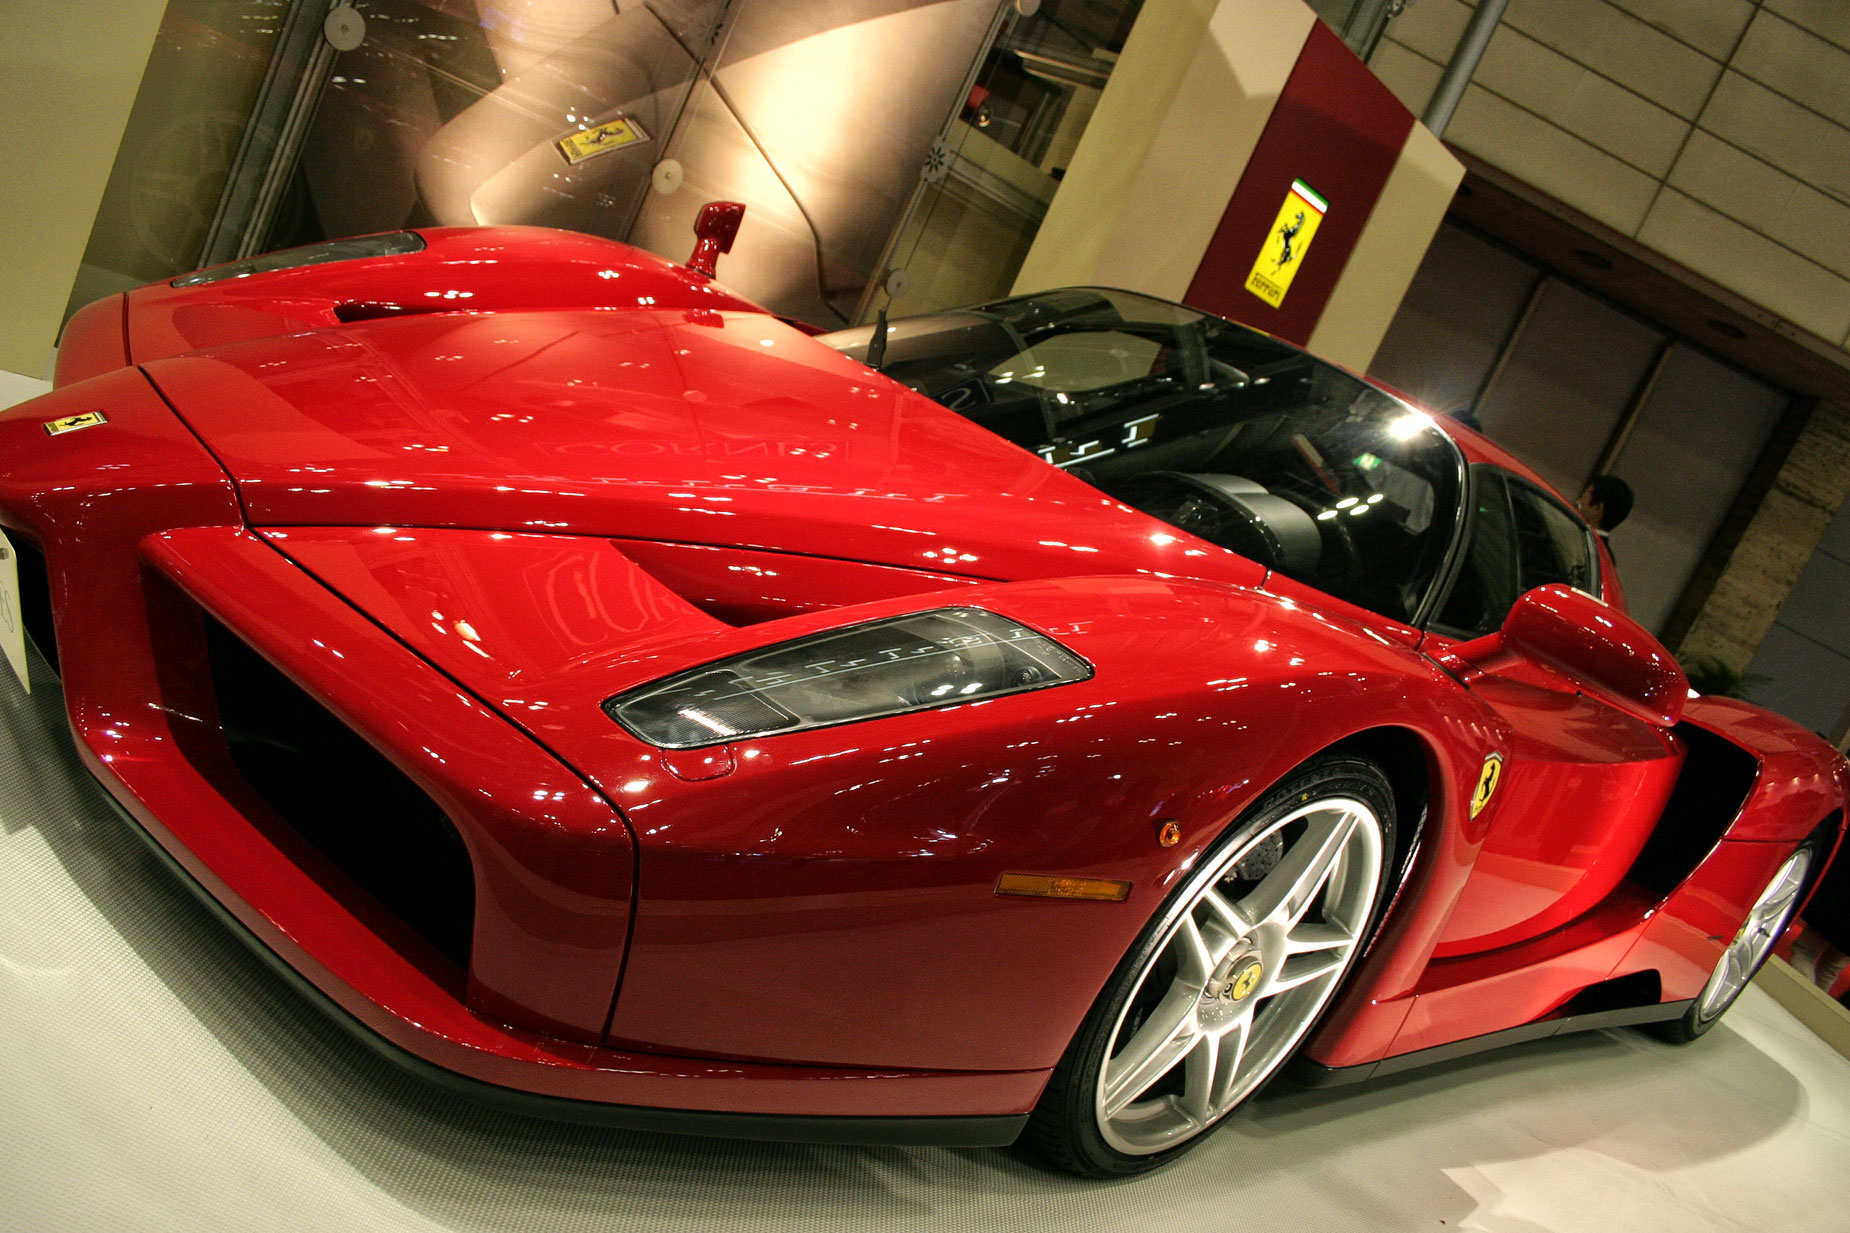
How I made this photograph: Because of the different kinds light sources, shooting that you will find ar indoor car shows, there are always going to be some exposure challenge. I photographed this Ferrari Enzo at the Tokyo Motor Show using a Canon EOS Digital Rebel with a EF-S 18-55mm f/3.5-5.6 IS kit lens. The exposure was 1/40 sec at f/4 and ISO 400 with a plus one-third stop exposure compensation.
The Ferrari Enzo was a mid-engine sports car named after the company’s founder, Enzo Ferrari. It was developed in 2002 and used Formula One technology, such as a carbon-fiber body, Formula One-style automated-shift manual transmission and carbon fiber-reinforced silicon ceramic disc brakes, all appeared up in an in-your-face design by Ken Okuyama who was the head of design at Pininfarina at the time. The car used technologies not allowed in Formula One, such as active aerodynamics. The Enzo’s six-liter V12 engine produced 660 hp and was also the first of a new generation of engines or Ferrari.
Here’s a Few Photography Basics
First and most importantly, when it comes to photographing cars I have two personal rules that I want to share with you: Always underexpose black cars so as to render them as black and overexpose white (or really light-colored) autoobiles, so they appear white in the captured image. When you think about this concept, it makes perfect sense: By forcing the exposure to interpret the car’s color as middle gray tones, you’ll end up with a white car that looks gray or a black car that looks gray too.
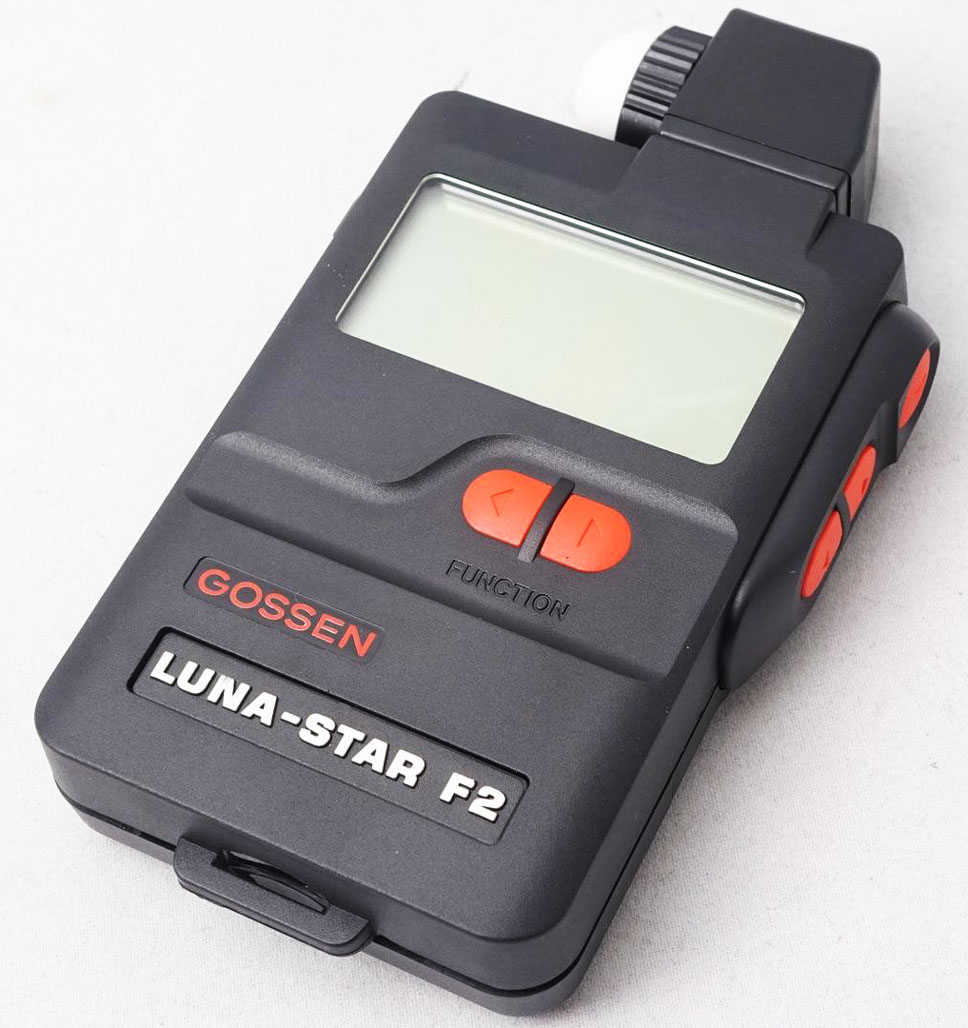
A Kodak grey card is 18% grey and Ansel Adam’s Zone V in his Zone System is also represented as 18% grey. But the ANSI (American National Standards Institute ) standard is for a luminance value that is equivalent to the reflectance of 12% gray. This fact is often misunderstood and is why some, not all, hand held meters, notably Sekonic, use 12% gray as a reference.
 For instance, when you take taking a light meter reading using a hand held or in-camera and the exposure is indicated as 1/500 sec at f/11 and you want to make a change, what do you do? If you would prefer to use a slower shutter speed to allow for, maybe, subject blur, you have to adjust the aperture (make it smaller) so that that the equivalent amount of light will fall on the sensor or film frame. And the inverse is true as well; higher shutter speeds translates into wider (larger) aperture. That doesn’t even bring into consideration the effect of ISO speed, which is a subject for another post.
When using any of your camera’s automatic modes: When selecting either aperture (Av) or shutter priority (Sv) automatic modes, your camera should give an equivalent exposure, eliminating most but not all of the guesswork. For 90% of the photographs that you’ll make, these automatic exposure modes do a fantastic job in producing correct exposure but its those last 10% that will kill you, so sometimes you just have to shift into manual mode. Please see my post about Manual Mode for more details.
As is true for all aspects of photography there are no one right way to accomplish anything, although some influencers and bloggers may disagree, arguing that only their methods are the one, true perfect way to obtain correct exposure. I disagree. On this blog, there is no “my way or the highway” for photography; You get to choose the method that works best for you. Even a road less traveled is OK if it produces the results you want. If it doesn’t produce the kind of results you like then it’s time to look at alternatives and fine tune them using your favored subject matter and preferred way of working.
So what’s the perfect exposure? It’s the one that you like. Go make a few tests, shooting brackets either manually or automatically and find out for yourself. One of the advantages of using digital capture is that it won’t even cost you a whole lot of money to find out.