Today’s Post by Joe Farace
There are two ways of spreading light: to be the candle or the mirror that reflects it. —Edith Wharton
Let’s talk about exposure…again. Light has four major characteristics: color, quality, quantity and direction. For photographers who are seeking to master the art of exposure, “seeing the light” is the key to mastering the art of exposure, which turns out is really just as much craft as art.
What’s the Best Exposure?
If there’s any secret to obtaining the best possible exposure it’s learning to see the light falling on your subject whether it’s a person, place or even a car. This is especially true for the range of shadows and highlights within the scene. Italian Renaissance painters called this effect chiaroscuro and it’s generally considered to represent the different contrasts of light that can be used to achieve a sense of three-dimensionality within a two dimensional frame.
Learning to see light is not difficult but might take some practice. That practice should take the form of not only constantly making new images but also taking the time to analyze those photographs after you’ve created them.

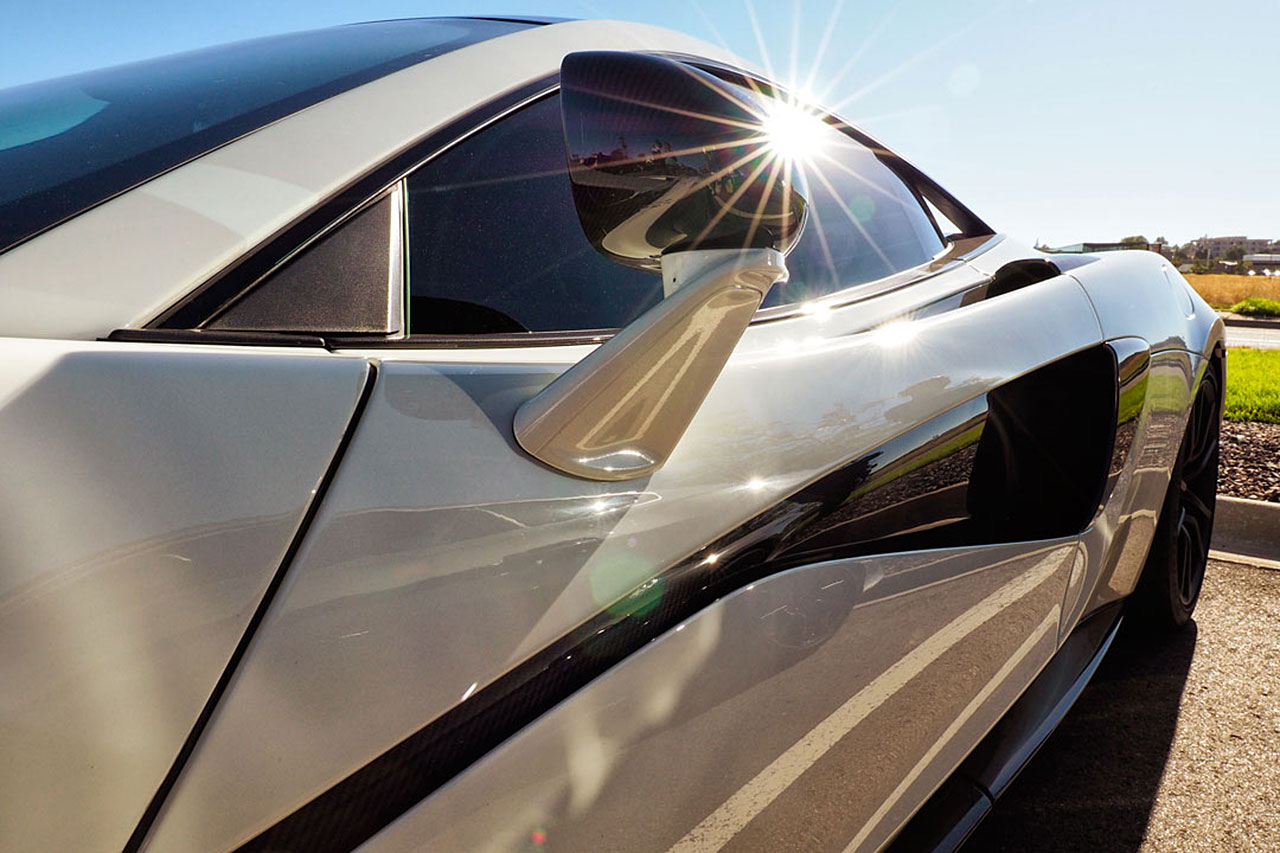
How I made this shot: (below) For some reason there are always a lot of McLarens at this particular Cars & Coffee event in Parker, Colorado. This image was shot with an Olympus E-M10 Mark I with a Leica DG Summilux 12mm f/1.4 lens showing a few things including how well the lens renders sunstars even at f/10. Exposure was 1/400 sec at f/10 and ISO 320, which my typical ISO setting for a sunny Cars & Coffee. This car was not a pure refrigerator white but a warmer white, but not quite the creamy tone that English car manufacturers call Old English White.
One of the first tips I offer to aspiring car photographers is that they should slightly underexpose black cars in order to render their color as black and slightly overexpose white ones, so they look, well, white.
When you think about this underexposure and overexposure concept, it makes perfect sense: Forcing the exposure toward middle gray tones, which is what your in-camera or handheld light meter will try to do, you’ll end up with a white car that looks gray or a black car that looks like a different shade of gray. For more insight on how in-camera or handheld light meters work in these kinds of situations, please check out my post Getting Correct Exposure Using the Substitution Method.
Light is the primary element of any photograph, but it may also be the most frustrating. Rick Sammon can help you eliminate those frustrations. With over 300 new images, Exploring Photographic Exposure takes you through the basics of exposure and how to apply them in any setting.
