Today’s Post by Joe Farace
It’s hard to be a bright light in a dim world.” ― Gary Starta
Light has four major characteristics: quality, quantity, color and direction. No matter what exposure mode you select on your DSLR or mirrorless camera, seeing how light in a scene affects a photograph’s impact is the key to mastering the art of proper exposure. Yes, its just as much art as it is science because the final exposure controls the image’s mood.
“Light,” as someone once told me, “is light”
While the above statement may be true, you’ll need to measure the amount of light to get the accurate or correct (for the mood) exposure. Back-to-Basics: If the exposure doesn’t let enough light reach the sensor (or film,) the image or perhaps a major portion of it will be too dark. Conversely, too much light reaching the sensor results in a blown out or overexposed shot. That is not to say that either scenario is wrong, depending on the kind of mood or style you want to achieve.

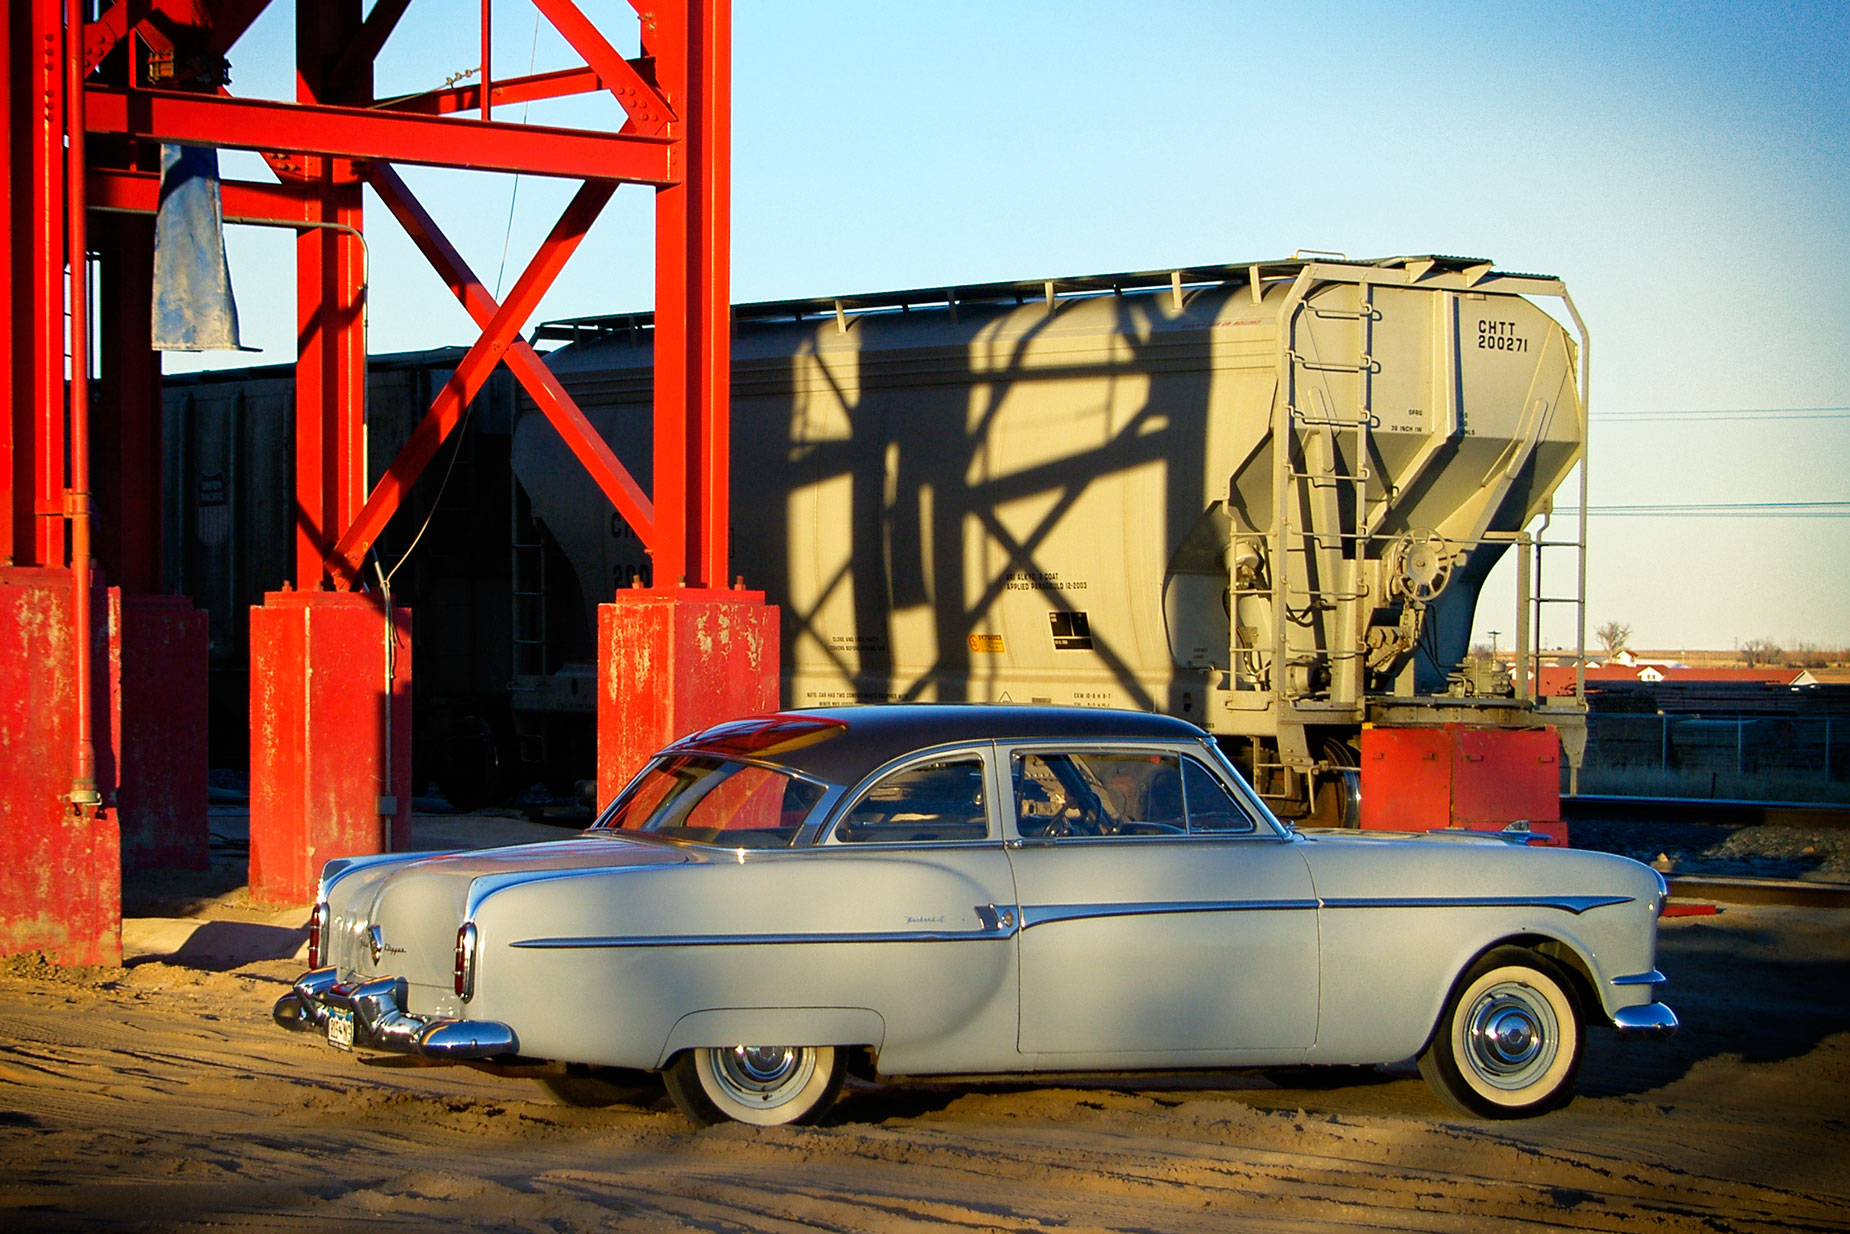
How I made this photo: The above image was shot at a railroad siding that was located near my former home. I photographed my 1953 Packard Clipper near a place that was used in the 1996 Bill Murray film Larger than Life. You can read more about this car that I loved (and Mary hated) in an Our Cars post on my car photography website.The image was made with using a (remember when they made cameras) Samsung Pro 815 with Schneider-Kreuznach zoom lens at 40mm (equivalent) with an exposure of 1/640 sec at f/2.5 and ISO 50.
Part of learning to seeing the light isn’t just looking at what you think the subject of your photograph might be but instead looking at the shadows and highlights, keeping in mind that the difference between the two determines the image’s overall contrast. That’s why sometimes you’ll hear “dynamic range” used in relation to the range of contrast in a scene.
More Basics: Accurate exposure begins by correctly setting the lens aperture and shutter speed in proper relation to each other. You can set the exposure yourself manually or let the camera do it for you. You can use the meter that’s built into your camera by simply changing the camera’s mode dial into Manual.or you can use a handheld light meter if your camera doesn’t have that ability, or maybe even if it does.
As I mentioned yesterday, for 90% of photographs that you’ll make, the automatic metering modes that are built into today’s digital cameras (and even 35mm film SLRs) do a fantastic job in producing correct exposure but it’s those last 10% that can be challenging. That’s when it’s time to shift into Manual mode. On this blog, there are lots of posts about exposure and if you like photographing cars, here’s one to start with: Correct Exposures When Shooting Cars.
 If you enjoyed today’s blog post and would like to buy Joe a cup of Earl Grey tea ($2.50), click here. And if you do, thank so very much.
Along with photographer Barry Staver, Joe is co-author of Better Available Light Digital Photography that’s available from Amazon for $21.50 with used copies starting at giveaway prices—starting around five bucks