I have written several posts about using your camera’s Manual Mode, including this Monochrome Monday post, and while these posts may be similar, they are also different. If this is a subject that you’re interested in, please use the blog’s Search function (magnifying glass icon) and type “manual mode” and the site will display all of the other posts that I have written about it.
Today’s Post by Joe Farace
Art is the most intense mode of individualism that the world has known.—Oscar Wilde
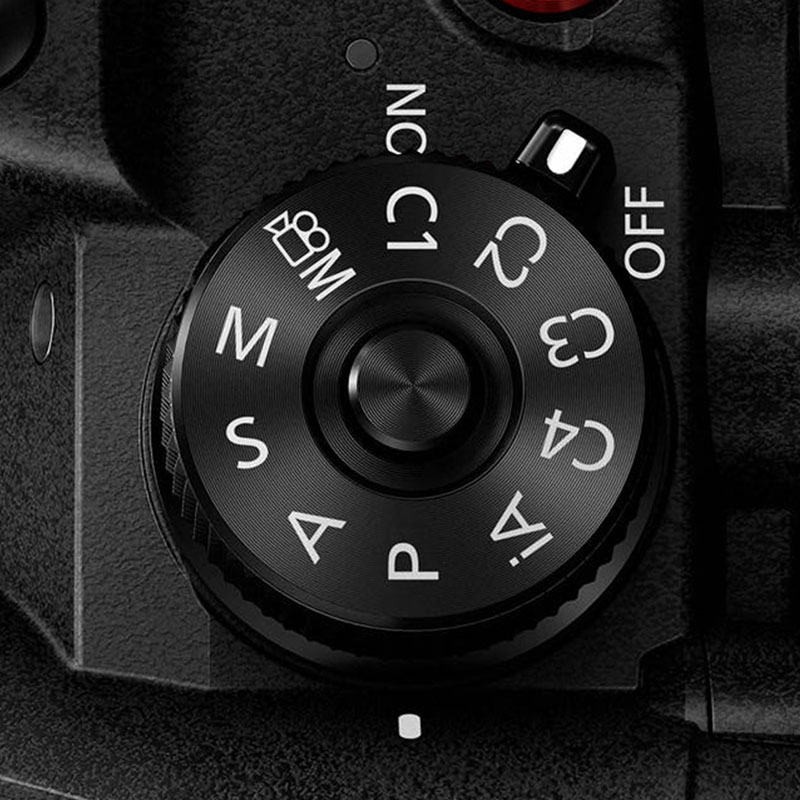
 Several years ago I taught a class on travel photography at the Palm Beach Photographic Centre filling in for a world famous travel photographer who canceled at the last minute. While the class was doing a PhotoWalk around the 50-acre Wakodahatchee Wetlands, a few of the students asked me why I was not shooting in Manual mode. I pointed to the camera’s dial, showing all its different letters and told them I prefer to use the mode that fits what I was planning on shooting. It seems that the instructor at another workshop they attended told them she only shot in Manual mode because it was the purist form of photography. I’m not a purist , I just take pictures.
Modes of Exposure
Accurate exposure obviously starts with correctly setting the lens aperture, camera shutter speed and ISO. Today’s DSLR’s and mirrorless cameras let you set the exposure manually or let the camera do it for you, including ISO. Some purists claim that manual exposure is the only mode to use and you can use either a separate hand-held light meter or the metering system built into your camera to accomplish that.
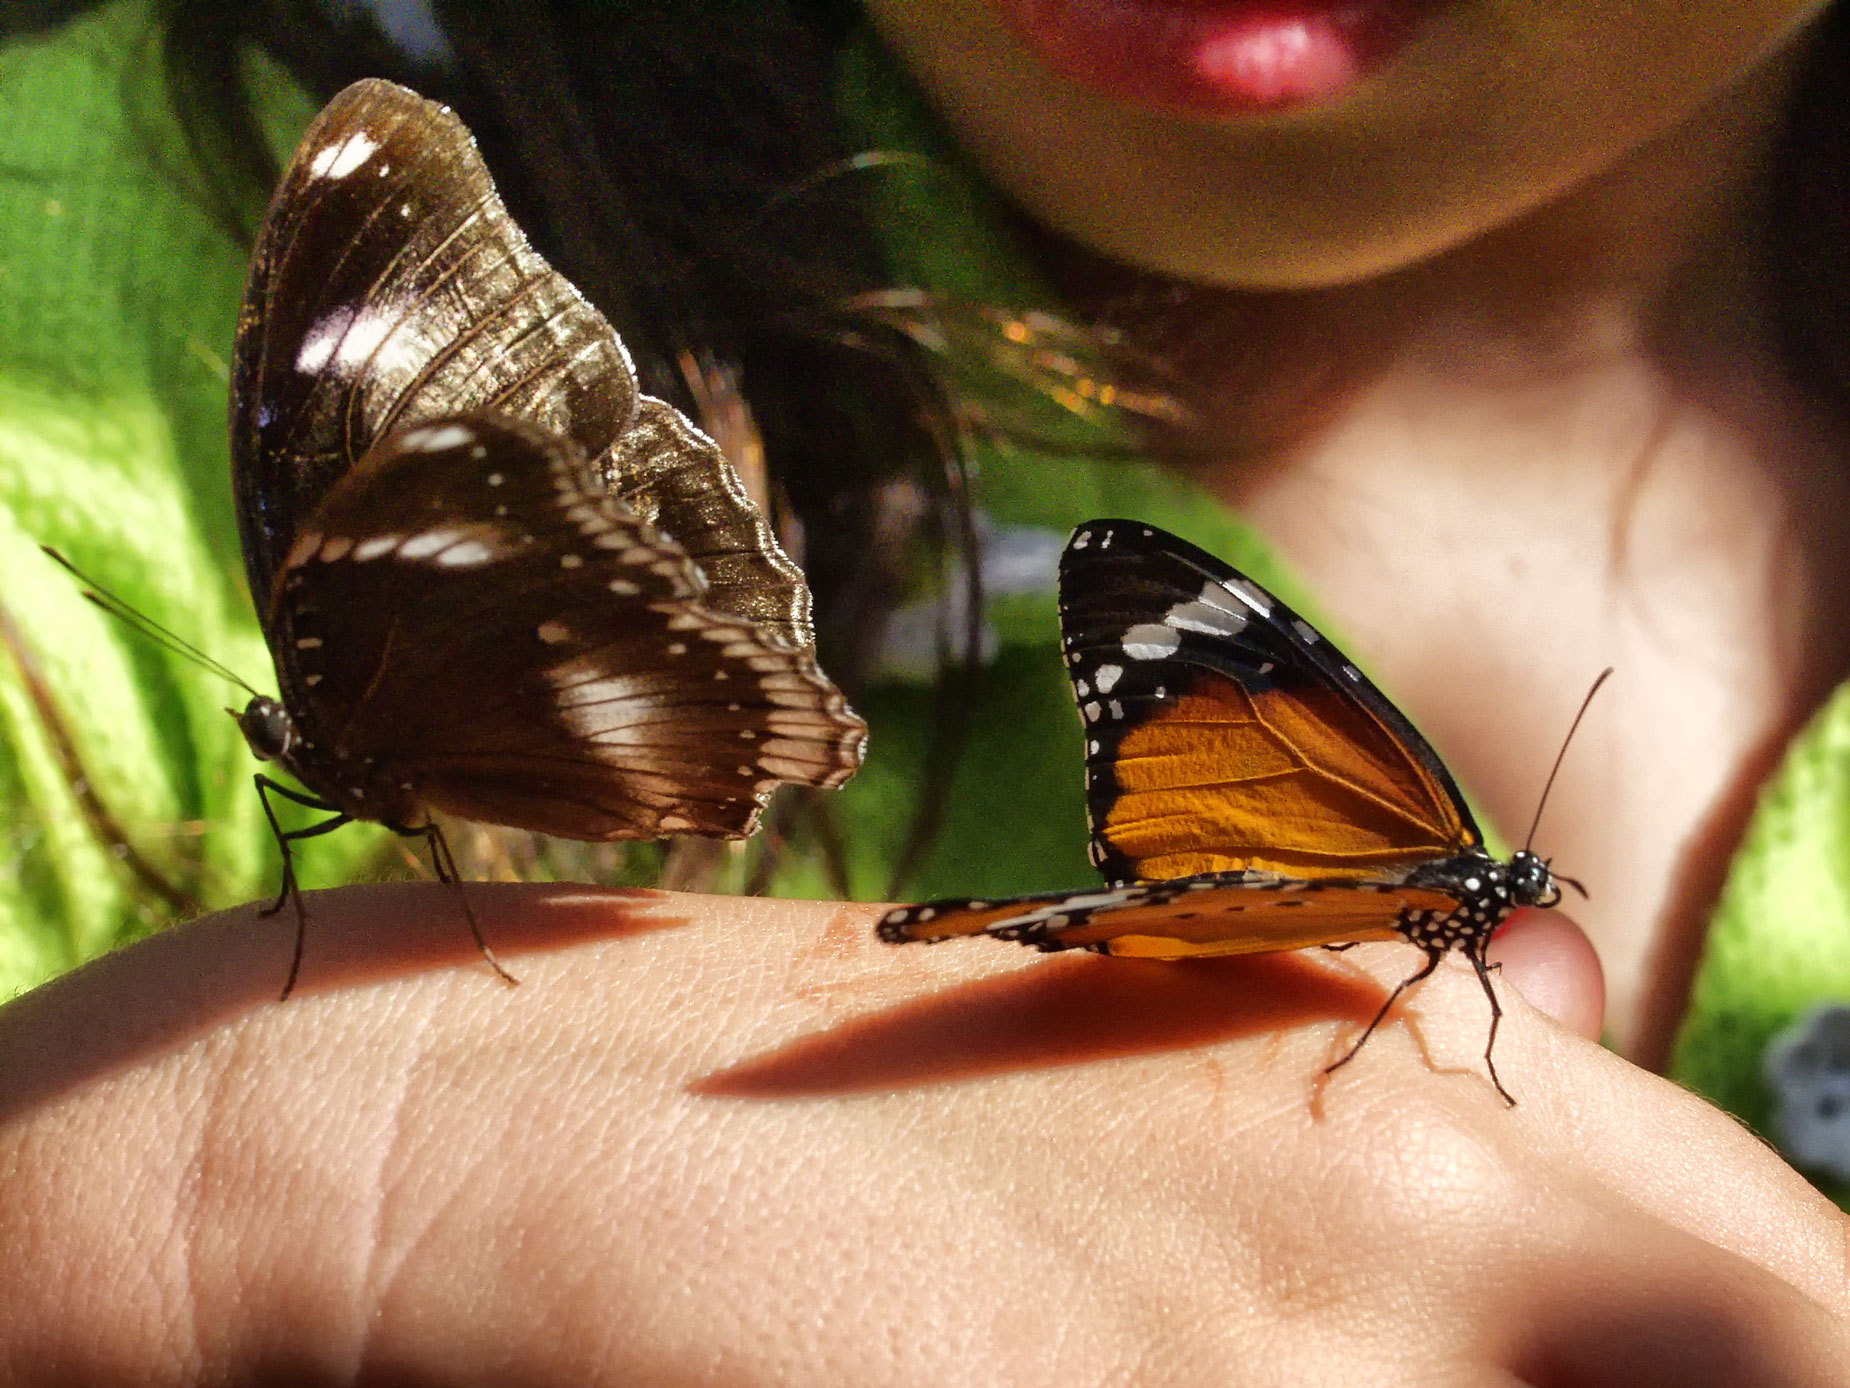
The truth is that for 90% of all of the photographs you’ll make, any one of the camera’s automatic modes will do a fantastic job in producing correct exposures but its those last 10% that’ll kill you. That’s when you need to shift into manual mode, especially when the light is at the extreme ends of brightness or darkness. Lighting situations like these extremes can sometimes confuse even the most sophisticated automatic exposure systems. That’s why manual exposure can be helpful when dealing with high subject contrast and strong side lighting such as in today’s featured image.

How I Made this Photo: I photographed this young woman at Butterfly World in Coconut Creek, Florida using an Olympus E-20 with 35-140 mm (equiv.) f/2.0-2.4 lens at 72mm. The Manual mode exposure was 1/500 sec at f/6.3 and ISO 320. This was an available light shot made in an indoor location that had extremely challenging lighting conditions with a mixture of mostly natural light with some artificial lighting. After this experience, I quickly realized that if wanted to photograph butterflies, I needed a ring light when working under this kind of lighting at Denver’s Butterfly Pavilion. In Denver, I switched to using Canon DSLRs along with the company’s MR-14EX ring light. I used manual mode because every automatic mode that I tried when photographing butterflies there didn’t work, even though the literature says the ring light works with all the camera’s automatic modes. This was clearly one of those 10% times, when it didn’t.
 If you enjoyed today’s blog post and would like to buy Joe a cup of Earl Grey tea ($3.50), click here. And if you do, thank so very much.
Along with photographer Barry Staver, Joe is co-author of Better Available Light Digital Photography that’s available from Amazon for $21.50 with used copies starting at giveaway prices—starting around five bucks.