Following up on my #tuesdaythoughts post about “Obtaining Proper Exposure” with another look at a different way of achieving a “perfect” exposure using the Substitution Method.
Today’s Post by Joe Farace
As I have mentioned before, and maybe beaten the subject to death, the number one question I’m asked In the photography workshops I’ve conducted is about obtaining correct exposure. That seems to be a concern for many people, even though modern DSLRs and mirrorless cameras gives a pretty good idea of what exposure looks like after you’ve captured an image because it’s right there on the LCD screen. Well, since you asked here’s another exposure technique that can be useful in getting it right— the Substitution Method.

How Light Meters Work
Reflected light meters are calibrated to give an accurate exposure when pointed at a subject when its reflectivity is somewhere around 18%. According to Internet sources, 18% gray is the “mid-point between black and white on a logarithmic or exponential curve.” Or as Ansel Adams states in his Zone System, it’s Zone V, Surprisingly, this value varies depending on the light meter used with some meters and cameras measuring 12% (the next most common) and others at 14%.
When using the substitution method, you place an object of known reflectance, such as a Gray Card—that’s the 18% grey as mentioned above—within the scene and take a reflected-light meter reading off the object. You can also substitute objects that match the light reflectance quality of the object in the scene. If you don’t have a gray card? When shooting film, I often take a meter reading of grass (if there was any in the scene) and open up one stop.
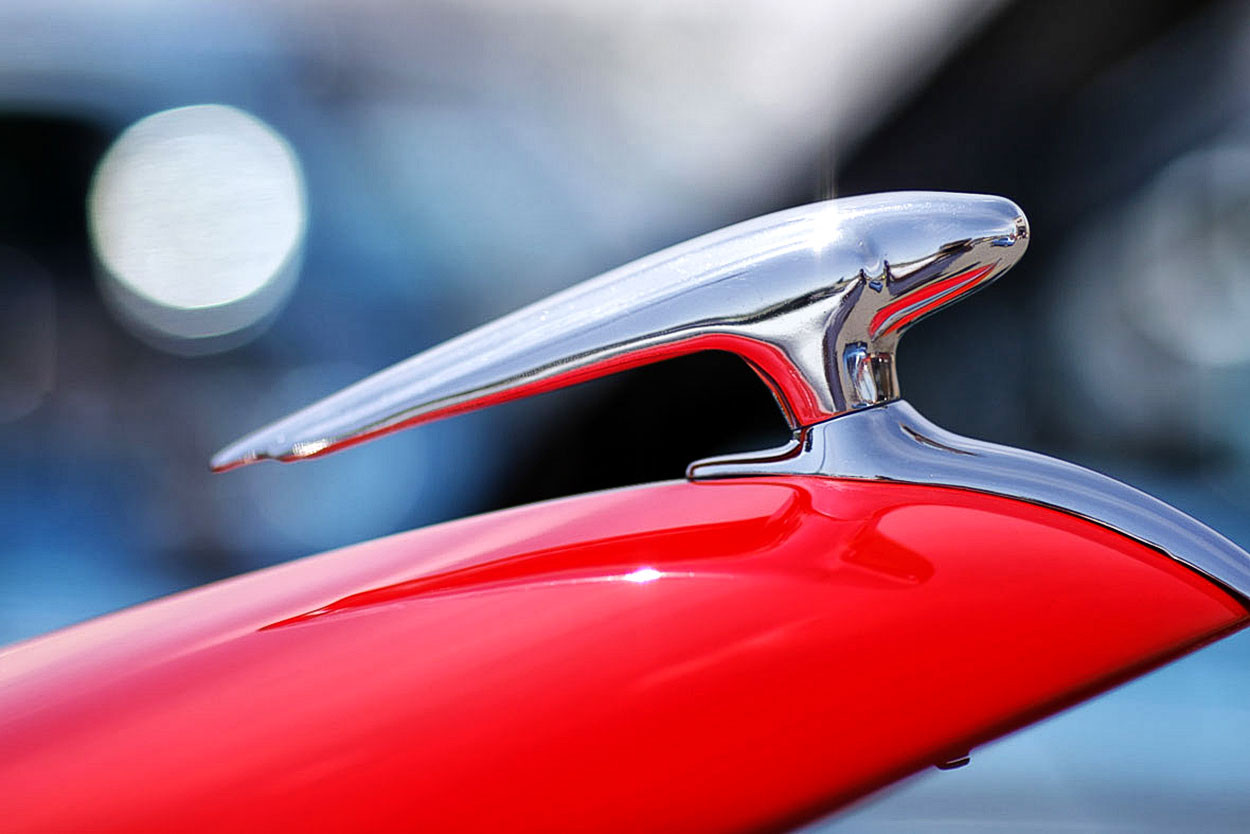
How I Made this Photo: This closeup image was captured with a Canon EOS 50D with an exposure of 1/8000 sec and f/1.6 at ISO 100. Canon’s EF 85mm f/1.2L II USM delivers good bokeh. which is generally considered to be a product of the aperture’s shape (note the almost perfectly circular out-of-focus highlight) and spherical aberration inherently produced by a lens. Is this an “onion rings” effect? I dunno. What do you think?
By (temporarily, don’t forget to remove it) placing a Gray Card in the scene to be photographed and taking a reading off of it with a handheld light meter, you can be assured of consistent exposures but be sure to read the fine print with the instructions packed with the card instead of just accepting the reading as correct. The instructions typically contain the following advice about adjusting the meter readings taken with a gray card:
- Normal subjects: “Increase the indicated exposure by ½ stop.”
- Light subjects: “for very light subjects decrease exposure by 1/ stop”
- Dark subjects: “If the subjects is dark or very dark increase the indicated exposure by one to one and one-half stops.”
How To Make Those Readings
 Not using a hand-held meter? If you’re using in-camera metering, many cameras have a feature known as Auto Exposure Lock that enables you to lock an exposure from a different place than your final camera placement and composition. After locking the exposure with a button that, depending on your DSLR or mirrorless camera, may or may not be all that conveniently located (consult your manual for specifics) you can recompose the shot while maintaining the desired exposure setting. This feature is especially useful for backlit subjects.
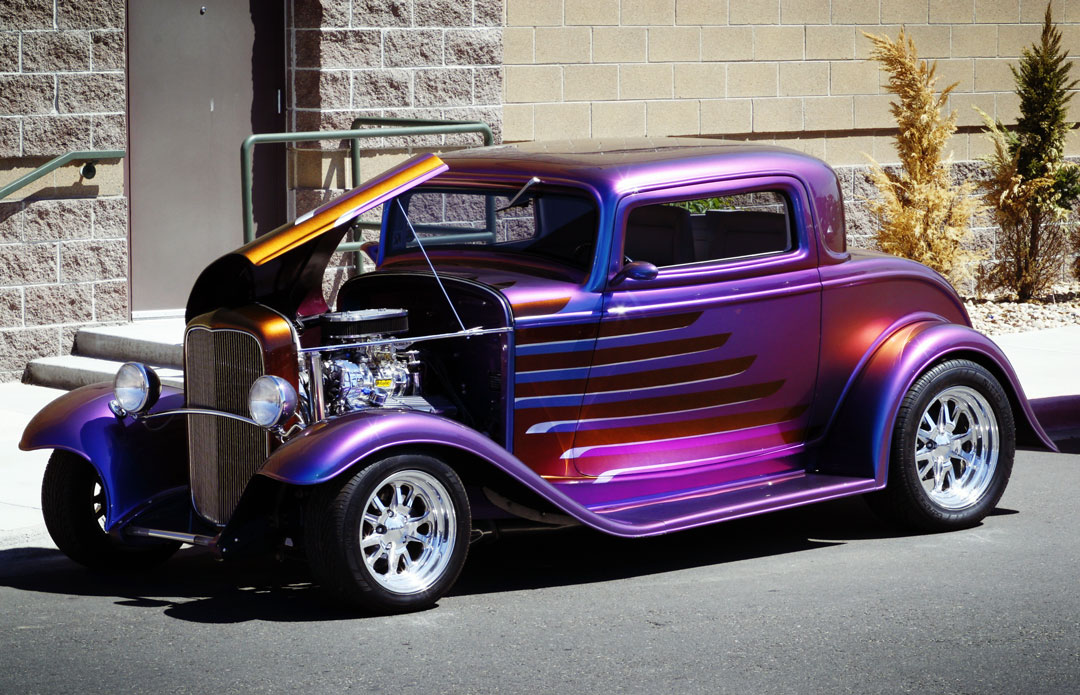
How I Made this Photo: Like most people, my friend Peter Burian considers Canon’s EF 85mm f/1.2L II USM to be a portrait lens, so I made a portrait of this hot rod. The 85mm focal length plus the EOS 50D 1.6X multiplication factor adds a nice perspective and crop to this photograph—I think so anyway. Exposure was 1/250 sec at f/14 at ISO 320 and was underexposed by minus one-third stop, using the camera’s exposure compensation control, to punch up the colors
Here’s how this feature works:
- Focus the camera
- Press the Exposure Lock button
- Recompose and take the picture. Some camera require you to continue to hold the Exposure Lock while you are making the exposure so it may feel like you need three hands, at least until you get the hang of it.
 If you enjoyed today’s blog post and would like to buy Joe a cup of Earl Grey tea ($3.50), click here.
Along with photographer Barry Staver, Joe is co-author of Better Available Light Digital Photography with new copies and used copies that are available from Amazon.