
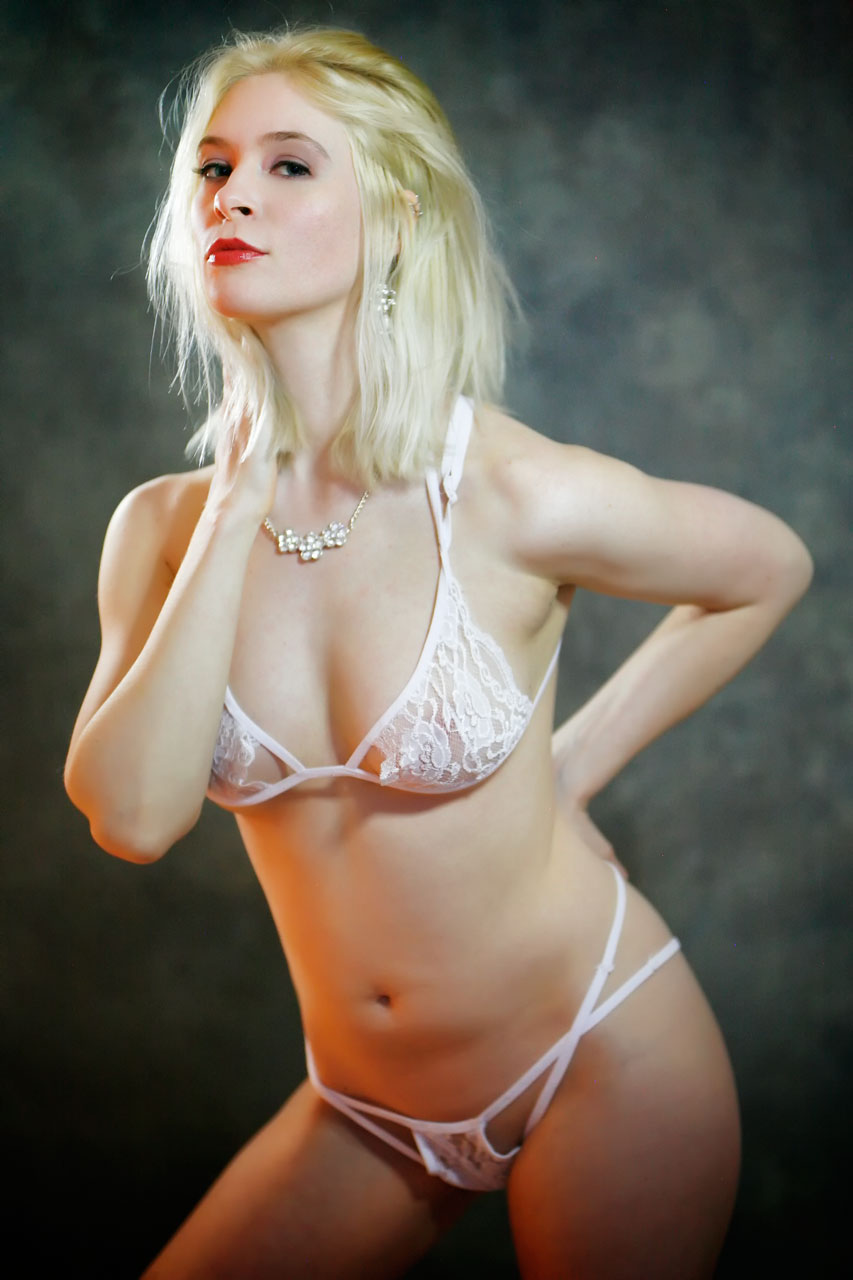
It’s #anythingcanhappenday and today’s post features the amazing Pam Simpson. This image was originally shot for a Shutterbug lighting review for their print edition and like a previous Thursday’s post, this image was not published.
Today’s Post by Joe Farace
 Most DSLRs and mirrorless cameras have a built-in monochrome capture mode with some offering what they call “scene modes.” Canon calls these effects Picture Styles including one—Nostalgia— that enhances gray tones while making the rest of the colors less vibrant producing a hand-colored look. There was a post about Picture Styles yesterday featuring that particular effect.
Color to Black & White
The reality is that you can always shoot in color and make a monochrome conversion after the fact using Adobe Photoshop or your favorite digital imaging software.
Shooting directly in black and white will impact how you see while you actually making the image and provides instant feedback helping focus your vision. For portraits, it also lets you share that vision with your subject. You don’t have to be afraid of losing the original color image because you can capture color and monochrome image files at the same time! That’s because in addition to monochrome capture, most DSLRs or mirrorless camera let you simultaneously capture RAW+JPEG files. If you set your camera for RAW+JPEG capture then select the monochrome effect you want, you’ll end up with two files: One in color (RAW) and the other in black and white (JPEG.)
These days when shooting portraits, I always use RAW+JPEG capture because the camera’s LCD provides a preview of what a black and white image will look like, which is handy for showing portrait subjects during a session. This leaves the color RAW files available to produce the finished image. Why? A black and white file only gives 256 grey tones to retouch, while the color file gives 16.7 million possible colors making subtle retouching simpler and seamless.
 Tip: These days Many digital SLRs have dual memory card slots and let you capture RAW files on one memory card and JPEG image files on the other. like to use this approach because it simplifies the TFP process I use, which involves giving models all of the JPEG files from a shoot. There is an updated post on my approach to TFP shoots coming real soon now.
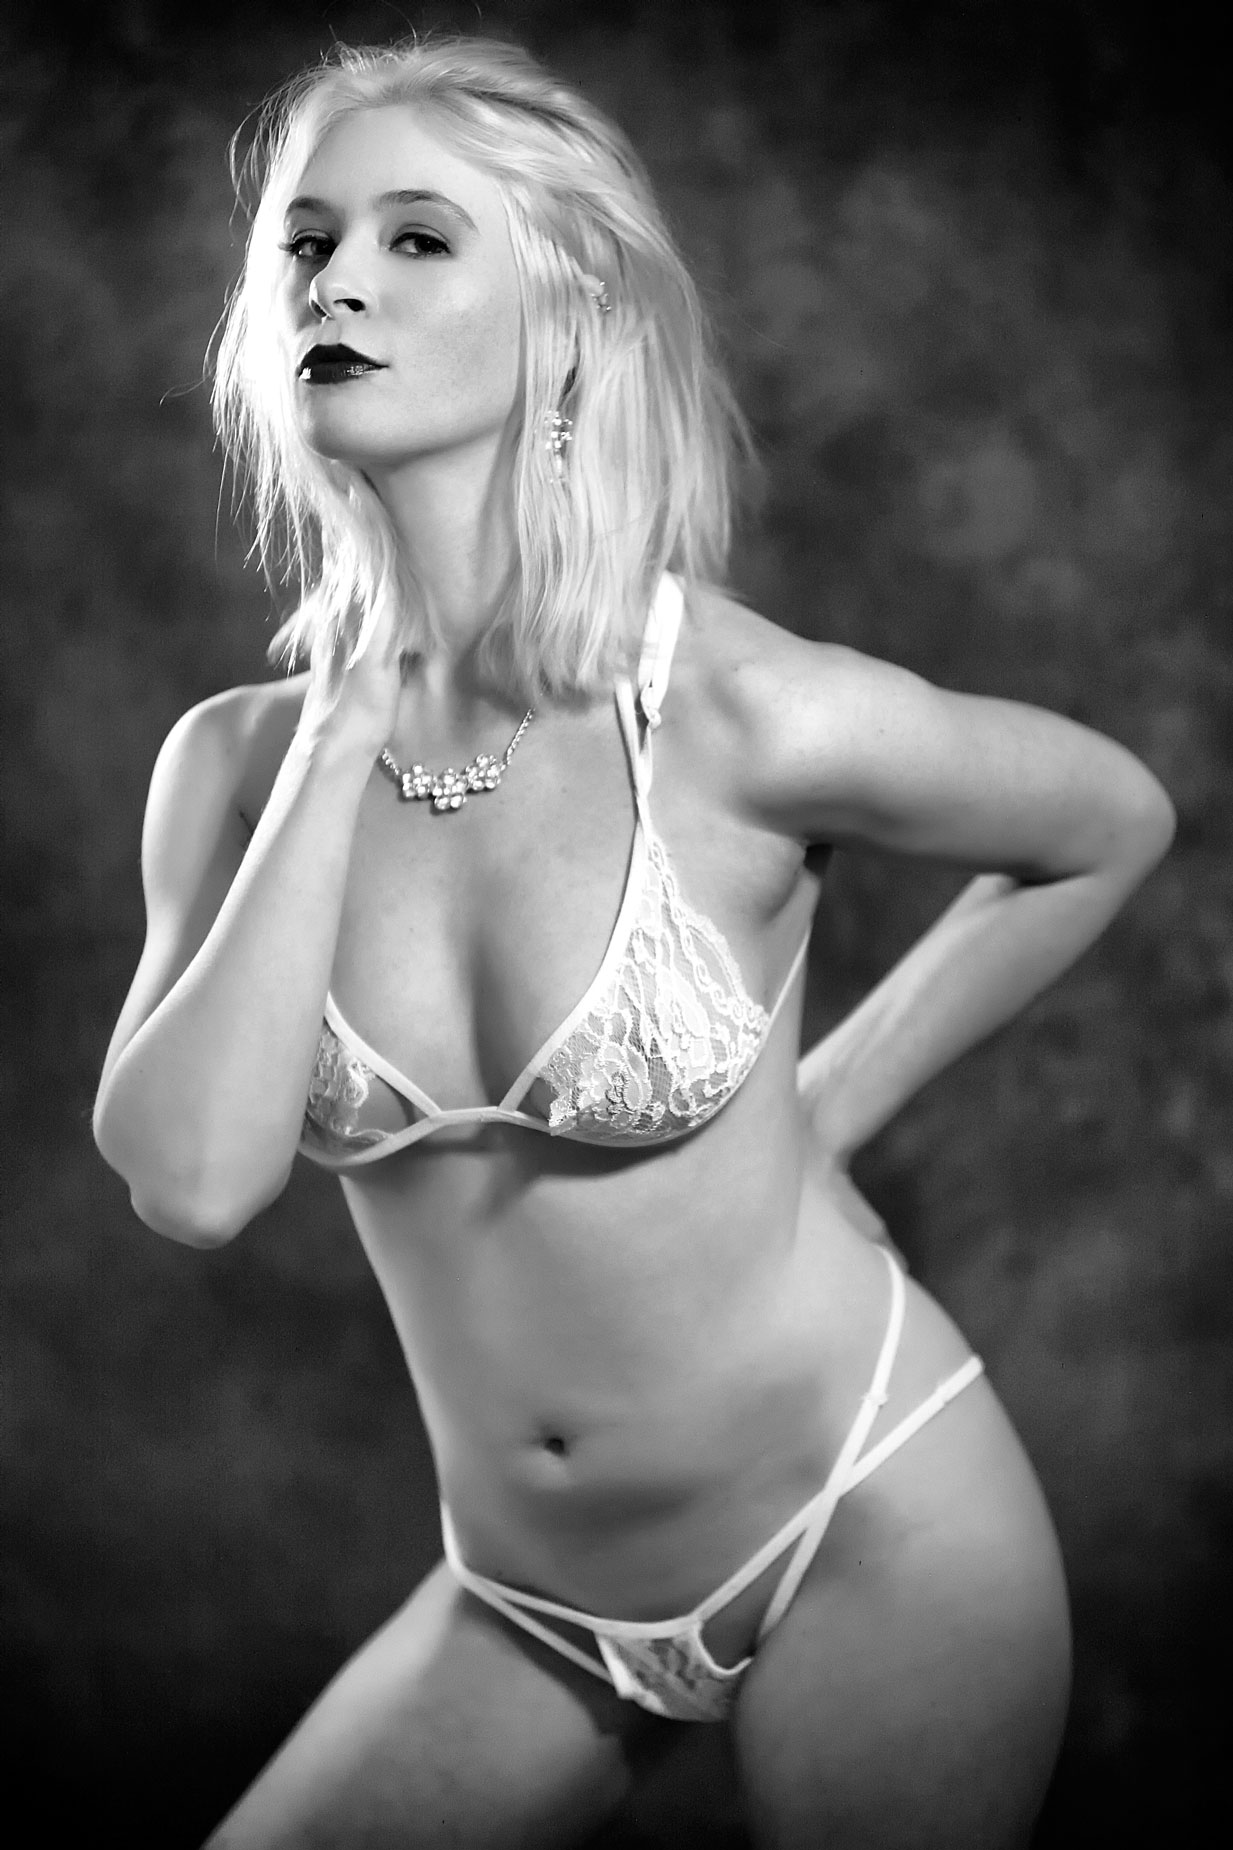
How I Made this portrait: I photographed the incredible Pam Simpson in my 11×15-foor home studio using a Rotolight NEO 2 LED light with a 30-inch translucent umbrella mounted in shoot-through mode and placed at camera right. I’ve found that some models find LED lighting to be harsh and makes them squint. Using an umbrella with the LED light, minimized that effect and softens the light while only slightly reducing it’s output. Two NEO 2 LED lights were set behind the subject at 45-degrees and were placed to highlight Pam’s blonde hair and the side of her body. All the lights were set on their maximum output; the NEO 2’s produce 2000 lux at three-feet. See “Getting Started with LED Lighting for Portraiture” for details on what “lux” means in real world terms.
The camera used was a Canon EOS 5D Mark I with EF 85mm f/1.8 lens with an exposure of 1/30 sec at f/1.8 and ISO 1600. The original color JPEG file (above right,) was made before my current RAW+JPEG regimen and was lightly retouched and converted to monochrome (at left) using Silver Efex’s High Structure (smooth) preset with the Blue filter applied. This is not a filter I typically use for portraits but I liked the way it bumped up the contrast and gave the image an old school Hollywood look.
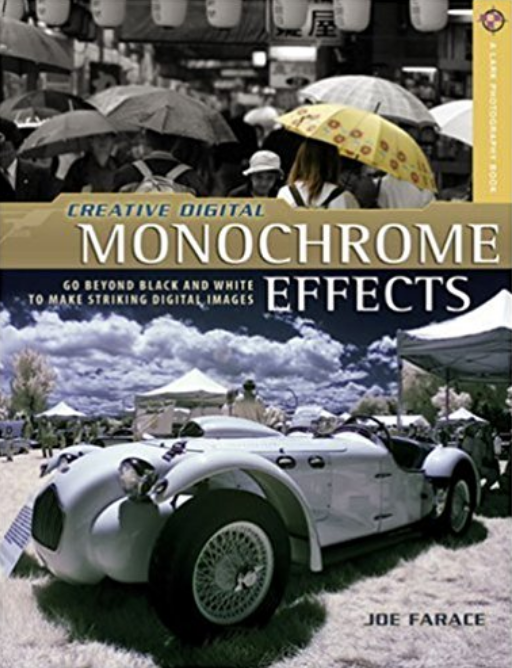
Copies of my book Creative Digital Monochrome Effects, which has many tips, tricks and techniques for monochrome conversions and effects, is available from Amazon with used copies starting around seven bucks, way less than your next coffee at a Starbucks drive-through. No Kindle version is currently available, sorry.