
It’s “Tricky Tuesday” on the blog, a way for me to share some of the tricks, tips and techniques I’ve used over the years when shooting portraits in the studio, Today’s post features Kat, one of the youngest models that I ever photographed.
Today’s Post by Joe Farace
Every artist is a walking business. Your marketing tools are your headshots and your reel. That’s what people see that’s what your out there pushing trying to get a rep and that isn’t easy.–Jay Ellis
 These day headshots are big news. Talented and innovative photographers like Peter Hurley have revolutionized the concept and have raised the once lowly headshot into what might even be called an art form.
First, a disclaimer: Today’s post showcases just one of the ways that I shoot headshots. Here is another method I’ve used that has a somewhat different approach, although it also to uses a single light.
Second, you may be asking “how is a headshot different than a portrait?” Well, according to Wikipedia: “A head shot or headshot is a photographic portrait in which the focus is on the subject’s face. The term is usually applied to professional profile images on social media, images used on online dating profiles and promotional images of actors, models, and authors.” I’m going out on a limb here and say that “headshot” is the preferred spelling for a photograph that’s a portrait of a person’s face, often from the shoulders or torso up.
Headshots Made Easier
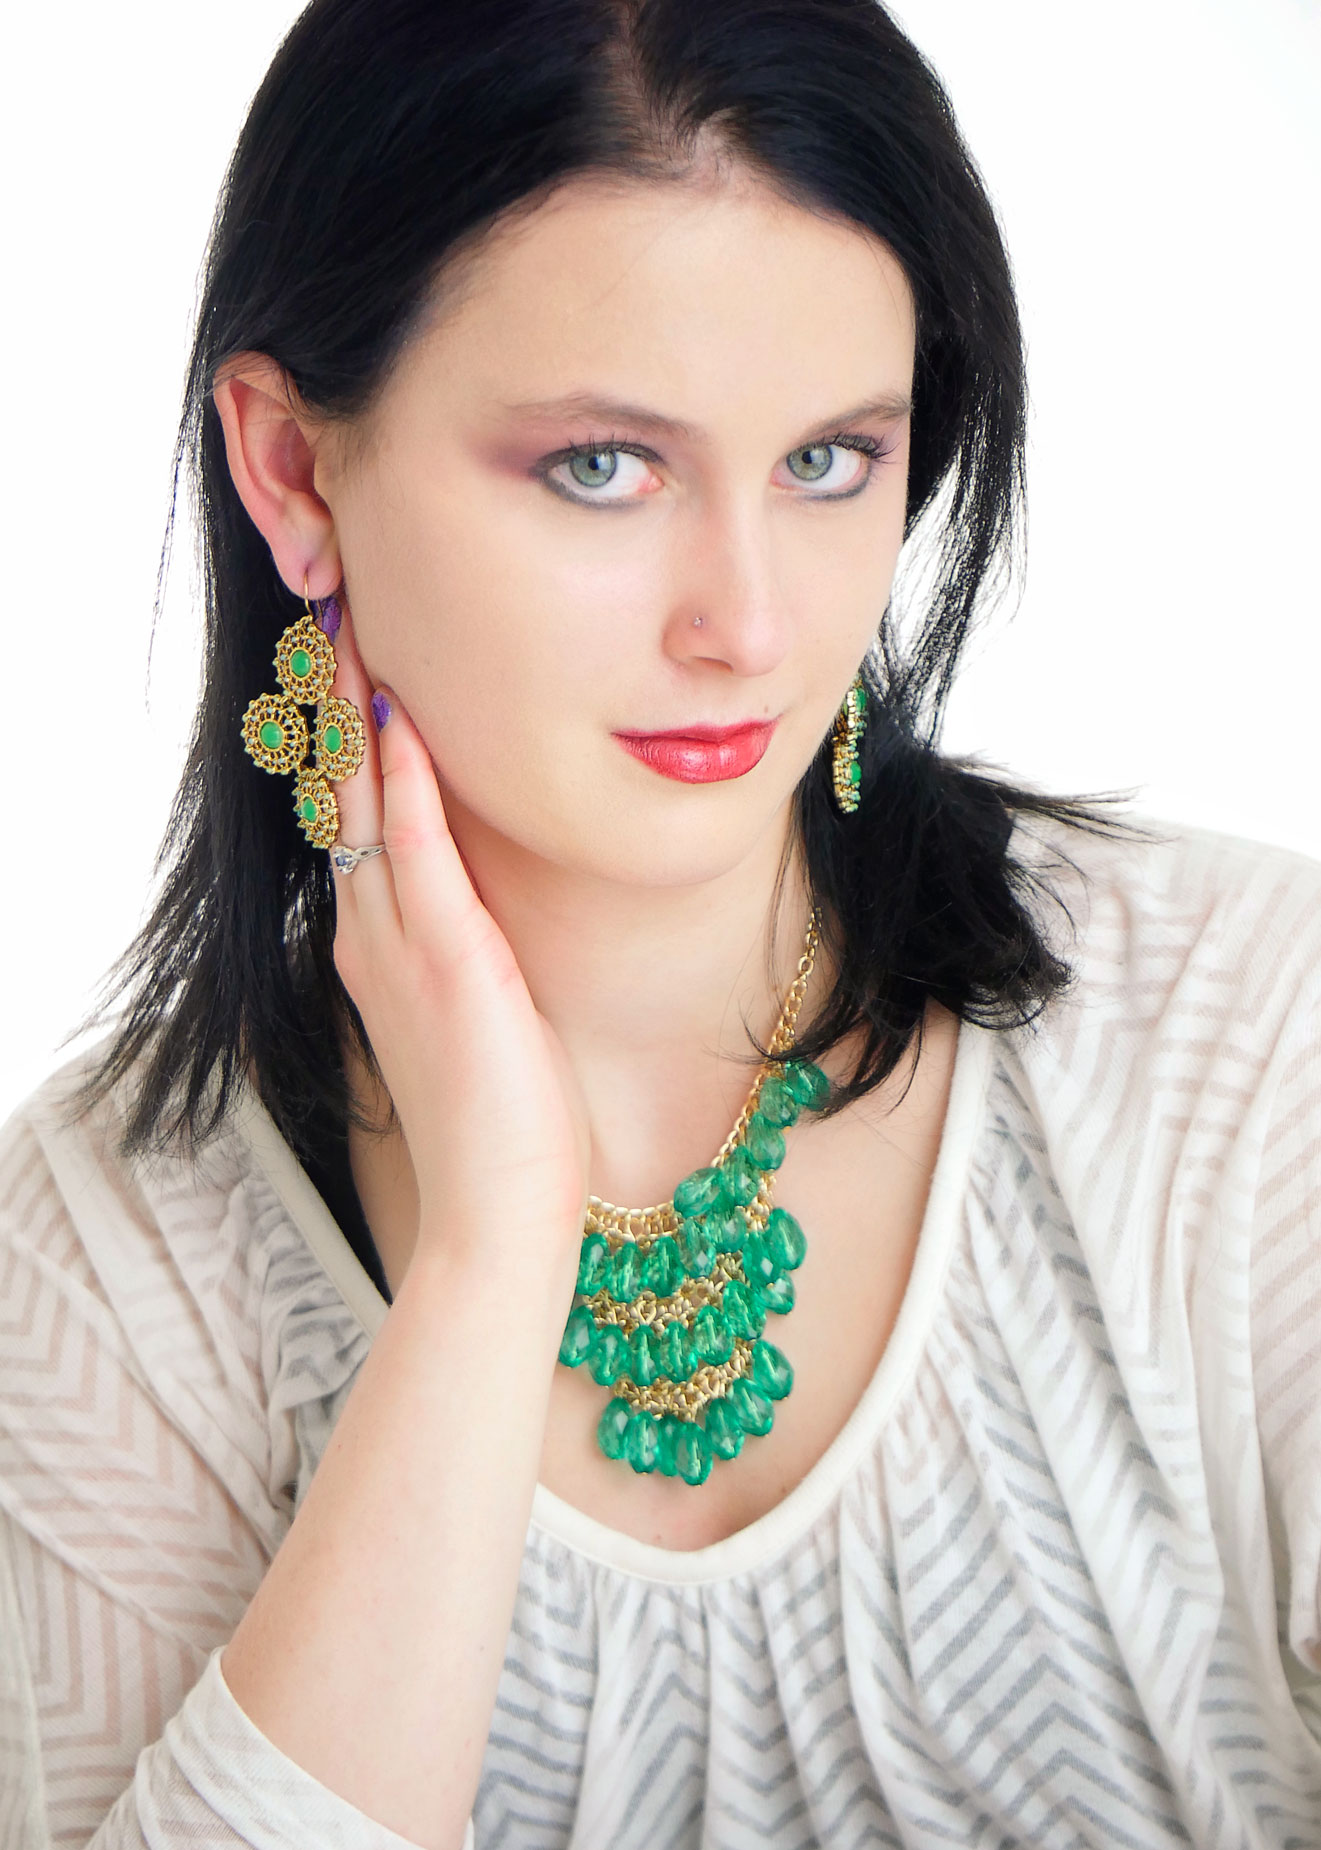 My personal approach for creating headshots is to keep it simple and today I wanted to share one of the ways I like to make them. To give the headshot a high key look, I use Savage’s Translum background that looks like frosted glass and is available in rolls of 54-inches wide by 18 feet. Translum is made of translucent Mylar and can be hung on a background stand like the JTL background stand I used here for a portrait session with aspiring model Kat
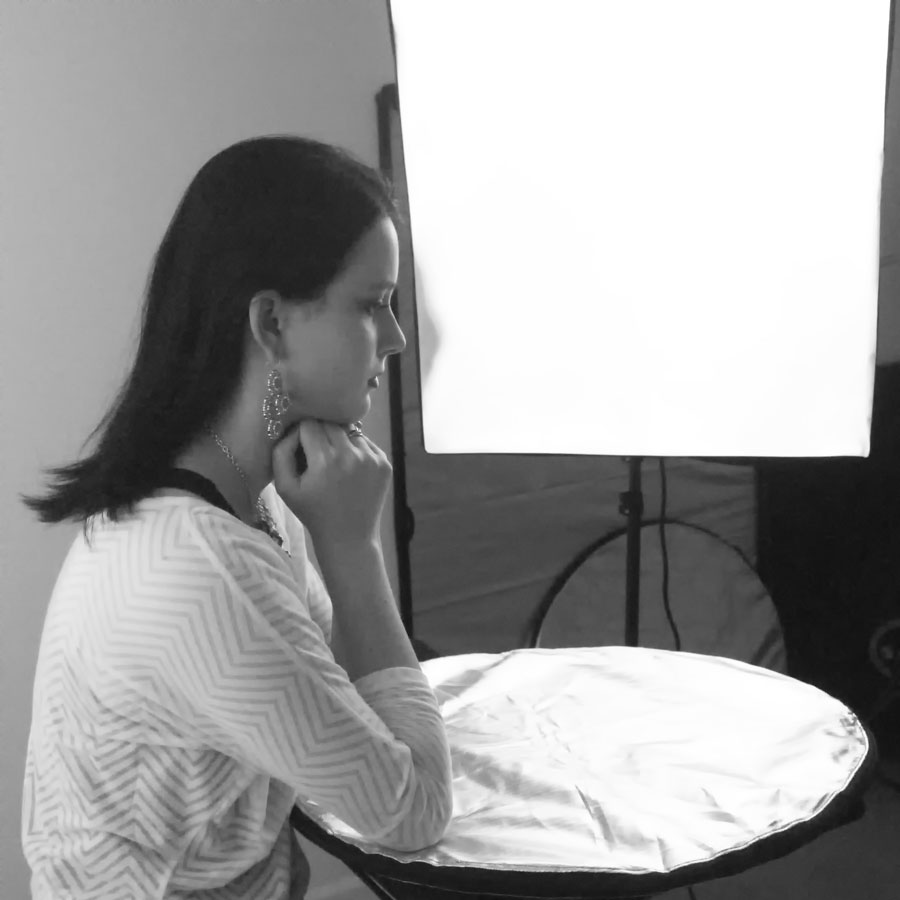
How I Made this Shot: For this casual portrait of Kat I used a 24×32-inch softbox in a Westcott D5 florescent head that was placed at camera right and fairly close to the subject. Then I placed a small, circular silver reflector atop a Savage Air Flow Tech Table that the subject was leaning on to kick some light back under the subject’s chin and add to the overall soft look of the portrait. To be fair, there was a second D5 head placed placed behind the Translum background giving the image a perfectly white backdrop that would be more difficult to accomplish with other techniques. To shoot the portrait I used my Panasonic Lumix GH4 and a Leica DG Macro-Elmarit 45mm f/2.8 lens with an exposure of 1/100 sec at f/2.8 and ISO 800 with a plus two and one-third stop exposure compensation.
For all kinds of reasons fluorescent lighting systems seem to be in short supply. But if you’re interested and want to try fluorescent lights you might want to take a look at Raya’s OC-OF7 Octa Fluorescent 7 Socket Fixture ($50) that has a seven-Edison socket base that accepts up to seven 50W CFL fluorescent bulbs.
Caveat: CFL bulbs contain about four milligrams of mercury and intact bulbs pose no health risk and release zero mercury while in use. Nevertheless, they are classified as hazardous waste. Locations, such as, my local Home Deport and Batteries Plus stores, offer recycling for these bulbs, although the batteries guys may charge you a few bucks to so so.
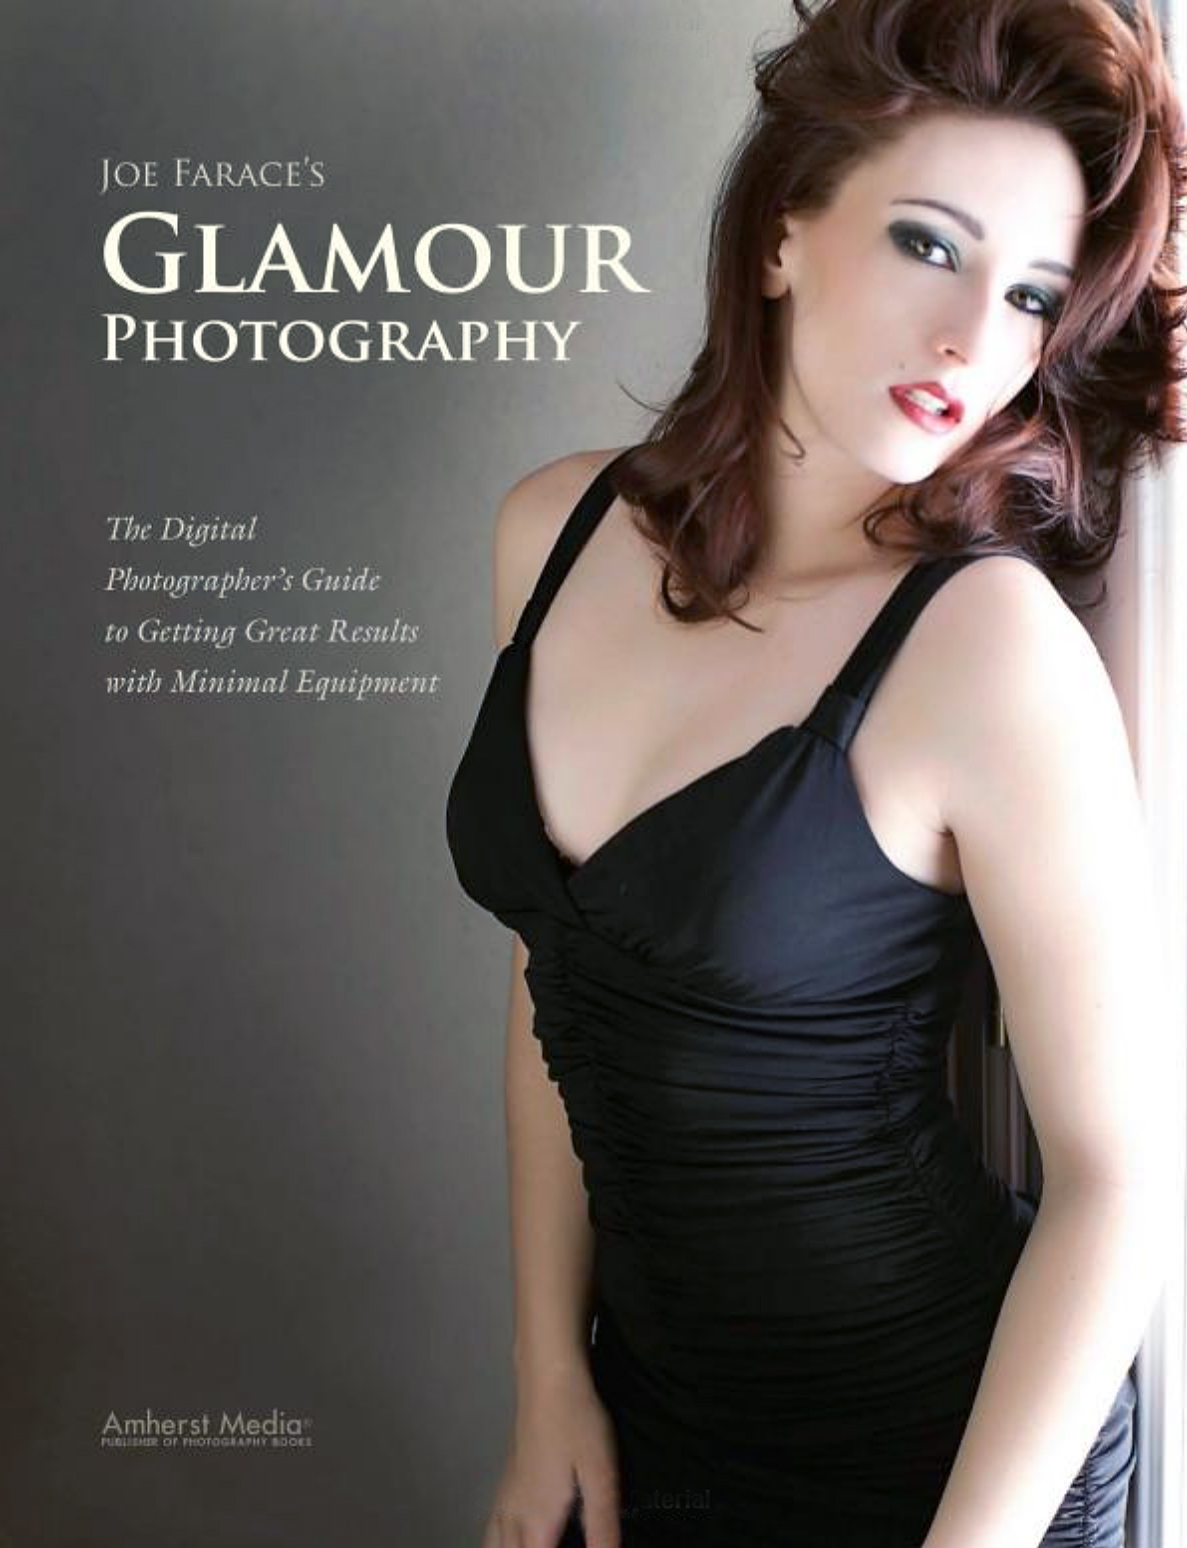
My book Joe Farace’s Glamour Photography is full of tips, tools and techniques for glamour and boudoir photography and includes information on all of the cameras used as well as the complete exposure data for each image. Used copies are $33.65.as I write this. The Kindle version is $19.99 for those preferring a digital format