Today’s Post by Joe Farace
“What I like about photographs is that they capture a moment that’s gone forever, impossible to reproduce.” – Karl Lagerfeld
 Ansel Adams once famously said that the difference between a good picture and a bad one was “knowing where to stand.”
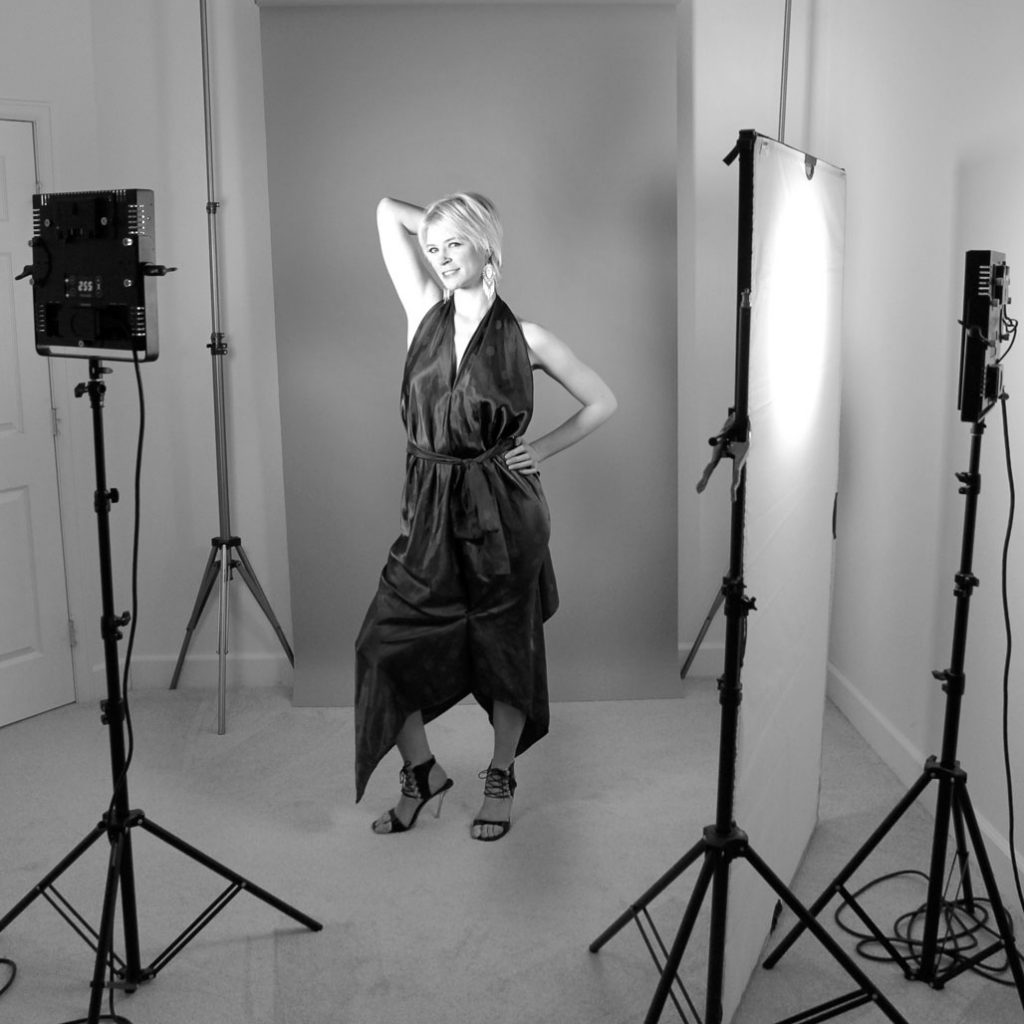
For studio photography you can add to that statement that the difference is also in knowing where to place the lights. And it doesn’t have to be complicated. Here’s what I did for a casual portrait shoot with Pam Simpson, when I was testing two LED light panels for Shutterbug. Let me show you what I mean…
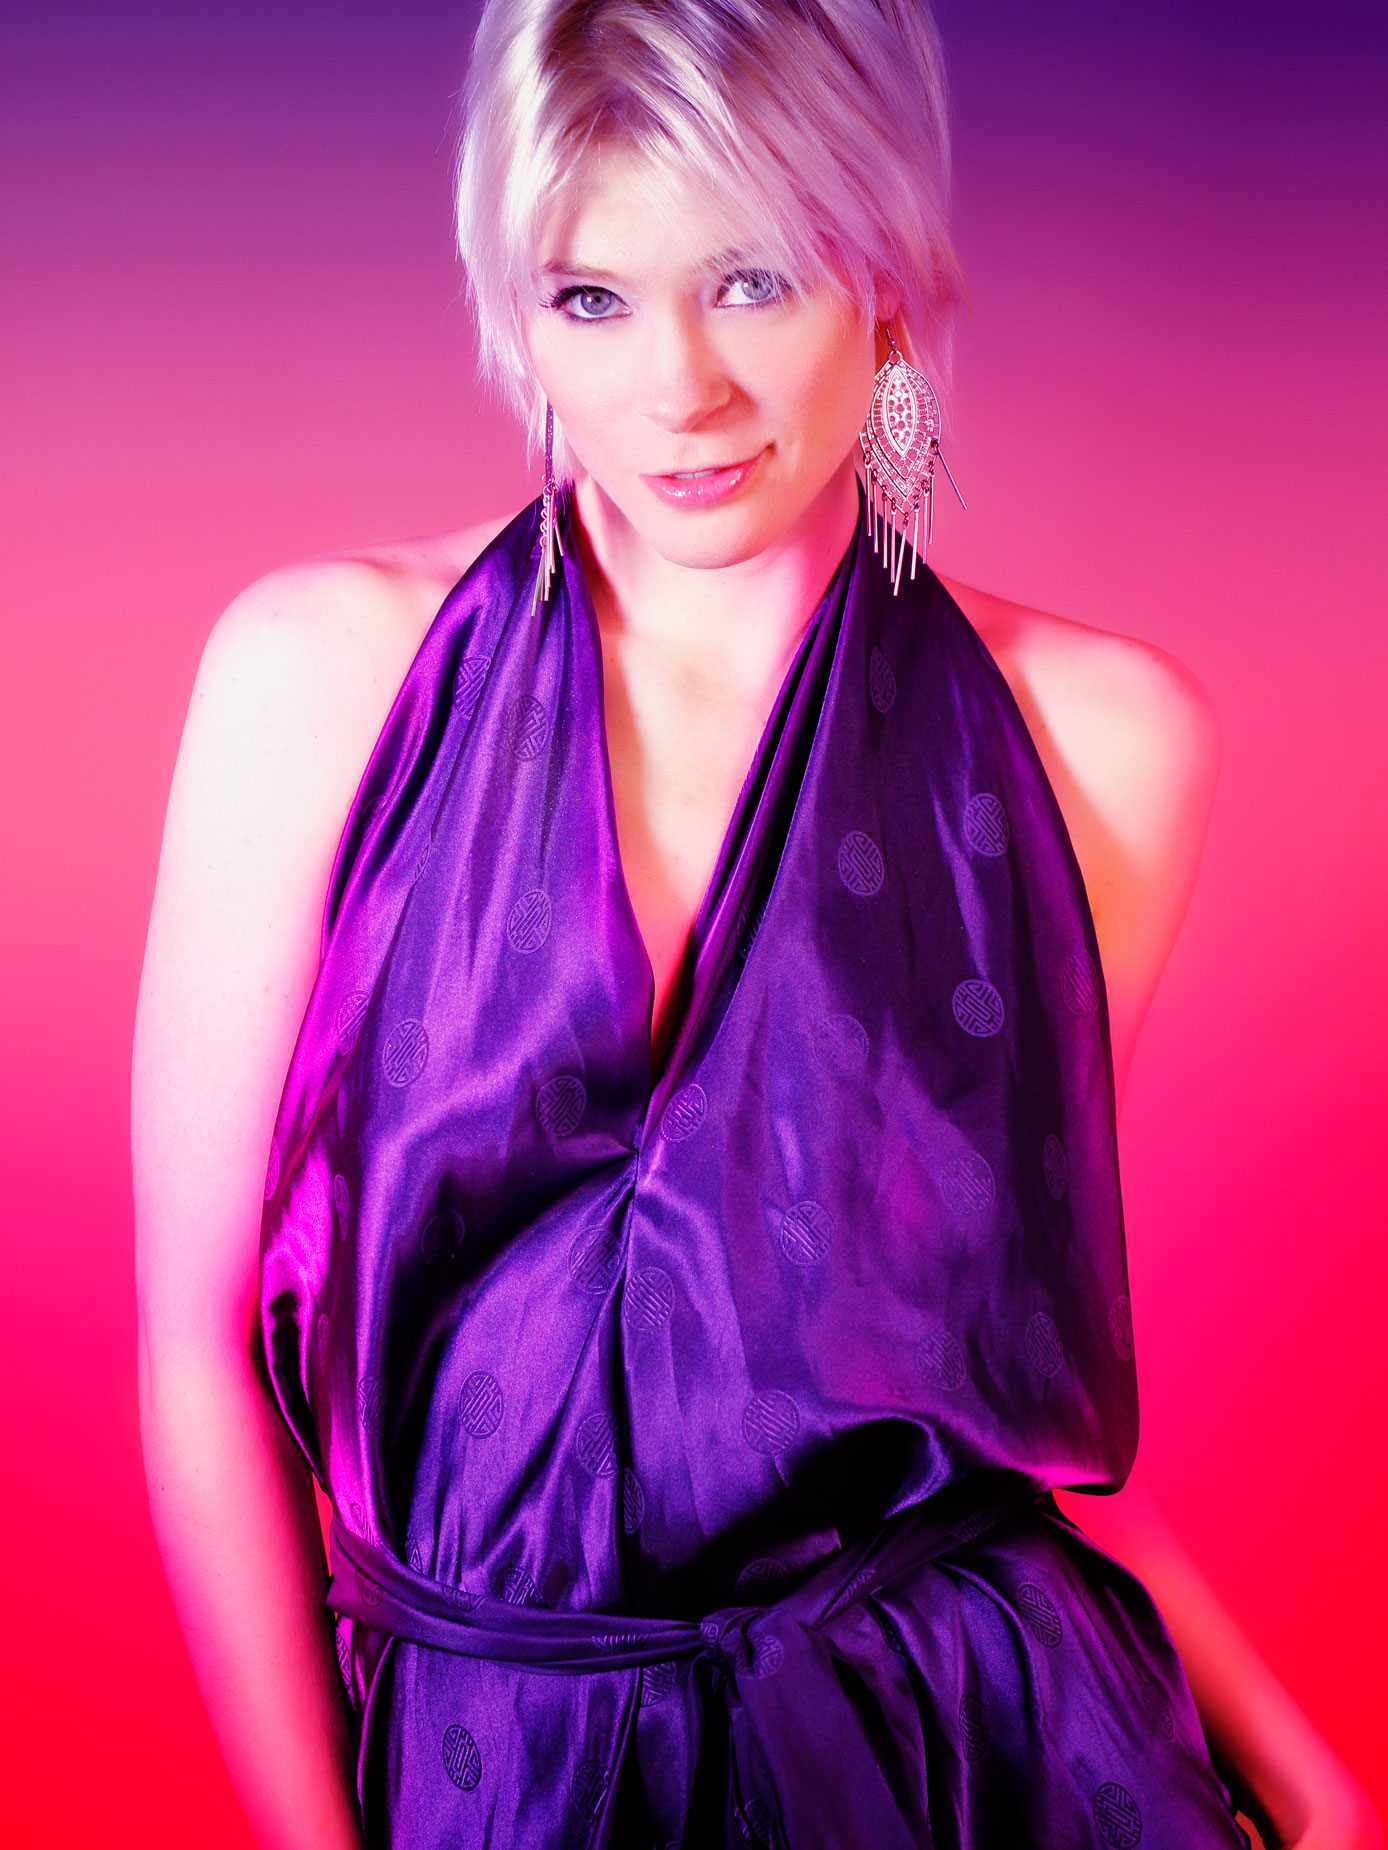
How I made this portrait: This lighting set-up shown above right was designed to mitigate any potential shininess caused by the subject’s makeup. At camera right there’s a 42 x72-inch Westcott Scrim Jim panel (Now Scrim Jim Cine) covered with Full Stop Diffusion fabric and an LED light placed directly behind it. A second LED light panel was placed at camera left and used for fill.
 After retouching, I used the Bi-Color User Defined filter that’s part of Color Efex Pro to punch up the image and that was layered with the Glamour Glow filter to produce the final look that you see here.
If you enjoyed today’s blog post and would like to buy Joe a cup of Earl Grey tea ($2.50), click here.
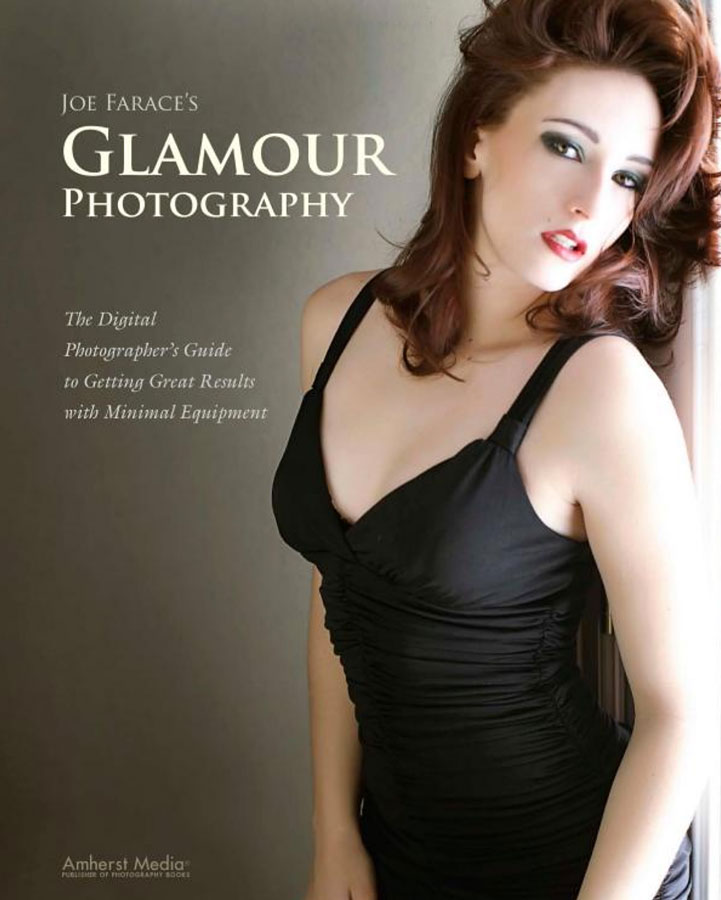
My book Joe Farace’s Glamour Photography is full of tips, tools and techniques for glamour and boudoir photography with new copies available from Amazon for $34.95, as I write this. Used copies start at the hard-to-beat price price of $9.99 and the Kindle version is $19.99 for those who prefer a digital format.
