Today’s Post by Joe Farace
“You know me, I think there ought to be a big old tree right there. And let’s give him a friend. Everybody needs a friend.”― Bob Ross
 Back in the film days, there were several ways you could capture images. You could shoot color negative or slide film or you could use black and white film that would let you create an entirely different version of that same photograph. To your eyes the original scene might look the same but your interpretation would vary based on the kind of film you loaded into the camera. That’s why medium format cameras like the Hasselblad 500CM with its interchangeable back were so popular. When we owned our studio Mary and I often used this as a selling point when pitching clients who needed both monochrome and color images for a assignment.
My Three Reasons…
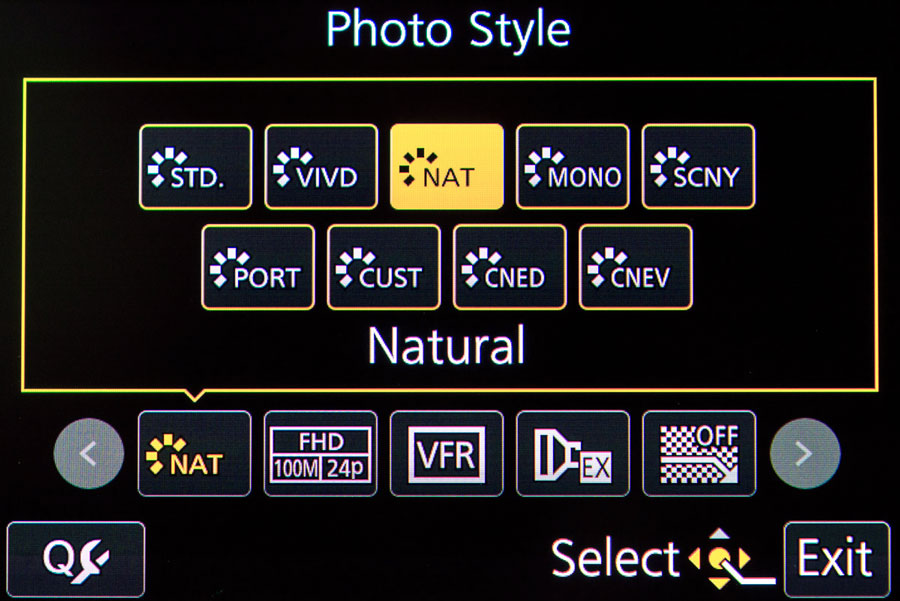
Nowadays, most DSLRs and mirrorless cameras offer several options for monochrome capture and some even offer a palette of toning you can apply. Here are a three reasons why monochrome may be a good idea for some kind of images:
 Aesthetics: Sometimes too much color in an image confuses the viewer and removes the focus from the real subject of the photograph. Capturing images in black and white impacts how you see while you’re shooting and allows you cjeck what you’re trying to accomplish on your camera’s preview screen. You don’t have to wonder what a color shot will look as monochrome; it’s already there in black and white!
Workflow: If you want to make prints on-site or drop the memory cards off at a local lab, capturing the file directly in black and white saves time. There’s also many ways to use software and Photoshop-compatible plug-ins to produce great looking black and white images from color files. I even wrote a book about it called Digital Monochrome Special Effects,)\
Feedback: One of my favorite tricks is to shoot using RAW+JPEG capture, with the camera’s Monochrome mode selected. This approach produces two files: A color RAW file and a black and white JPEG that’s used for evaluation on the camera’s preview screen during the shoot with a color RAW file saved for processing later. And multi-card slot cameras make keeping these files separate a breeze.
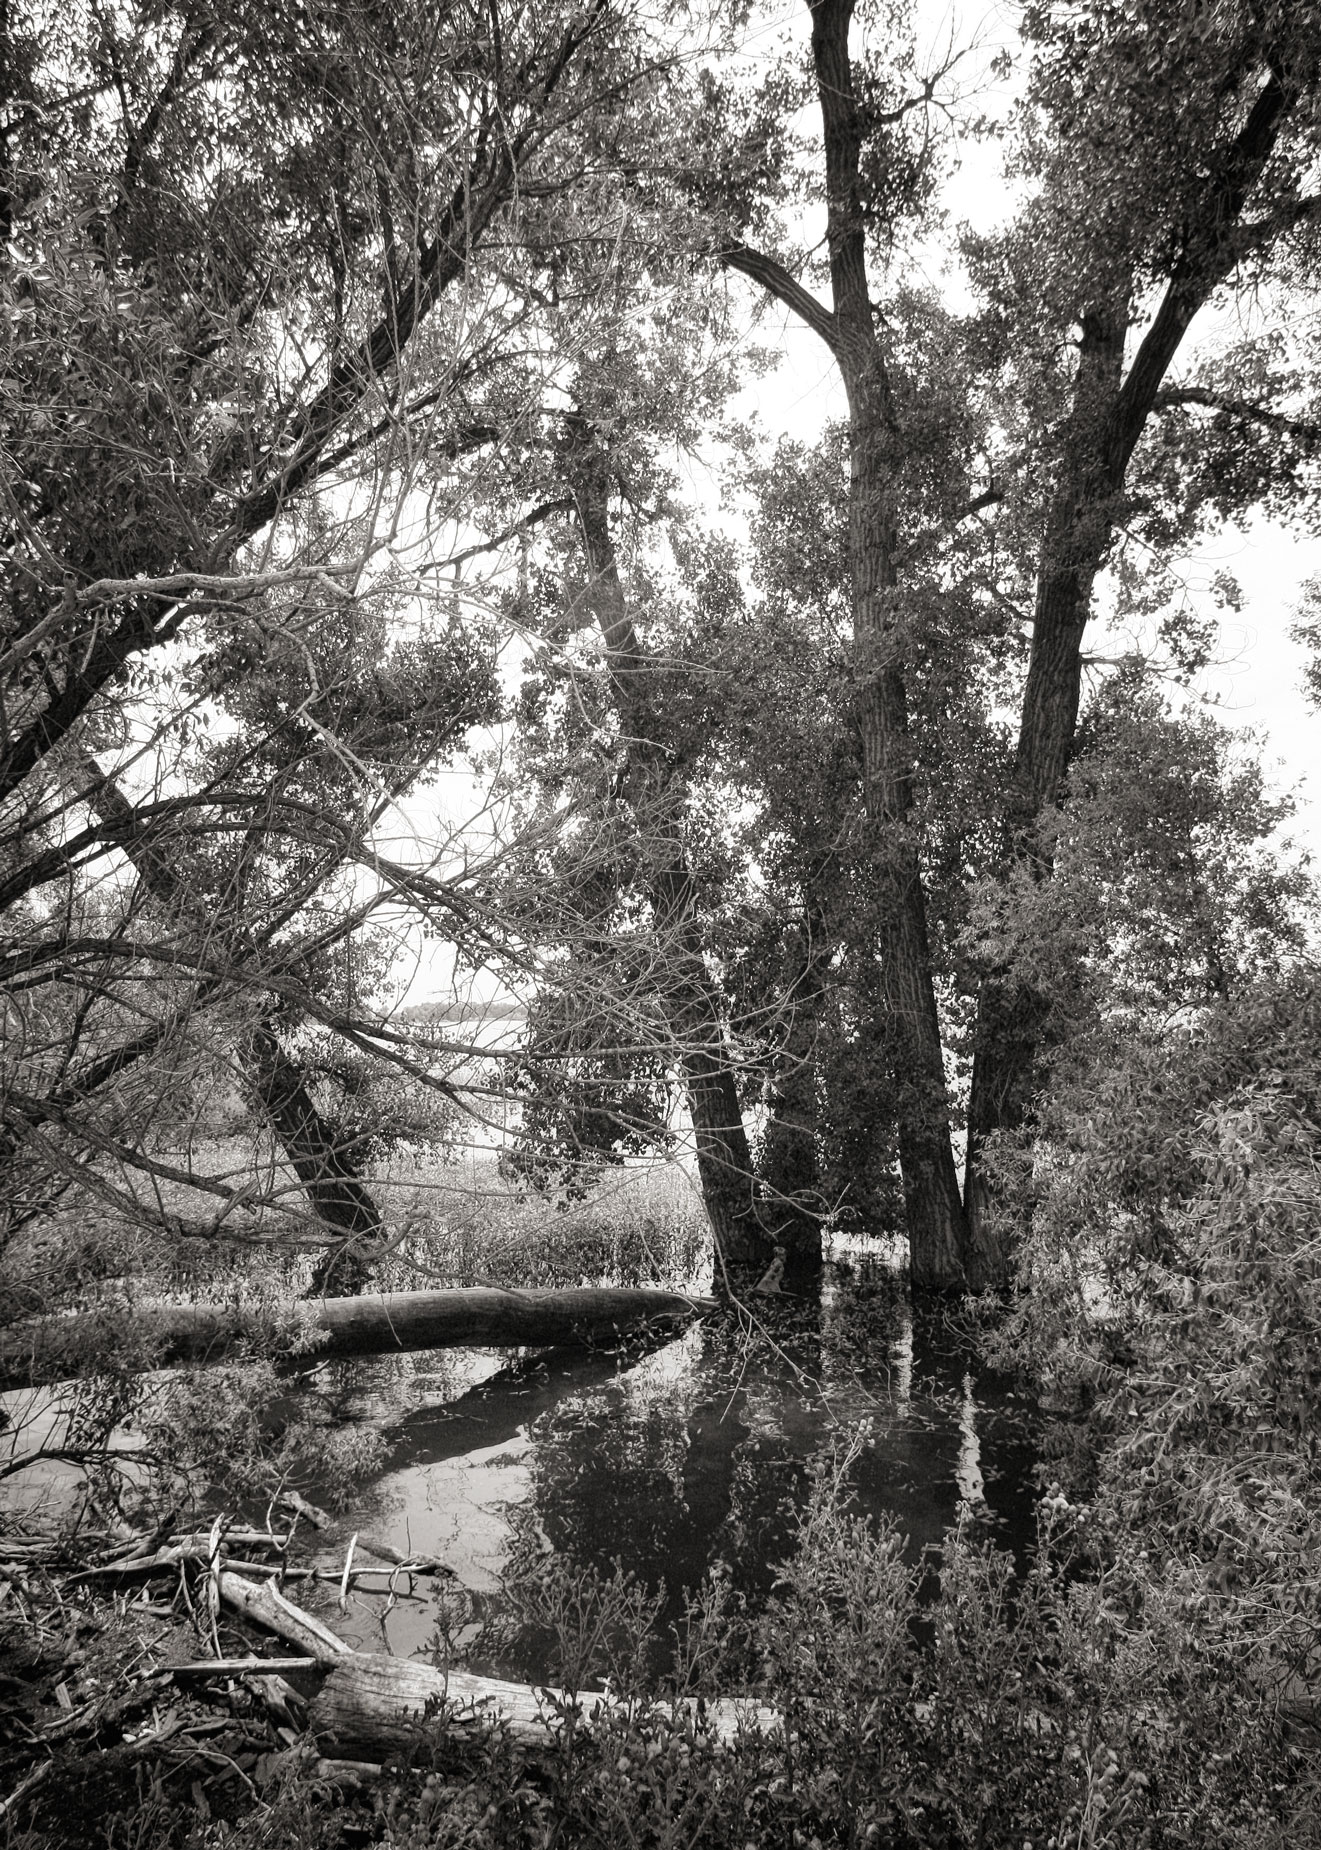
How I Made this Photograph: This image was made in Barr Lake State park, in one of the swampy areas of the park. The camera used was a Canon EOS 1D Mark II N with the EF16-35mm f/2.8L USM lens at 16mm. The exposure was 1/250 sec at f/8 and ISO 250 with a minus two-thirds stop exposure compensation. It was shot in the camera’s monochrome/sepia mode but I took the image file into Silver Efex and then applied the Full Spectrum (harsh) preset. Next I used PhotoKit’s toning option and added a Platinum tone followed by a lit application of the Glamour Glow filter, mainly because I though it might add a bit of magic from a Midsummer’s Night Night’s Dream. The final image was topped of by some burning and burning from PhotoKit,
That’s not to say that the best way to capture monochrome images is in-camera. This approach is just another tool I use when creating infrared landscapes and monochrome portraits too. Everyone’s workflow is different so it’s always best to do what works for you.

If you enjoyed today’s blog post and would like to treat me to a cup of Earl Grey tea ($2.50), please click here. And if you do, thanks so much.
My book Creative Digital Monochrome Effects is available from Amazon and (I think, anyway) is a fun read. There’s even a chapter on infrared photography. It’s available for $11.46 but bargain shoppers can pick up used copies starting for less than four bucks. No Kindle version is available at this time.