This is a special Holiday Week here on the Blog! This week there’s not only July 4, Independence day but also some other special days. For example. July 2 is Mary and my 43rd wedding anniversary. Then July 3rd is my sister’s birthday. So let’s all celebrate the beginning of a new month!
Today’s Post by Joe Farace
“I am an artist, the track is my canvas and the car is my brush.”- Graham Hill (1929-1975), one of my racing heroes and Formula One World Champion twice, winning in 1962 and 1968
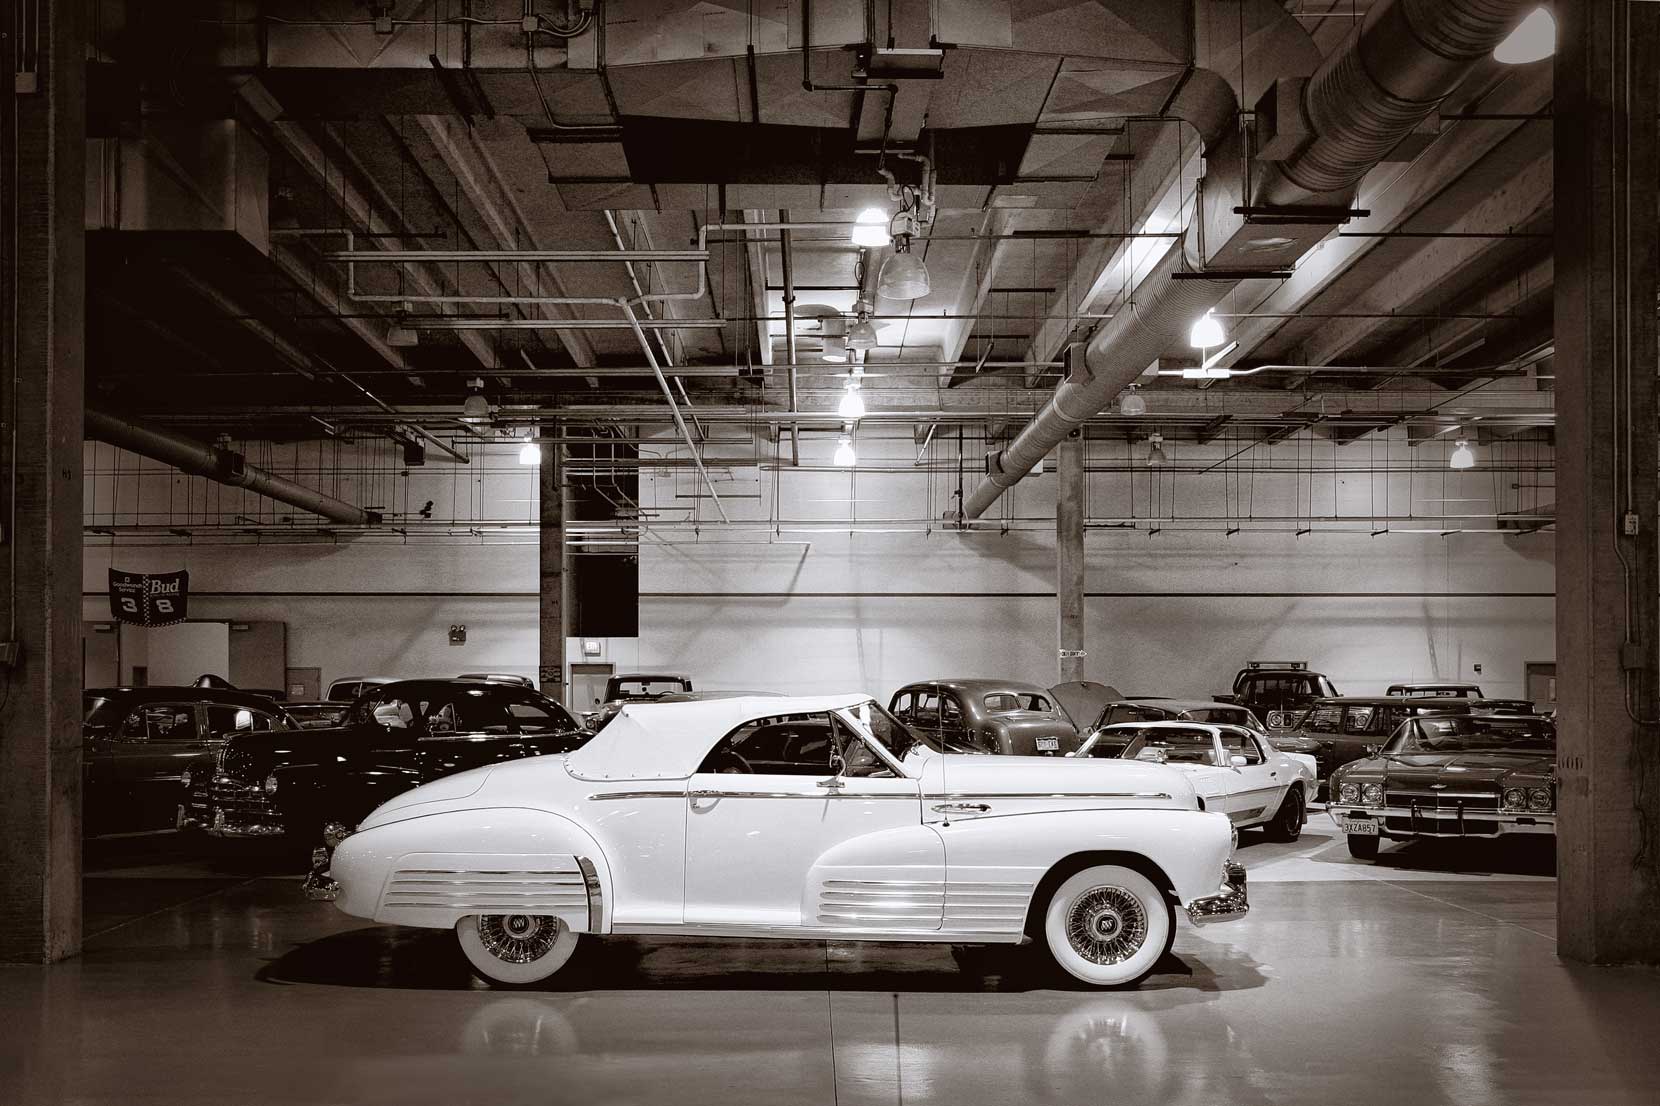
 Proving that you can, in fact, change your tune, Paul Simon changed the lyrics of his 1973 hit Kodachrome from the original lyrics of “…everything looks worse in black and white.” On August 15, 1991, when performing the song at a concert in Central Park, everything looked “better in black and white.” I happen to agree with him.
Making Monochrome Images
There are lots of ways to create monochrome digital images and the easiest way to create a black and white digital image is in the camera at time of capture. Many mirrorless cameras and DSLRs have built-in monochrome modes and some, like Canon. even have modes that enhance gray tones while making the rest of the colors look less vibrant producing an old-fashioned even hand-colored look. If you’re worried about losing that color original image, why not shoot in RAW+JPEG mode with the camera set in Monochrome mode. That way you’ll simultaneously capture two files: A color RAW file and a black & white JPEG. If you originally captured a color image file, there are lots of software available to convert that image if you change your mind later.
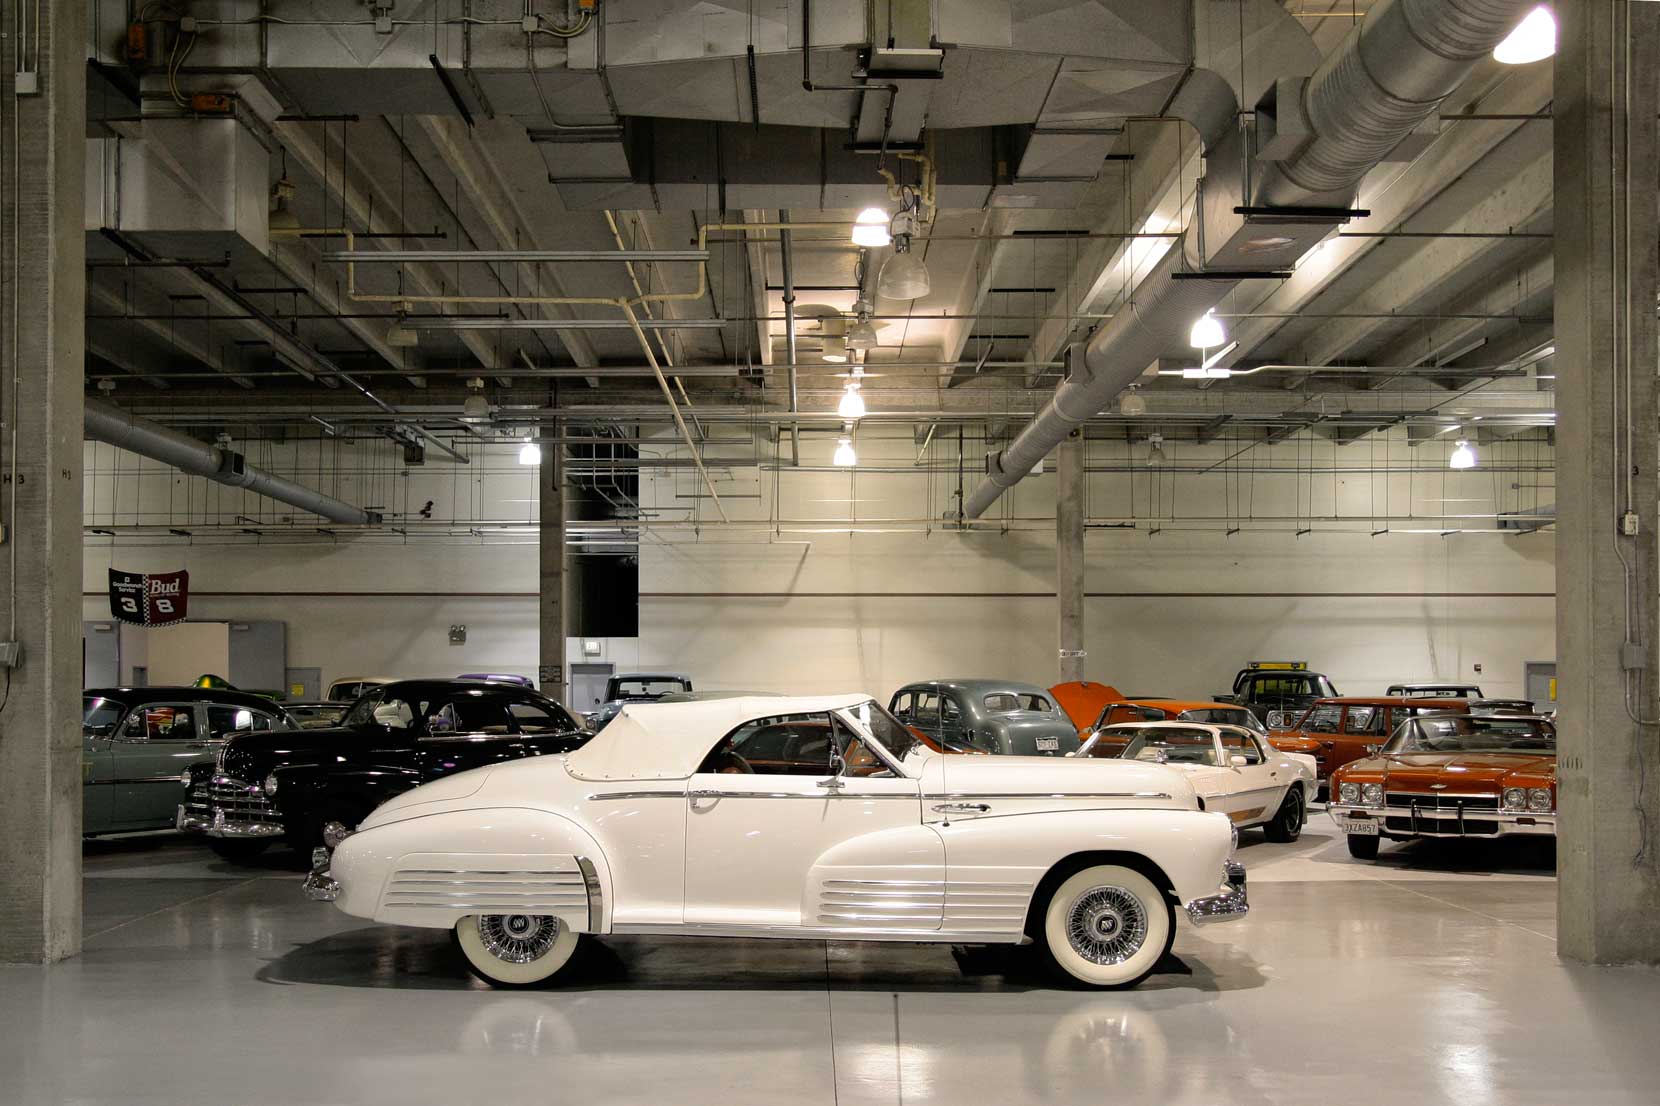
 How I made the original photo: The beautiful classic Buick that’s shown above right was customized for the Shah of Iran and now resides in a private collection in Colorado. That ain’t chrome trim; it’s silver. It was originally photographed in color using a Canon EOS 50D and Sigma 17-50mm f/2.8 EX DC OS HSM lens at 19mm with an exposure of 1/40 sec at f/3.2 and ISO 800.
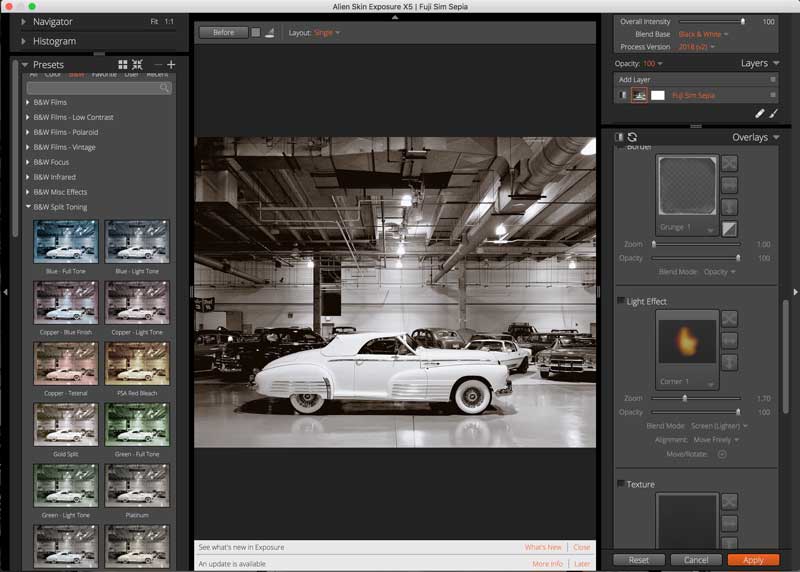
To convert the image file to monochrome I used Exposure Software’s Exposure that’s more than just a black and white (and color) enhancement tool. It enables photographers to control exactly where on an image—including hue, saturation, and luminance—is applied. You can target foreground or background areas, skies, skin tones, and specific color ranges. Its masking tools integrate with the plug-in’s brushes and gradients.

In addition to support for grayscale TIFF and JPEG files, Exposure’s vignette correction counteracts unwanted darkening around the edges of photos along with correcting chromatic aberration while addressing color fringing caused by lens refraction. Both corrections can be applied via a lens profile or through manual adjustment. Exposure’s existing lens distortion correction was improved with new manual correction controls that enable the removal of barrel and pincushion distortion.
Photographers can also assign custom camera profiles, enabling them to control the interpretation of color from RAW data for a specific camera. This makes it possible to achieve even more accurate colors. It also has more black & white film emulations including Ilford FP4 Plus, Ilford Pan F Plus, Kodak Recording 2475,and Polaroid Chocolate.
The version that I used includes a masking tool that lets you separate a subject from the background. All you need to do is draw a rough border to indicate the selected area and Exposure’s algorithm creates a mask. It also has composition guides—golden ratio, golden spiral, golden triangle, and diagonal—if that sort of thing appeals to you.
My book Creative Digital Monochrome Effects is available from Amazon with new copies at $11.46 with used copies starting at a little more than six bucks, as I write this. There’s no Kindle version available, sorry.
