Today’s Post by Joe Farace
“Life is like a piano; the white keys represent happiness and the black show sadness. But as you go through life’s journey, remember that the black keys also create music.”— Ehssan
If you’re a regular reader of this blog, you know that I like photographing trees. I even wrote a post about this passion— A Tree is a Tree is a Tree—that you can check out when you have time. The only thing that I like better than photographing and writing about trees is photographing trees in infrared and writing about it—like today!
Shooting Infrared with Filters
 Shooting with Infrared camera filters is the least expensive way to get into infrared photography but that doesn’t mean it will be cheap. Not anymore, anyway. IR filters tend to be more expensive than your everyday #12 yellow filter. Some say the reason for this is just a supply and demand thing and that may even be true. Others say they are also more expensive to manufacture. You can insert your own photographic conspiracy theory here but that won’t change the fact that a 58mm Hoya RM-72 (IR) filter costs $49.95 and a 58mm Hoya Yellow filter is $41.41, so maybe the difference is not significant to you..
Before you freak out let me tell you that the RM-72 may be your best value in digital infrared photography. But is it the best IR filter? Maybe or maybe not. Other filters, such as Singh Ray’s I-Ray or Cokin’s A007 filter work quite well and are part of my standard three-IR filter kit, although this latter one may be hard to find, with the I-Ray 690 Infrared Filter being the most impressive and expensive because in a 58mm mount the filter costs $160.
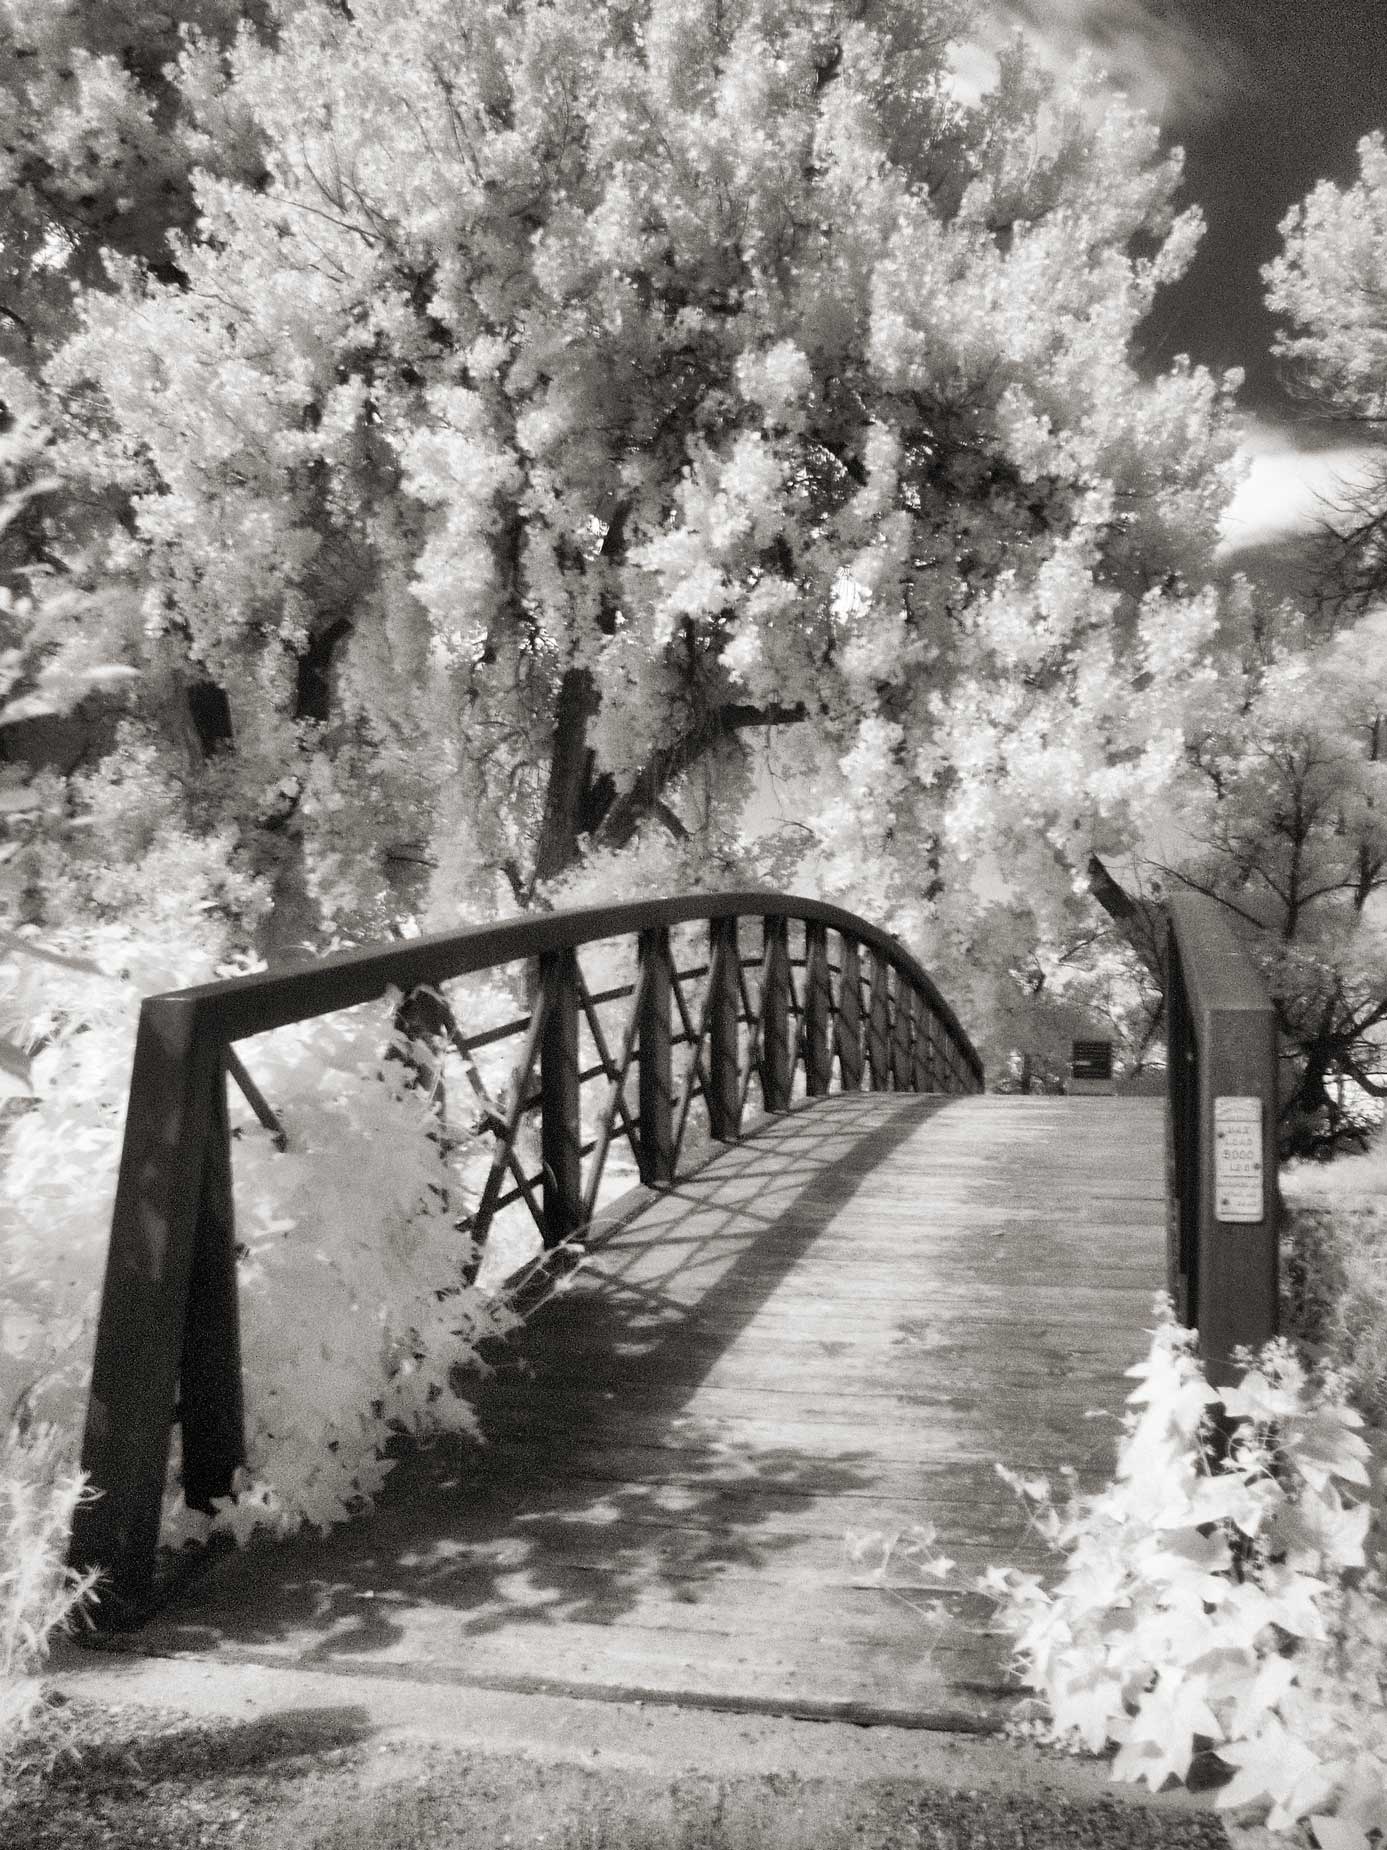
How I Made this Photograph: Today’s featured image that was made near the wildlife preserve area at Barr Lake State Park, near Brighton Colorado. The camera used was an Olympus E-P1, a golden oldie that was launched by the company back in 2009. The E-P1 is basically a re bodied E-620 Four-thirds system camera whose design was repurposed for Micro Four-thirds use. The lens used was the Olympus M.Zuiko 17mm f/2.8 with a hand held exposure of 1/20 sec at f/ 8 and ISO 800. At a slow shutter speed like that some blur caused by wind in the leaves is inevitable. I shot five different versions—two were horizontal—but liked this vertical images the best. After processing the image file in Silver Efex’s High Structure (Smooth) preset and Platinum Toning in PhotoKit, I hit it with the Glamour Glow filter from Color Efex to knock off any rough edges and add some pseudo IR glow.
People—readers, a guy at Home Depot, you know, people— often ask me about shooting infrared photography—both film and digital. So I’ve put together two ten-minute videos explainers that together might be called Getting Started in Infrared Photography. You can see the first one a, which is about working with Infrared filters, here.That was the original title of my book about infrared photography, so naturally the publisher had to change it to something that wasn’t necessarily descriptive of its contents. I liked how the book turned out anyway.
 I’ve found that Life Pixel does a great job with IR conversions and they’ve done most of the conversions for my Canon DSLRs and all my Panasonic Lumix G-series cameras. This is not a paid or sponsored endorsement, just my experience.
Used copies of my book, The Complete Guide to Digital Infrared Photography are currently available from Amazon starting around $5, as I write this. Creative Digital Monochrome Effects has a chapter on IR photography and new copies are available from Amazon for $16.16 with used copies starting at less than seven bucks, which seems like a heckuva deal.