Today’s Post by Joe Farace
Always remember the last words of my grandfather, who said: ‘A truck!’ —Emo Philips
 When shooting with a film camera, there are several ways to capture images. If you want color, you can shoot color negative or slide film. You could also use black and white film that would let you create an entirely different version of the same scene that’s in front of you.
To your eyes that scene might look one way but your camera’s interpretation could vary based on the specific tonalities and color—or lack of color— the film produced. The film you loaded into the camera could be orthochromatic or panchromatic but more than that, different black and white film will produce different contrast, graininess and looks. That’s just as true today as when every photographer was shooting film.
- Panchromatic film is sensitive to all wavelengths of visible light and typically produces a black and white image.
- Orthochromatic films can only see blue light. Reds are rendered darker and therefore creates darker looking skin tones.
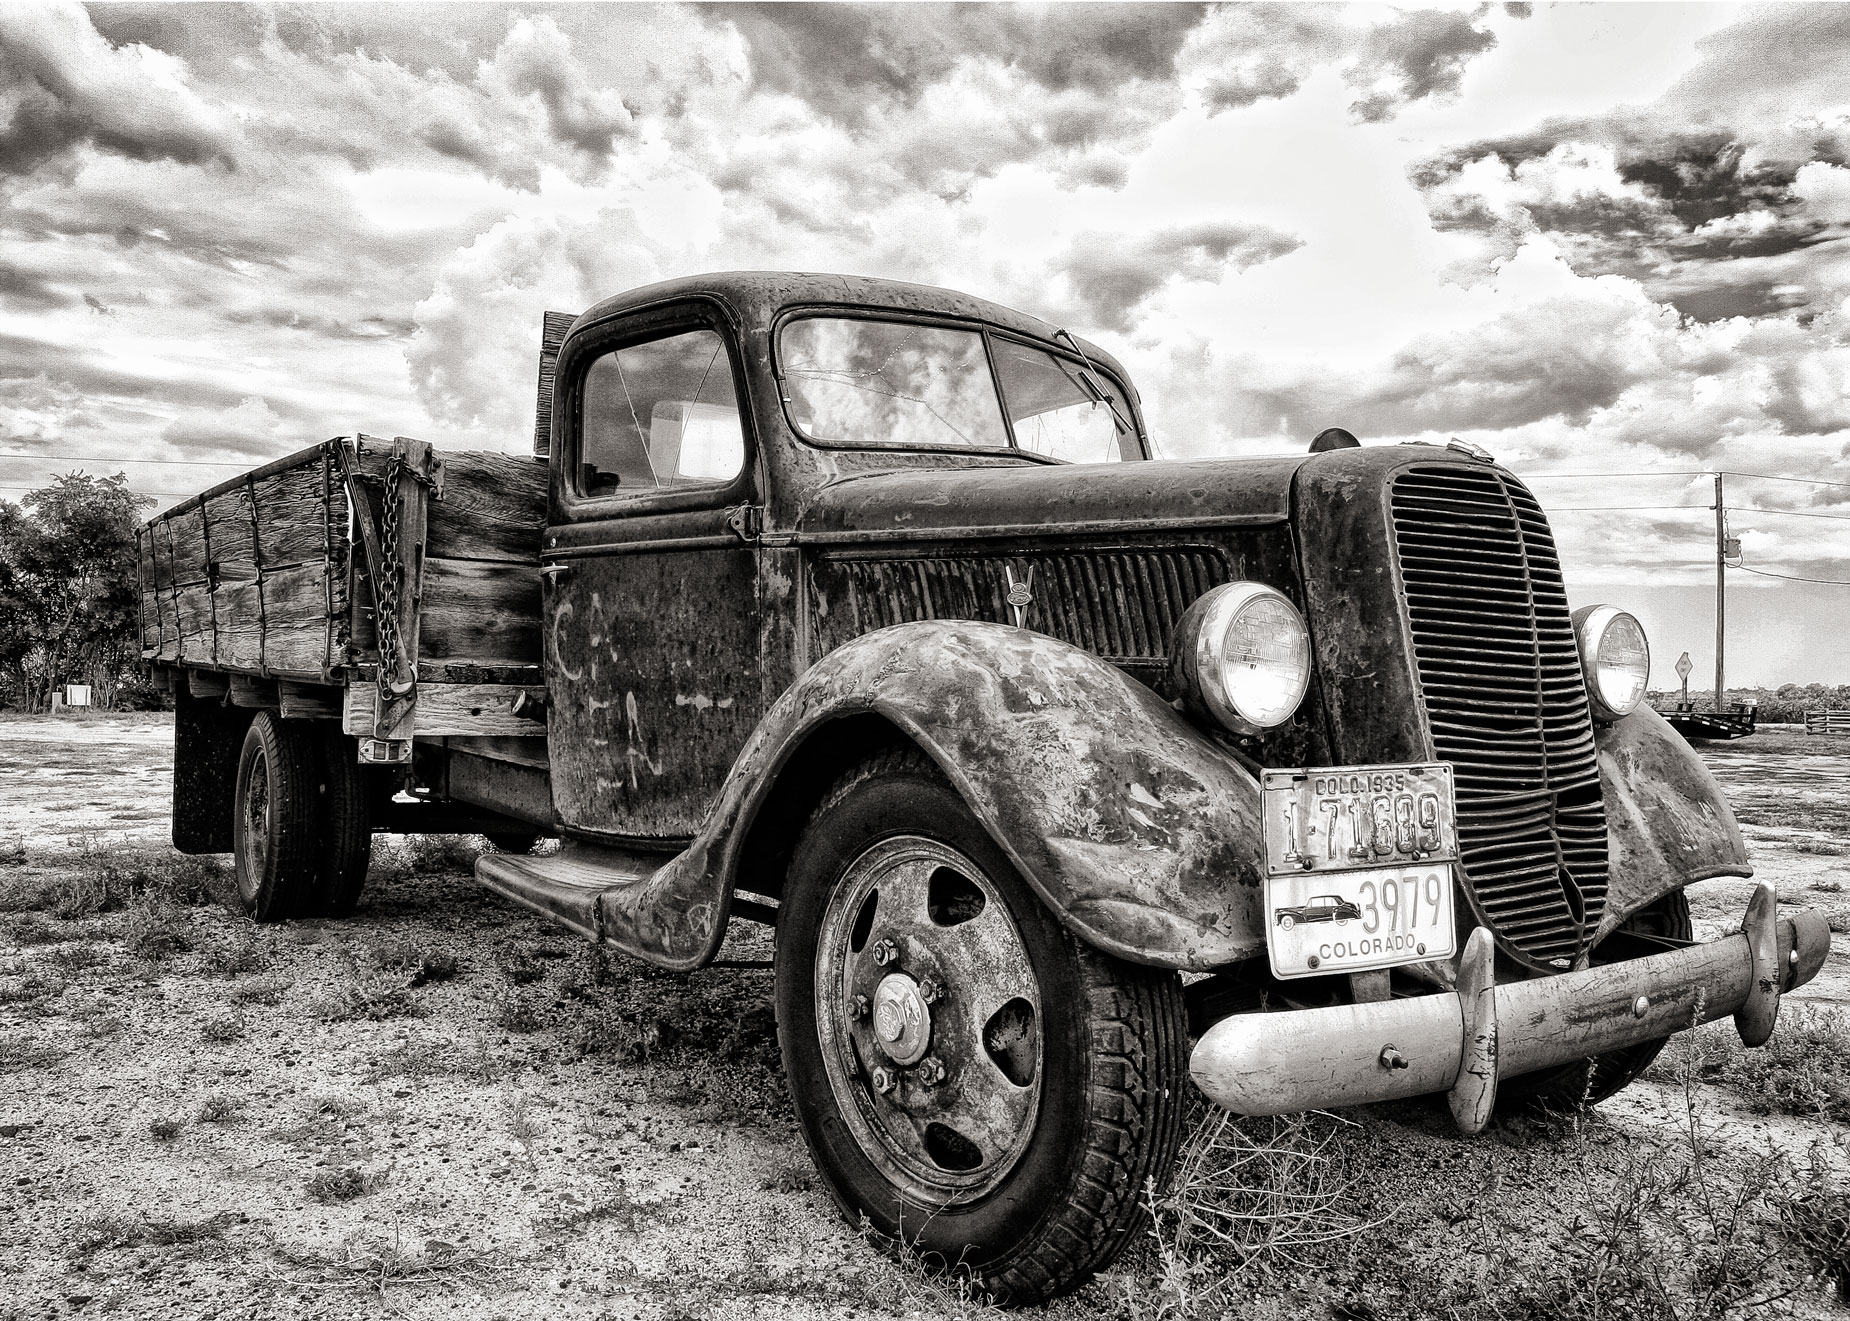
Nowadays, most DSLRs and mirrorless cameras offer many different options for monochrome capture and some even offer a palette of toning that you can apply to your photograph in camera. After the fact, you can always make all kinds of adjustments by using Photoshop as I did with the below image.
Here’s a Few Reasons
Here are just a few reasons why shooting in monochrome might be a good idea for the next time you set out to make phootgraphs:

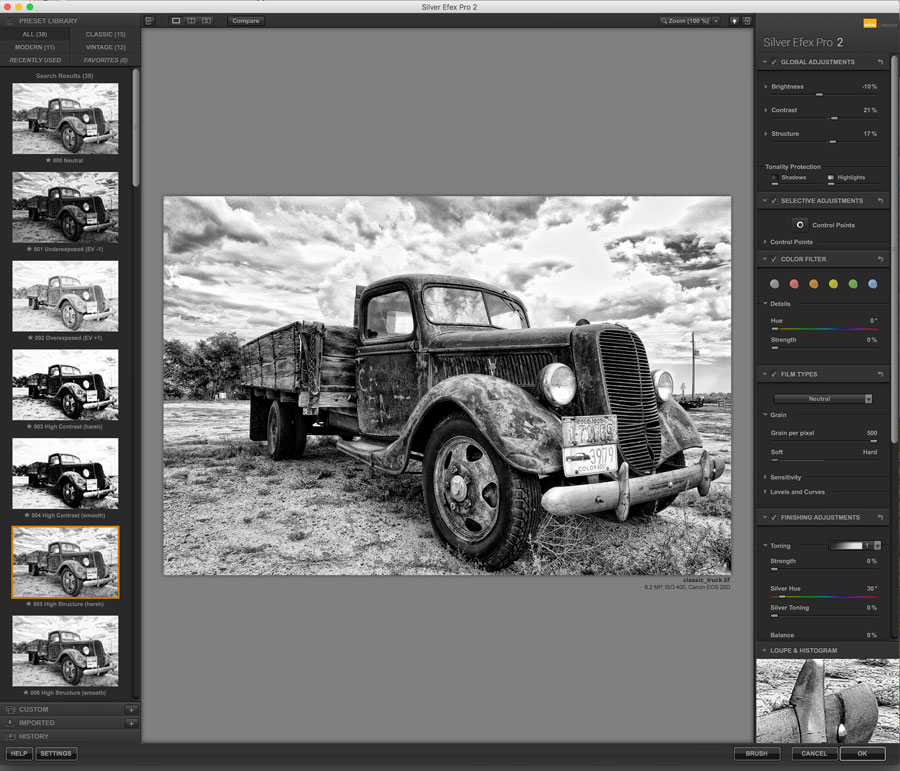
How I Made this Photograph: The original image of this vintage truck was captured with a Canon EOS 20D with an EF 8-15mm f/4L lens at 15mm and an exposure of 1/250 sec at f/11 and ISO 400 with a plus one-third stop exposure compensation. The JPEG file was processed in Silver Efex using its default preset but with the blue filter applied and the the grain set at maximum softness. The final touch was adding Platinum toning from PhotoKit,
Aesthetics: Sometimes too much color in an image can confuse the viewer and shift the image’s focus away from its real subject. That’s what the whole “sharpness, brightness and warmth” concept of composition is all about.
Workflow: If you want to make prints on-site or drop memory cards off at a local printer or lab, capturing the file directly in monochrome saves time. On the other hand, if you want to convert a color file to black and white after the fact, there are Photoshop-compatible plug-ins that let you produce monochrome photographs from your color files. Everybody’s workflow is different so you should always do what works best for you.
Feedback: Capturing directly in black and white impacts how you see how the photograph will look while you’re shooting; it’s already there in black and white! That’s especially true when shooting infrared images or for portraits made using RAW+JPEG capture. I have beat this subject to death in other posts so if you need more information, just click here.

If you enjoyed today’s blog post and would like to treat me to a cup of Earl Grey tea ($2.50), please click here. And if you do, thanks so much.
My book Creative Digital Monochrome Effects is available from Amazon and (I think, anyway) is a fun read. There’s even a chapter on infrared photography. It’s available for $16.16 but bargain shoppers can pick up used copies starting at around seven bucks. No Kindle version is available at this time.