I’ve given #filmfriday the day off, as I attempt to re-orient my schedule of “day themes” for this year. Who knows, I may just toss the whole day’s theme concept out completely? Recently, in addition to my Sunday series on outdoor portraiture, I’ve been featuring more portrait-oriented posts and, so far, people seem to like it. So today…
Today’s Post by Joe Farace
 The classic definition of lighting ratio is that it’s a comparison, a quotient for any mathematicians out there, of the main (or key) light to the fill light.
What’s it mean? The higher the lighting ratio, the higher the contrast of the image will be. Conversely, the lower the ratio, the lower the contrast will be. In traditional portraiture, a lighting ratio of 3:1 is considered “normal” for color photography.
When getting started in studio portraiture, using a standard lighting ratio can be helpful because it provides a basic benchmark that should guarantee that your images will have some form of lighting style rather than the “lets through every light at it” approach.
So What’s The Ratio?
There are pros and cons to using any kind of formula in photography, especially when it comes to portrait lighting. There are, at least, two kinds approaches to setting a lighting ratio for your portrait session: The first one is to let the ratios direct the shot by carefully measuring the output from the main and fill lights and adjusting each light’s power output to achieve a 3:1 ratio. The second method, which happens to be my favorite, is to set the light’s direction and output based on what you like, then meter the exposure—using a hand held meter capable of reading flash—and worry about what the lighting ratio may be later. As always, you can use whatever approach fits your working style but if you’re interested, here’s how I do it:
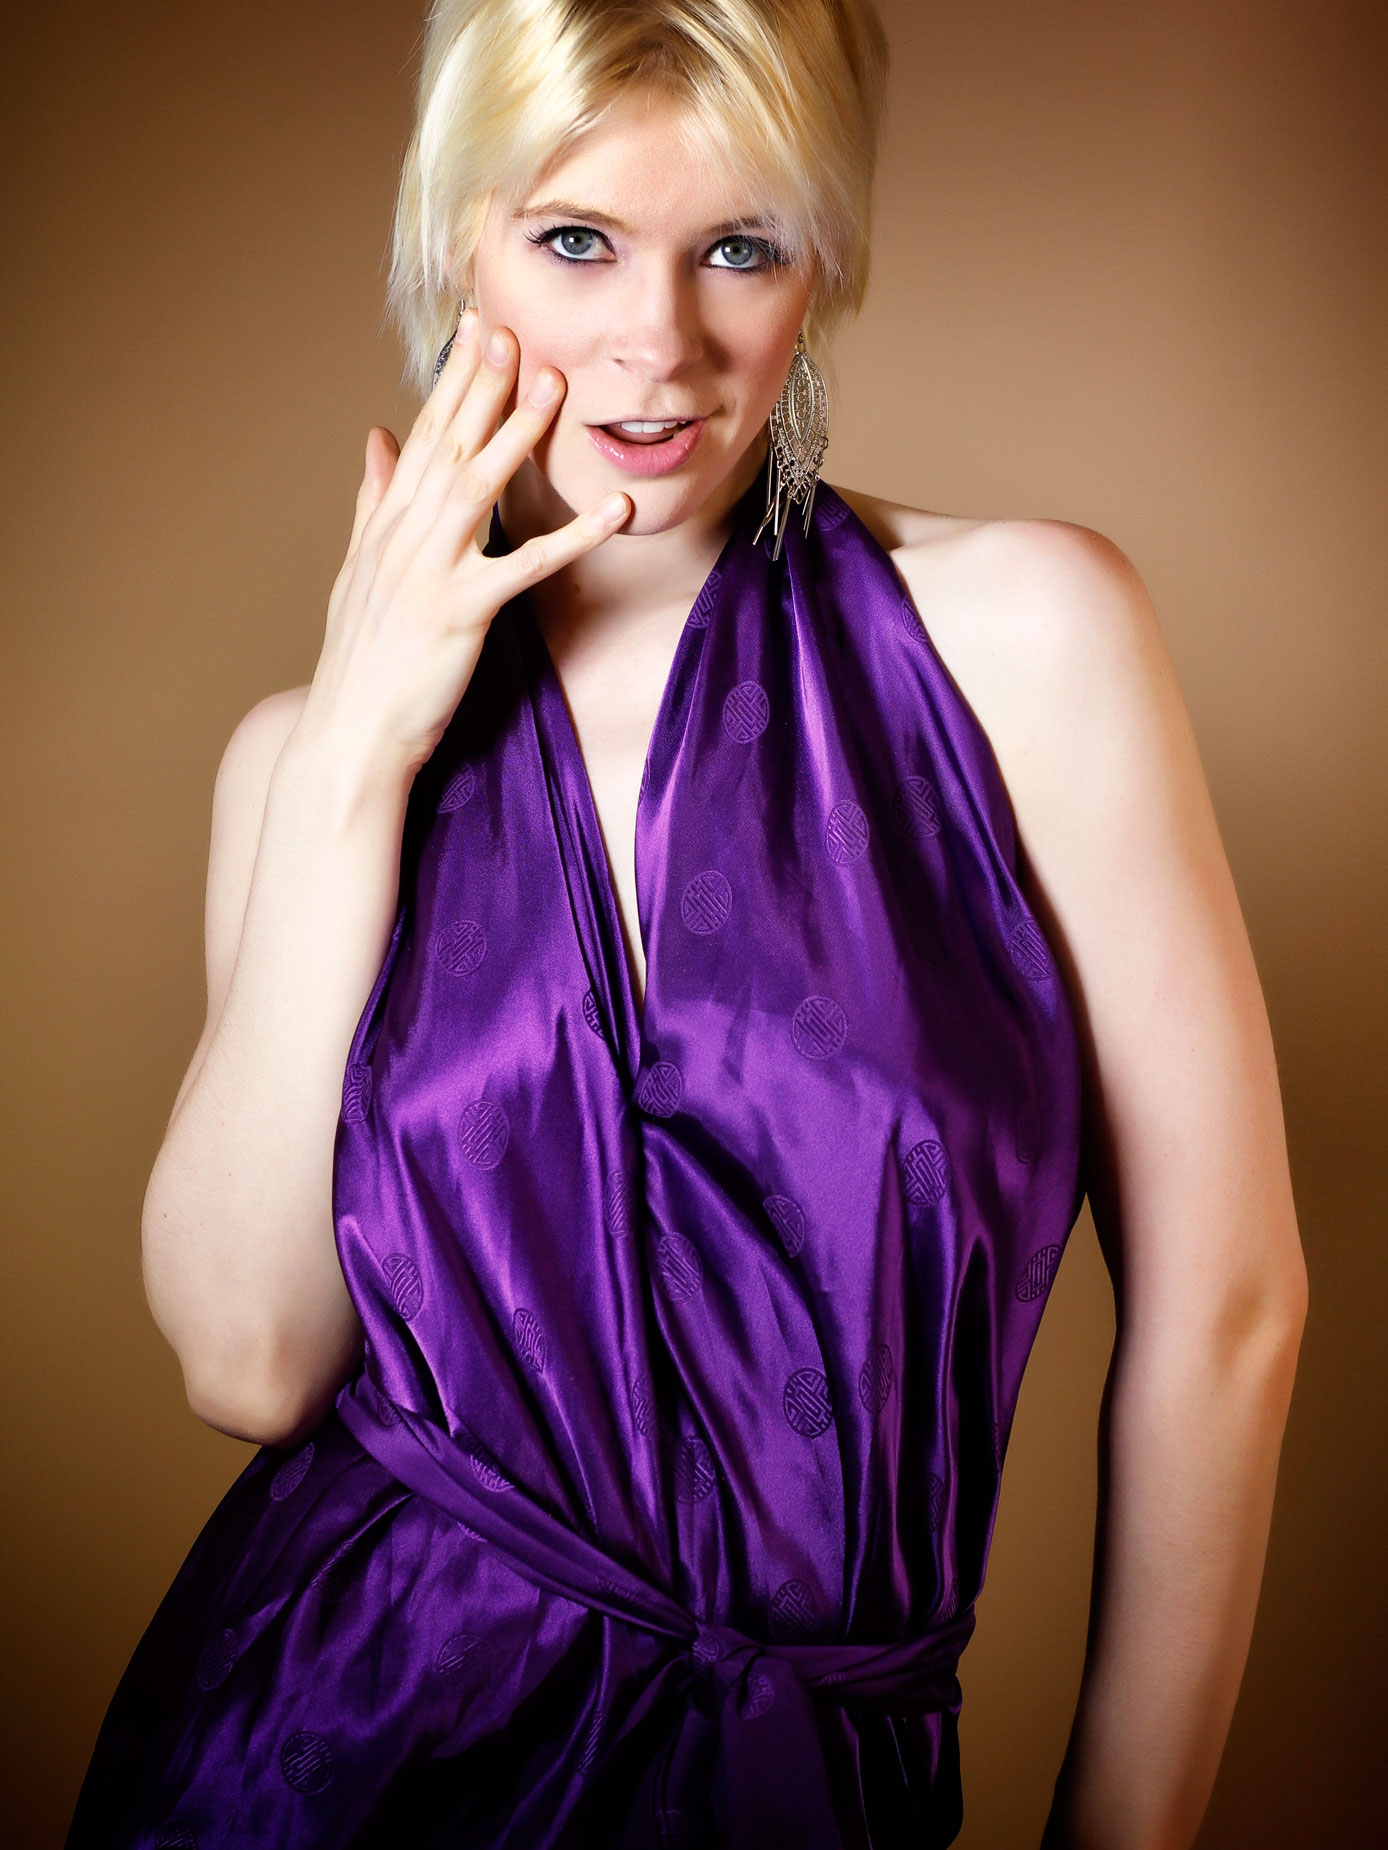
 I start by placing the lights based on the kind of clothing the model is wearing and the color and tone of the backdrop I’ve selected. The kind of poses I’ll be shooting is another consideration based of how much shooting space is available. My method also depends on the kind of lights I’m using. In general I prefer to work with the softest lights possible, especially when using LED lighting, as was the case in today’s featured portrait. Some, but not all, models find LED lighting to be harsh and makes them uncomfortable. With electronic flash with proportional modeling lights—and that’s most of’em—changes in lighting are reflected in their output. I’ll use the light’s variable output settings to vary the light output to produce a ratio that looks good to my eyes not a slide rule. Most LED lighting system have some kind of variable power settings so I’ll use that to make any fine adjustments, as I did in this case.
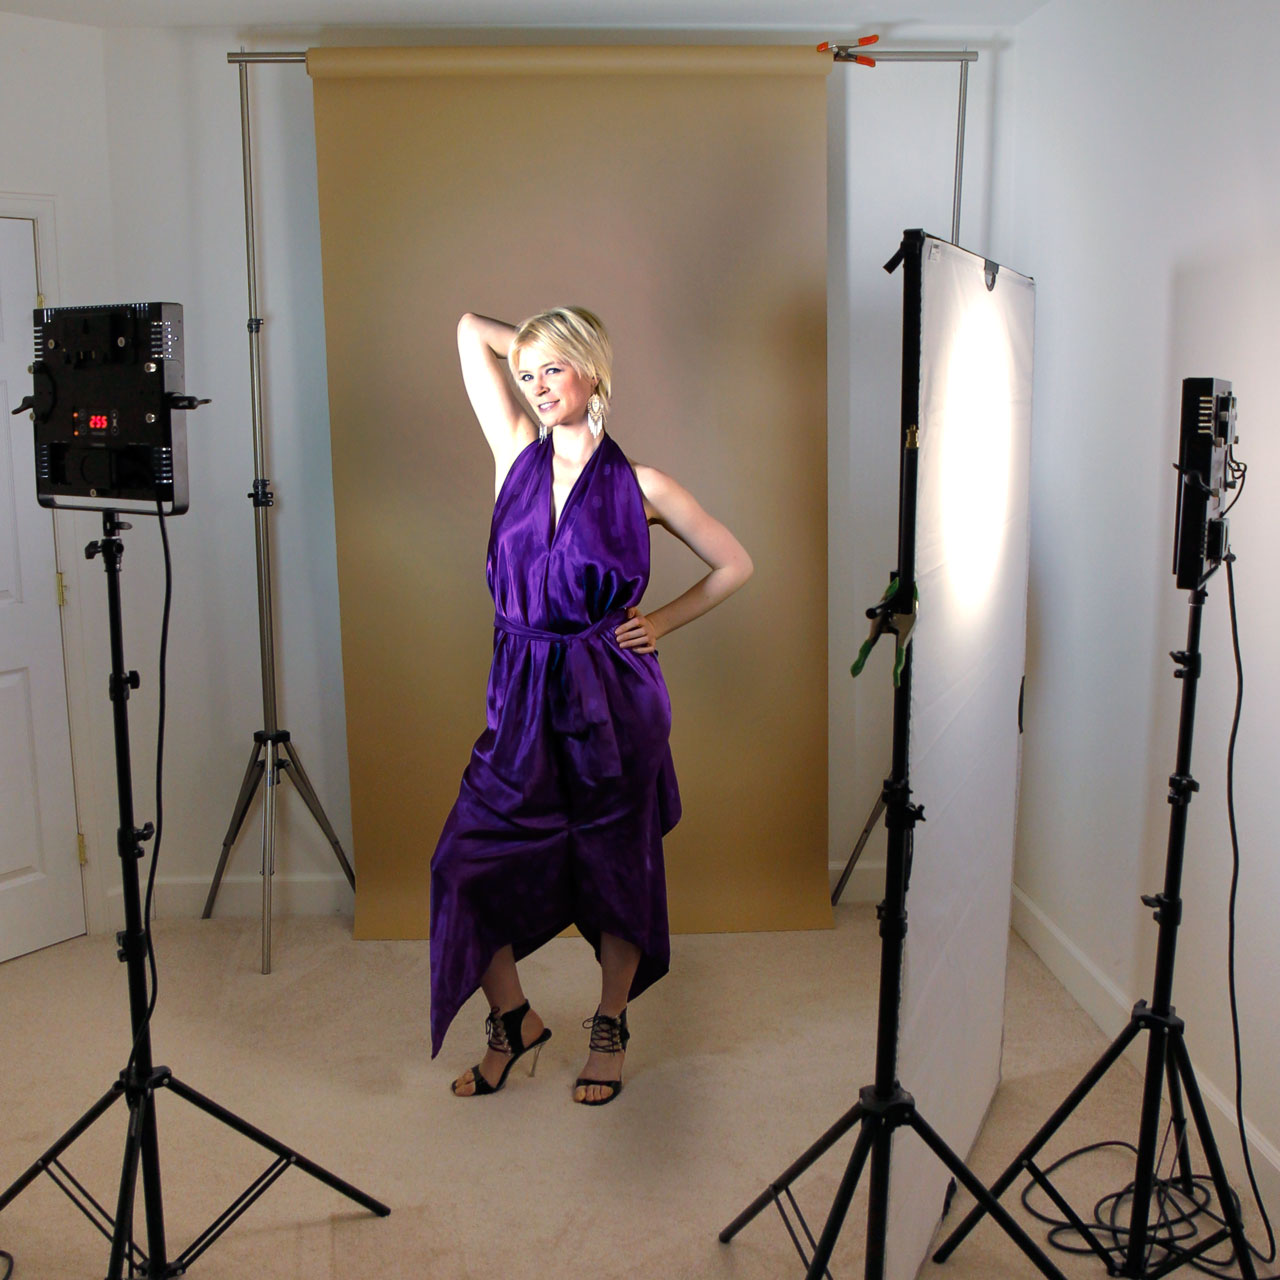
How I made this shot: The lighting set-up for “Pam in Purple” was designed to mitigate any potential shininess that could be caused by the subject’s makeup. The setup began with a 42 x72-inch Westcott Scrim Jim—now called Scrim Jim Cine—placed at camera right that’s covered with Full Stop Diffusion fabric and an LED light panel placed behind it. Another LED light panel was placed at camera left for fill, as can be seen in the lighting setup photograph above right. The backdrop was a roll of Savage Mocha seamless paper hung on my old JTL background stands.
The camera used was a Canon EOS 60D that I still own and was my go-to DSLR for studio use for a long time. The lens was my EF 85mm f/1.8 lens that I use for shooting with continuous lighting or available light—indoors or outside. This was among the first lenses I purchased for my Canon DSLRs.and I think every Canon shooter who’s interested in portraiture should own this lens. (There is an RF 85mm f/2 Macro IS STM lens available for Canon R mirrorless cameras.) The Av exposure was 1/320 sec at f/4.5 and ISO 640 with a plus one-third stop exposure compensation.
So, for me, the concept of lighting ratios is more important than their application. But as always with this blog—it’s your decision not mine.
 If you enjoyed today’s blog post and would like to buy Joe a cup of Earl Grey tea ($2.50), click here. And if you do, thank so very much.
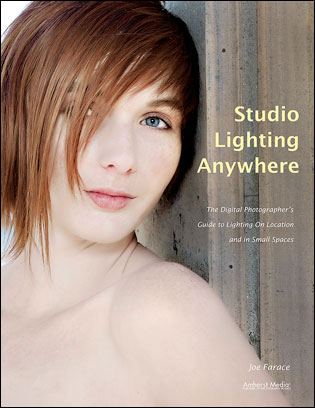
If you’re interested in shooting portraits and how I use cameras, lenses and lighting in my in-home studio, you can pick up a used copy of Studio Lighting Anywhere from Amazon.com for around thirty-three bucks, as I write this. The Kindle version is $19.99 for those preferring a digital format.