Last Saturday I decided to shoot some photographs for the first time without Mary’s assistance. Armed with a Panasonic Lumix GX1 that was converted to infrared by Life Pixel using their Hyper Color filter, I set off with camera and cane to make some images at McCabe Meadows. How did it go? It was OK and not without some mobility challenges but I shot enough RAW+JPEG images (48) to write this post.
Today’s Post by Joe Farace
you pays your money and takes your cherce—first appeared in the English humor magazine Punch in the mid-1800s.
 Ansel Adams once famously said, “The negative is the equivalent of the composer’s score, and the print the performance.” I think it could also be said—and many people agree—that a RAW file* is the equivalent of the composer’s score, while the processed file is the performance. Nowhere is this statement more true than in the world of infrared—photography with invisible light.
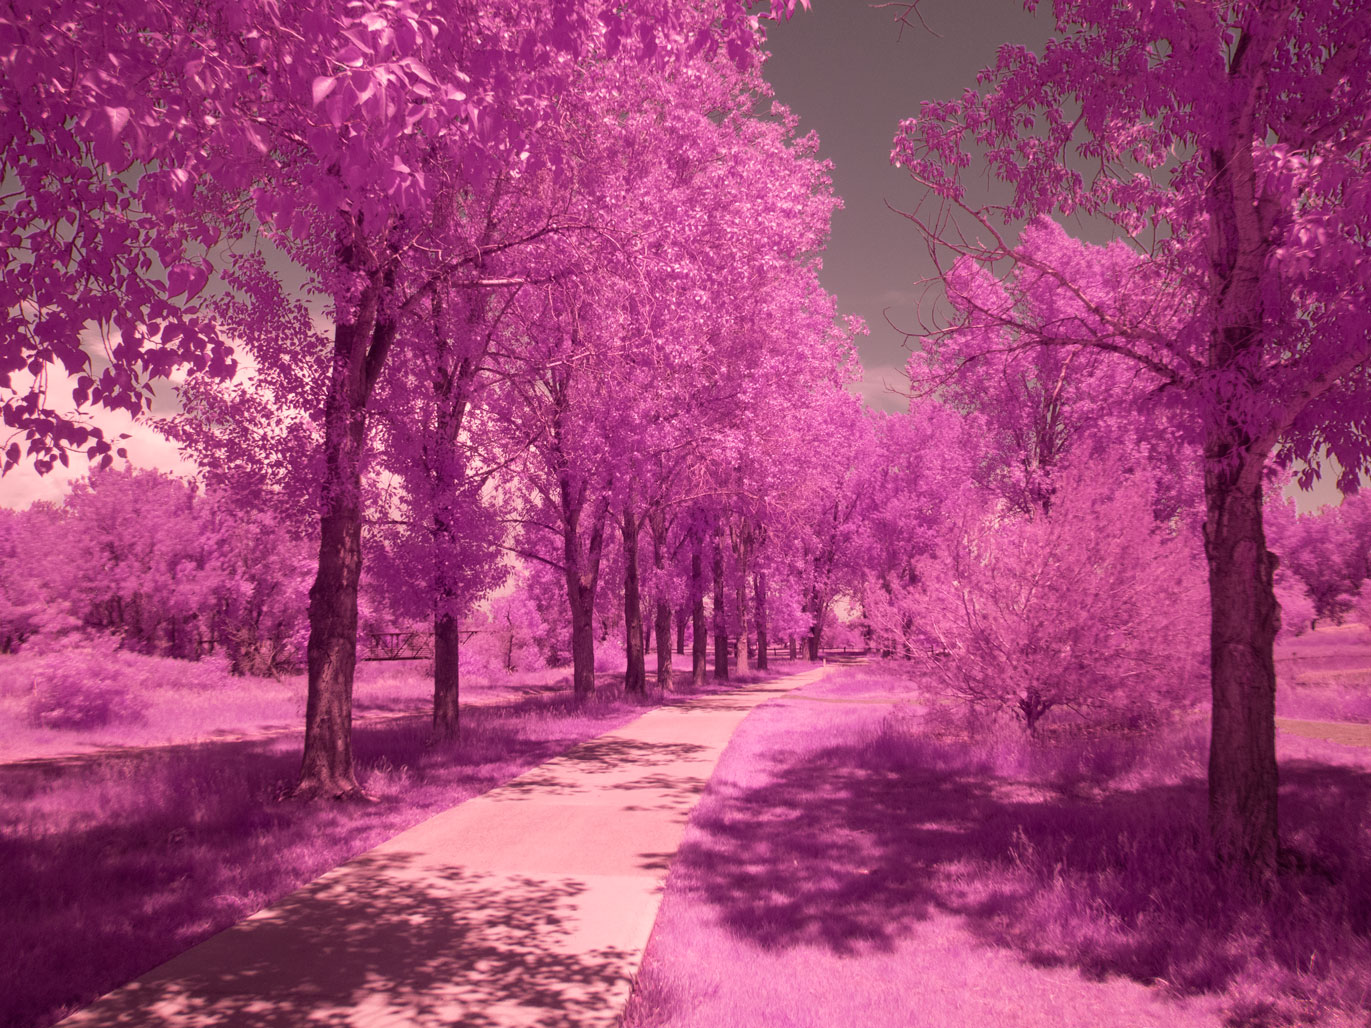
Let’s take a look at one example: At right is one of the RAW files (SOOC) that I made on my recent solo PhotoWalk at McCabe Meadows. The camera used was the aforementioned IR-converted Lumix GX1 that I purchased used from Roberts Camera and then had converted by Life Pixel. The lens was a Lumix G Vario 12-32mm f/3.5-5.6 kit lens at 12mm (or 24mm equivalent.) It was shot in RAW+JPEG mode. The Av exposure was 1/800 sec at f/11 and ISO 400. So what kind of images could and did I make from this digital negative?
In LIVING COLOr
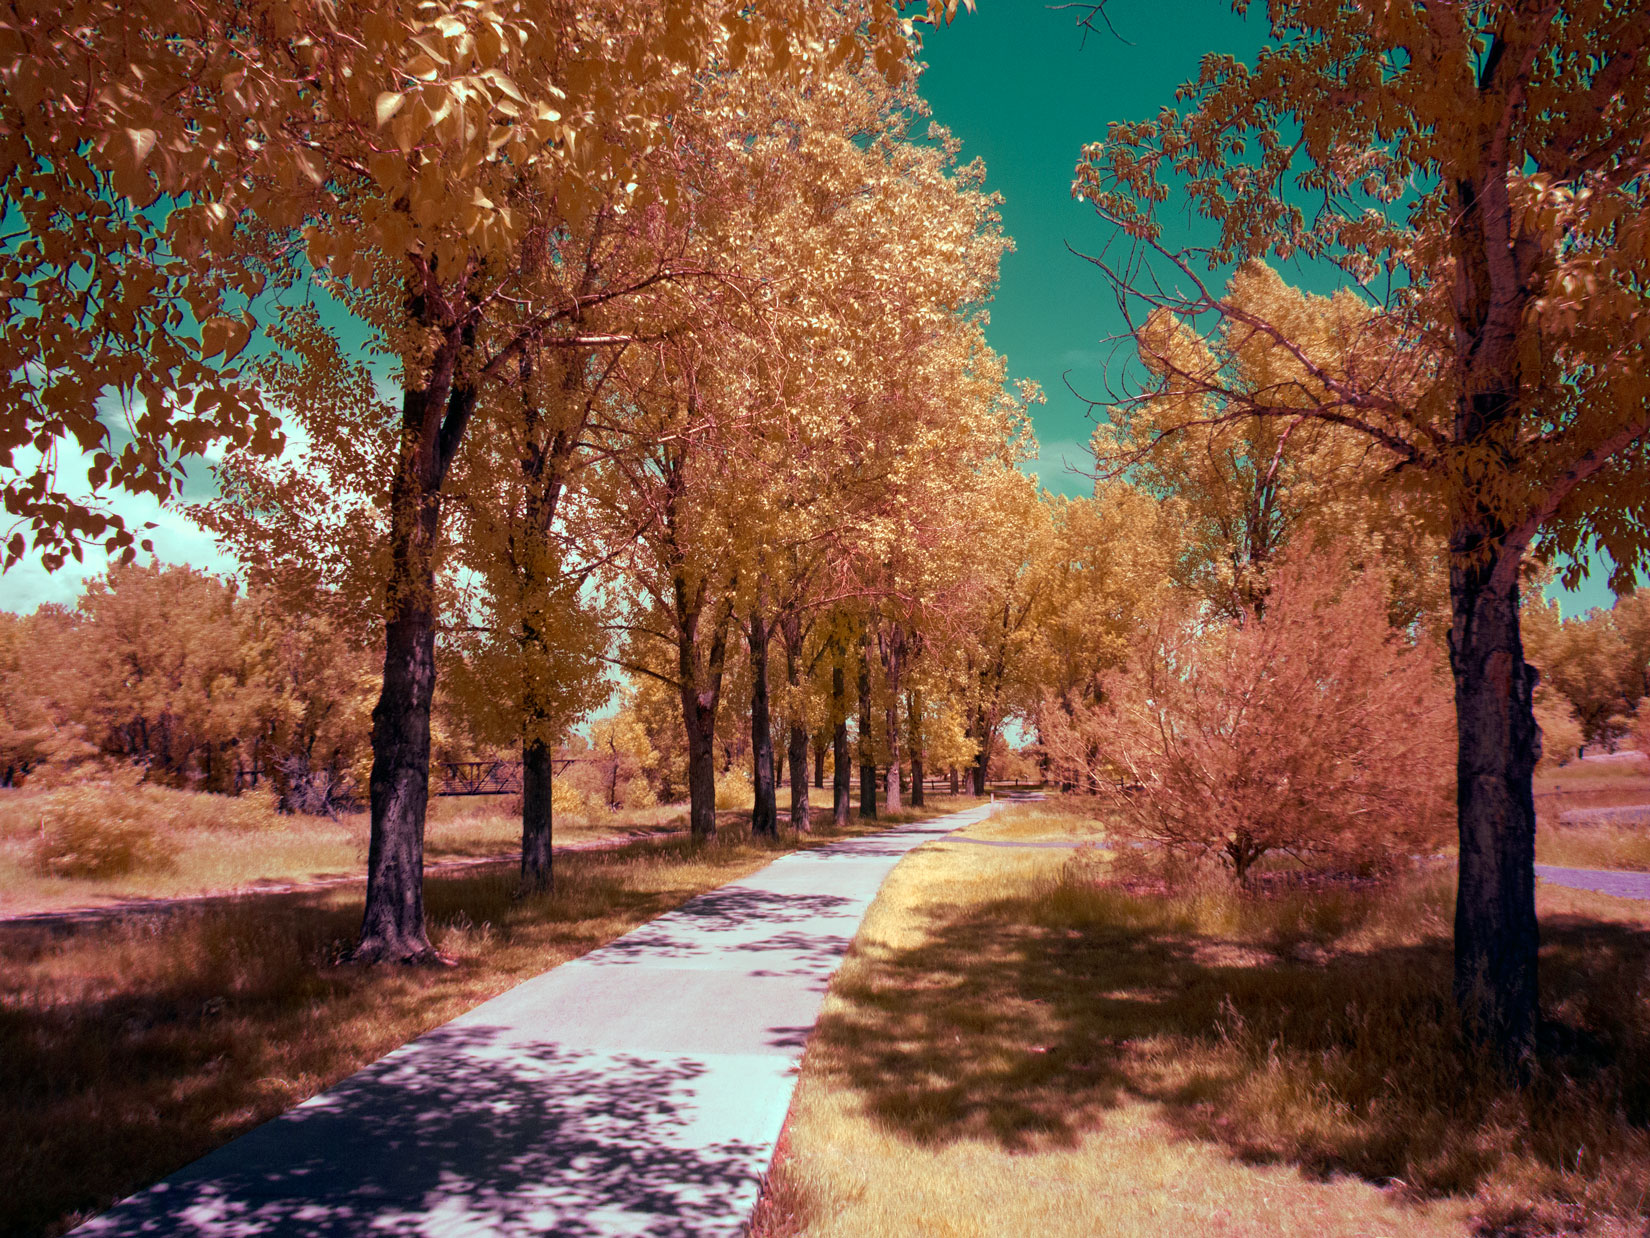
The first approach I tried was something in color. The RAW file was processed using one of Life Pixel’s proprietary Photoshop actions that were available when I had the conversion done. The action I applied was called “Infrared Adjustments,” which provides what must be the most manual method of tweaking color for an infrared RAW file I’ve tried and pops up Photoshop’s Hue/Saturation dialog box. Instead of using one of the dialog’s eight available presets—you can use’em if you like—I set the preset menu to Custom and then played around with the Hue, Saturation and Lightness sliders to produce the below image.

In Black and White
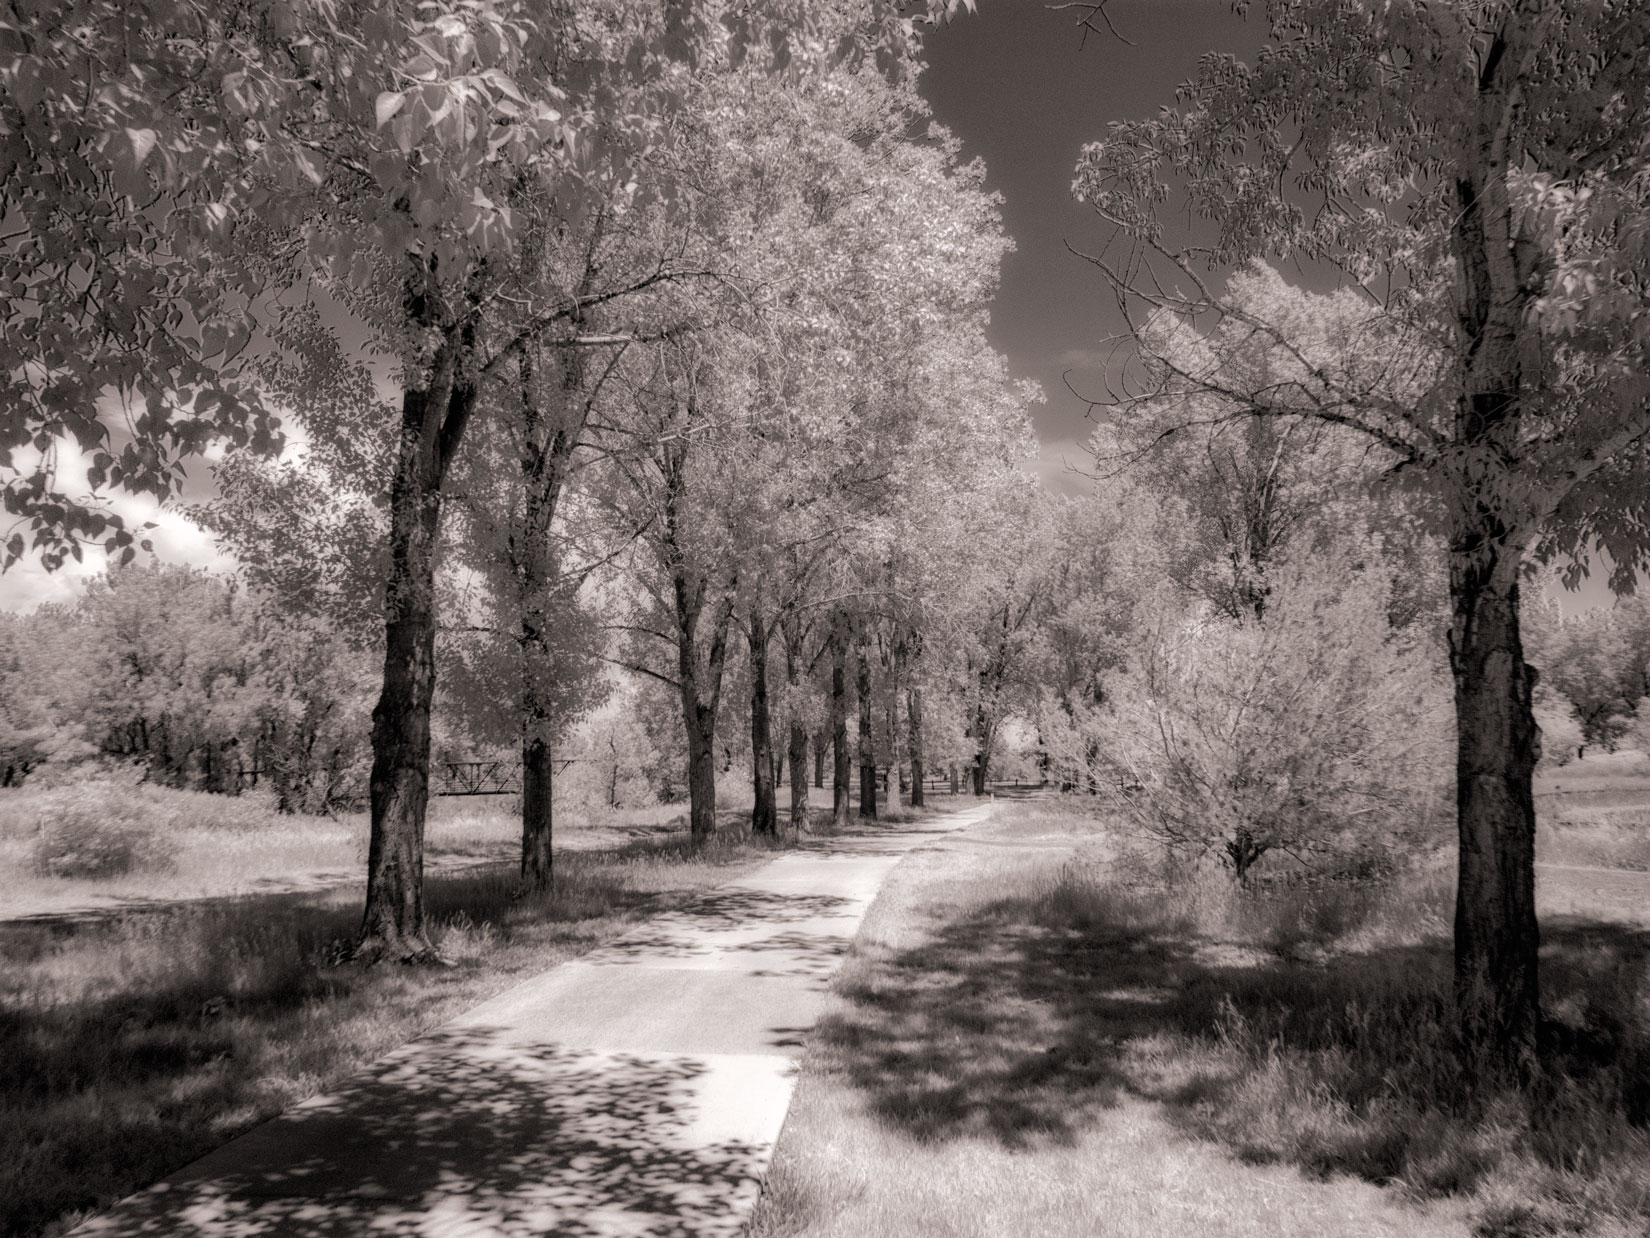
Making a classic black and white infrared image from a RAW file produced by an IR-converted camera with the Hyper Color conversion was more of a challenge. This may be partly due to the time of day, although I was there at close to High Noon, the best time to make infrared images. Or it could because of the Hyper Color filter is not as well suited to blank and white IR photography as Life Pixel’s Standard IR or Enhanced IR options that I have on my Lumix G5 and G6 mirrorless cameras. (For a look at Life Pixel’s filter options: here’s a link.) Now I want to find out what’s what and plan another trip, again probably solo, with both my Lumix G5 and G6 mirrorless cameras and try to shoot a similar image and process the RAW files in black and white. You know to see what happens. In the meantime…
I typically use Silver Efex to make black and white infrared images but when I tried it with this RAW file, the images produced were far from the classic look. After using Silver Efex, I applied a Platinum tone from PhotoKit, just to take the edge off. The finished image has a subdued infrared look. Here, submitted for your approval, was the best I could do with this particular file.

