It’s #filmfriday and while I’m working on getting started with film photography for 2025—the weather has not been cooperating; lots of cold and snow too—presented today is a look at some digital recreations of film effects.
Today’s Post by Joe Farace
All Special Effects are subject dependent—Joe Farace, One of Farace’s Laws
 Although its often confused with posterization, the classic darkroom technique known as solarization also sometimes called the Sabatier Effect, although purists might disagree with that description. In 1857, photographer William L. Jackson noted that exposing a partially developed photographic plate to light, then continuing its development, would sometimes cause a reversal of tones, affecting the whole or part of the negative. The technique was first described in print by H. de la Blanchere in 1859 in L’Art du Photographe and might have been known as the Blanchere Effect because it was not described by Sabatier until 1860 in Cosmos.
 How I made the original image: The camera I used to make this portrait of Ashley Rae was a Canon EOS 590D with EF 28-105mm f/3.5-4.5 II USM lens (at 105mm.) Canon discontinued this useful lens but you can usually pick up used copies on Amazon or eBay for reasonable prices. The lighting was provided by a window in the door at the back of my former home at camera right with an LED light panel placed at camera left and used as fill. Exposure was 1/125 sec at f/4.5 and ISO 800
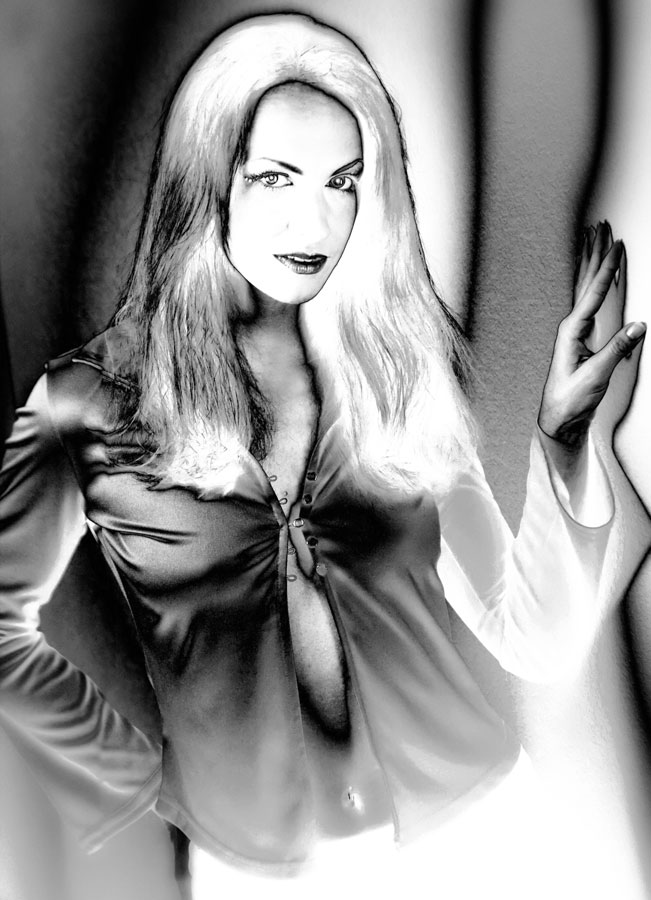
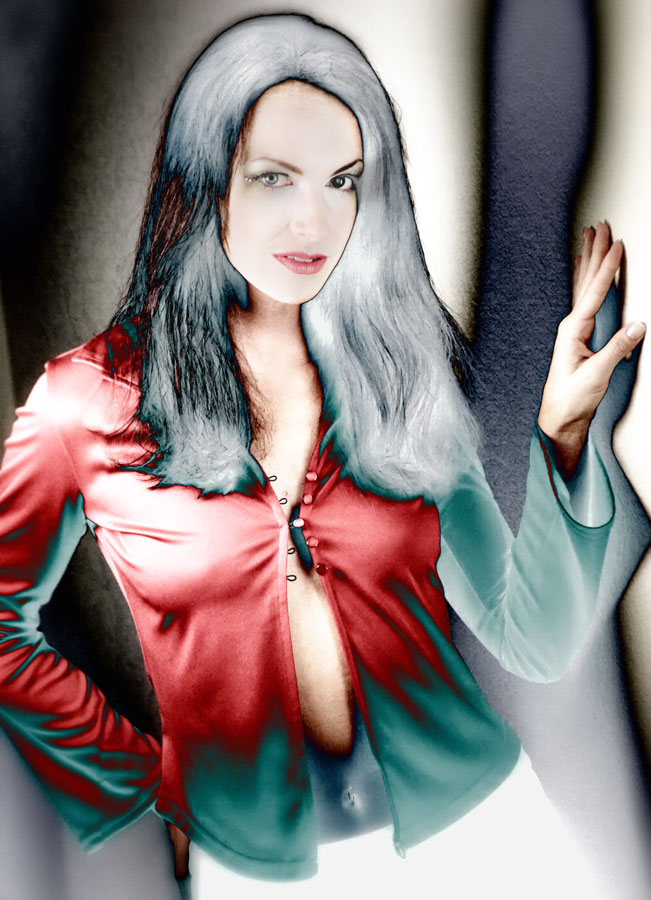
In the traditional darkroom, the solarization process can produce unpredictable effects with tone reversal usually occurring in the lighter background areas. A distinct black outline is typically created around areas where the reversal of tone meets areas where it has not occurred. Usually this effect is applied to a black and white image but it can also be applied in color photography (below) using different colored lights in a traditional darkroom although the results are even less predictable. This is not true, as you will see, for the digital darkroom.
 The Black and White presets that are built-into the Solarization filter that’s part of Color Efex emulates the darkroom process while offering more control over traditional darkroom methods of solarization along with the amount of times the effect can be applied to the image. The Solarization: Black and White filter (used above right) provides unlimited control allowing you to emulate different paper emulsions as well as experimenting with the different variables in the application of the process to produce the end result as can be seen above.
The Color presets in Solarization emulate the process with color photographs but, to tell the truth, I didn’t like any of the many different options that are available through the plug-in. I found them to be to intense, To produce the image at right I first created a duplicate layer (Layer > Duplicate Layer) then applied the Color presets—see my quote at the beginning of this post— to that layer. Then using Photoshop’s Eraser tool that was set at a low (18%) Opacity level, I erased the effect layer around her eyes, nose and mouth, allowing some of the original image to show through. That created an effect that I liked!
If you’re interested in these sorts of wet darkroom techniques, you should pick up a copy of Bea Nettles’ landmark book Breaking the Rules.
