Today’s Post by Joe Farace
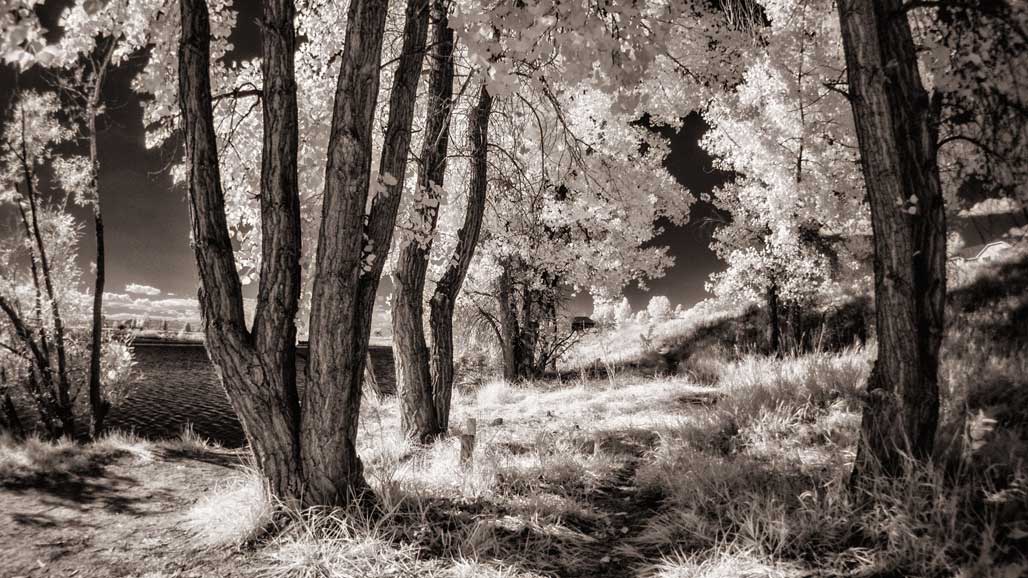
Since I live in a part of the country where we have real Winter—It’s supposed to snow in a few hours as I’m writing this—when leaves start dropping off the trees in the Fall infrared photography loses some its impact. Before Winter descended upon Daisy Hill last Fall, I set myself the goal of doing as much infrared photography I could until all the leaves were gone. On this particular day, I went for a walk around Bingham Lake and took the counter clockwise lakeside path to find some different views.

How I made this shot: The above image was made with a Panasonic Lumix G5 that was converted to infrared capture using LifePixel’s Standard IR conversion. The lens was a Olympus 9mm f/8 fish-eye and was shot using the 16:9 aspect ratio, which is something I like to use for IR images giving them a panoramic look and (with this lens) minimizing possible distortion at the top and bottom of the frame. Exposure was 1/640 sec at f/8 and ISO 400.
The image was captured in RAW format and lightly processed in Adobe Camera Raw before moving into Silver Efex Pro for monochrome conversion and copper toning. Since these leaves were backlit and appeared to be glowing I added the Glow filter from Color Efex Pro and because I like the fairy tale mood the glow filter produces as well as add a bit of warm tones.
 Life Pixel does a great job with IR conversions and they have done most of the conversions for my Canon DSLRs and all of my Panasonic Lumix G-series cameras.
My book, The Complete Guide to Digital Infrared Photography, is available from Amazon for $21.31 with used copies starting around eight bucks, as I write this. Creative Digital Monochrome Effects has a nice chapter on infrared photography and is available from Amazon for $20.70 with used copies starting at giveaway—around two bucks—prices, less then price of a Starbucks Venti latte.