Today’s Post by Joe Farace
Last year I went fishing with Salvador Dali. He was using a dotted line. He caught every other fish. —Steven Wright
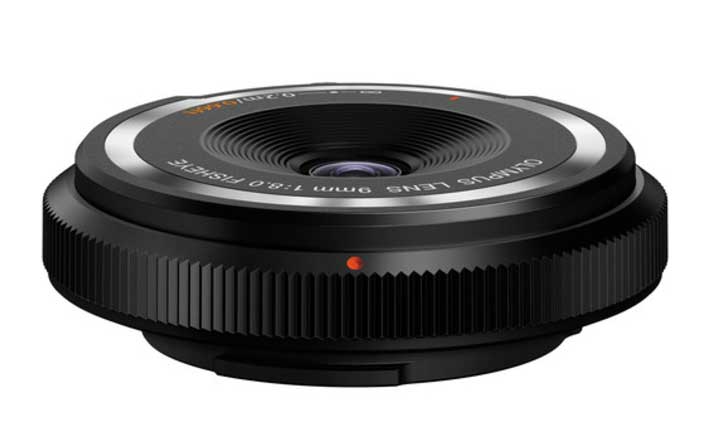
Here are some Random thoughts that I had when doing some additional testing with the Olympus 9mm f/8 fisheye lens, I started my testing at McCabe Meadows, because that’s where the idea for this two-part series about this inexpensive—$95.99 on Amazon, around 65 bucks on eBay—fisheye lens began. Some of what I learned, especially about how the lens’s manual focusing system works was added into part one, so you might want to read that part first.
Focus Testing the Lens
 If you missed my first post about this lens, the 9mm f/8 has thee indicated zone focus settings: infinity, dot, and .2M. In poking around the Internet I found an interesting video about the 9mm f/8 fisheye—there are literally dozens, maybe more of them—and Marlene Heilema mentioned she typically sets the lens on the middle (“dot”) position and then treats her camera like a point-and-shoot. Her video about the lens is well worth a look and has some spectacular photographs of skateboarders that were made with this lens.
After a disappointing round-de-round of photos made at McCabe Meadows where I was making images without making any kind of notes (duh!) I decided to take a Photo Walk around Bingham Lake shooting all kinds of close, mid-ground and long distance shots with a simple two stop—dare I call it a bracket? The first frame was made with the lens set at infinity and the second at whatever distance the dot represents, I could not find any indication of what the “dot” distance was although one YouTuber posited that it was five feet. I think he’s wrong. What did I find?
Ms. Heilema was right. The dot rules.

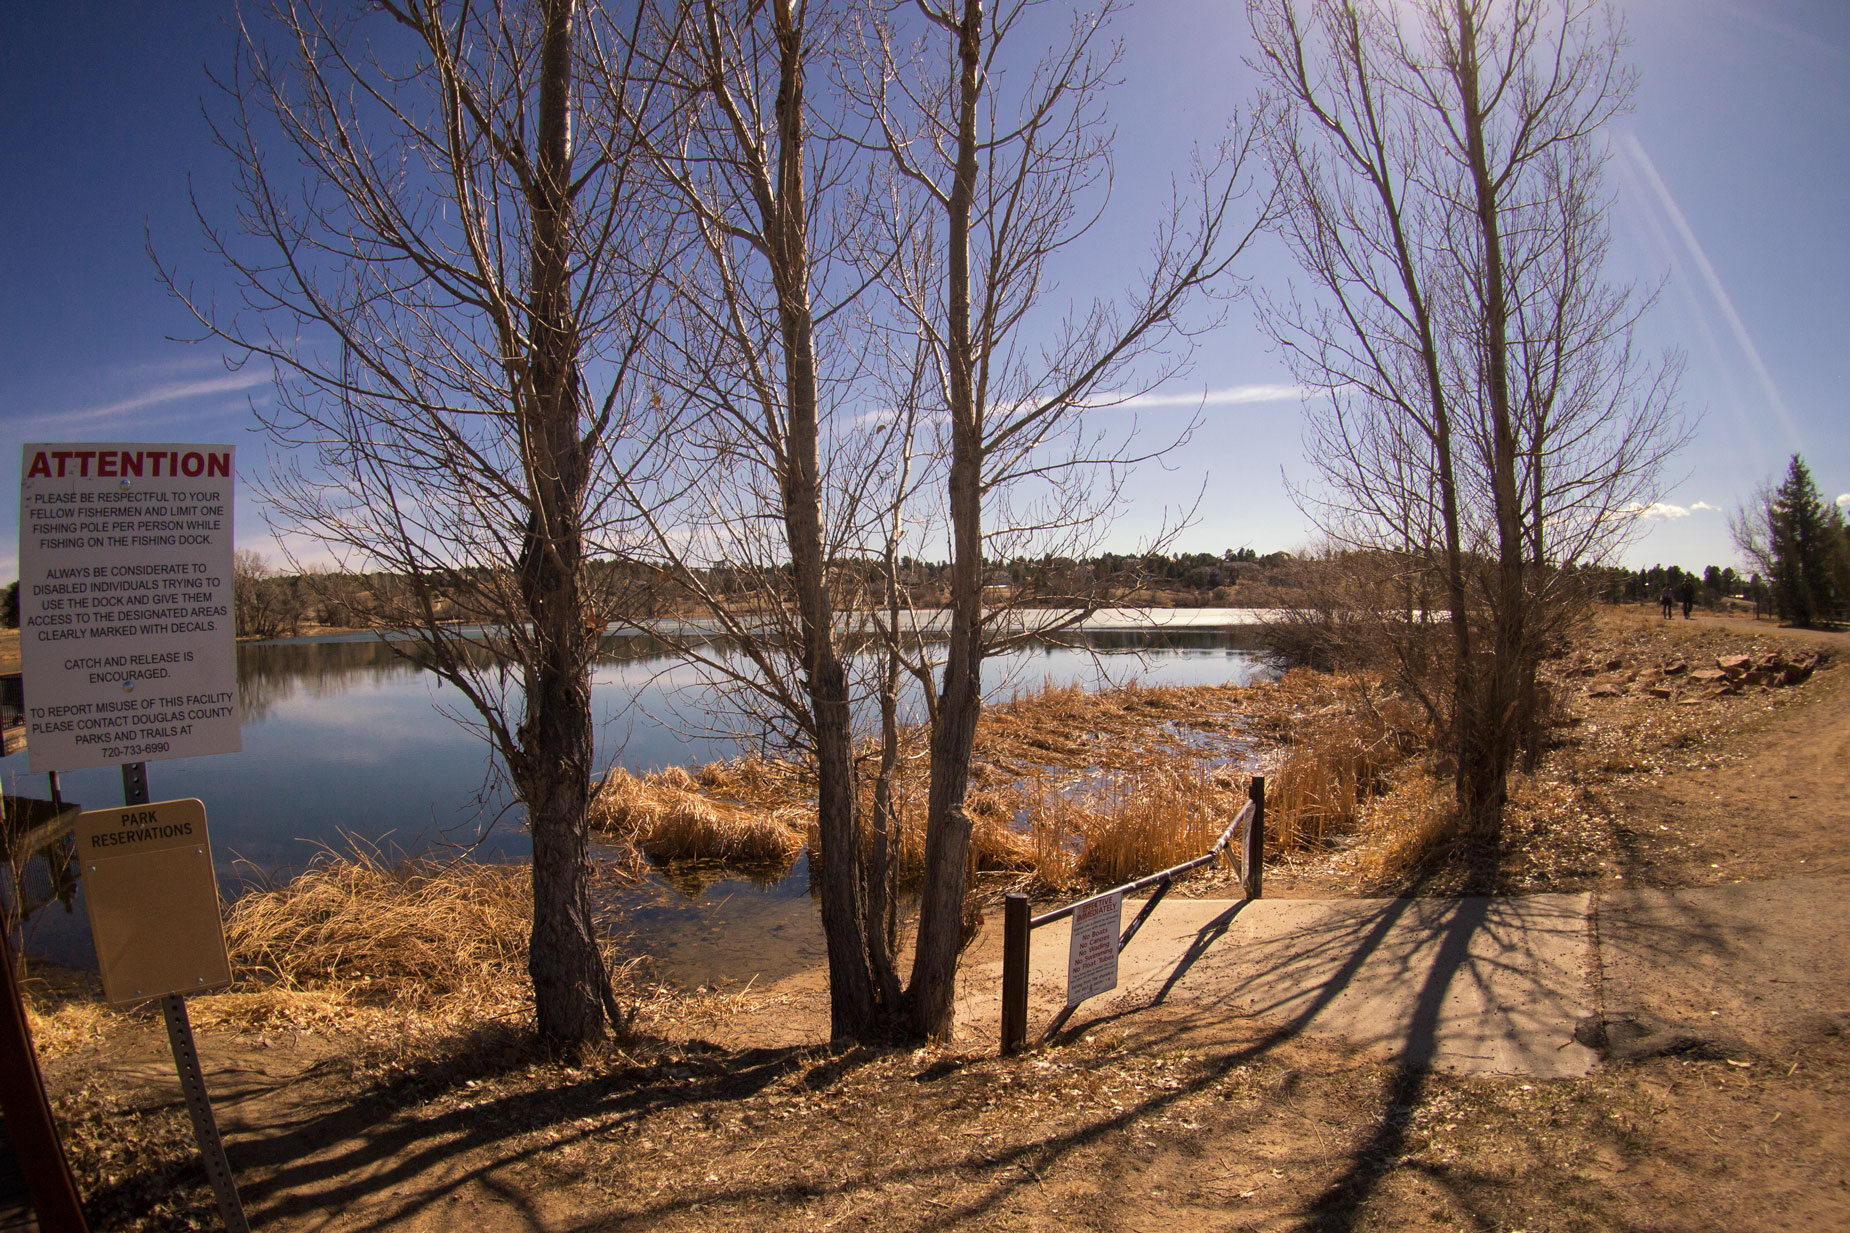
How I Made this Photograph:This image was made from a RAW file form an Olympus E=P3 with the 9mm lens set at the “dot” focus setting—whatever that distance is. It was originally shot with the camera’s default 4:3 aspect ratio but it felt crowded so I cropped it at the 3:2 ratio. Notice that the sign on the left-hand side exhibits little, if any, distortion. I only cropped from the top and bottom and the image originally exhibited some distortion ar the edges as does the slightly curved horizon line of the lake. Even though the sun was on the edge of the frame, flare is visible but not, I think, too distracting. The Av exposure for the RAW .ORF file was 1/1250 sec at f/8 and ISO 320
About the Camera
Here’s what I observed when shooting this lens with a 12-megapixel Olympus Pen E-P3 mirrorless camera. The E-P3 has a three-inch, touch-sensitive 614,000 dot OLED screen that’s extremely difficult to use in sunny conditions. Standing in the shade while composing an image helps and is one option but that may not be where you want to be for a particular composition.
Olympus’ solution to that problem was offering a series of external EVF’s that sell on the used marketplace for more than an E-P3. This situation is not unique to Olympus, I experienced the same drama with a Panasonic Lumix GX1. Panasonic’s solution was also an external EVF. When new, the VF3 was less expensive than theVF2 but the used the prices are so close between the two devices you might as well get the VF2 because it’s much better. (The VF-2 has a 1.44M dot resolution while the VF-3 has 922k dots.) Either EVF should be considered essential for shooting with the E-P3 outdoors and otherwise it’s wonderful camera on many levels. I have my eye on a semi-affordable VF3 on-line and hope it’s still available when “my ship comes in.”
 If you enjoyed today’s blog post and would like to buy Joe a cup of Earl Grey tea ($3.50), click here.
Along with photographer Barry Staver, Joe is co-author of Better Available Light Digital Photography with new, used and Kindle copies are available from Amazon.