
Film Friday remains on hiatus today as I consider revamping all of my daily themes for 2027, Stand by for an upcoming post that will list some of the new theme ideas an I’ll also elicit comments form readers about which ones you like, don’t like or would prefer to see in the coming year.
Today’s Post by Barry Staver & Joe Farace
“Light is an interpretive tool in the hands of a photographer. He can make it harsh or soft, revealing or concealing, flattering or libelous. The more he knows about the versatility of light, the easier it is to cope with any picture-taking situation he encounters.”—Peter Gowland, 1960
 Many of us think about daylight as the right time to make photographs but many photo ops at night, late in the day and especially under adverse weather conditions are often overlooked. They shouldn’t be; Don’t be afraid to go out in the dark or maybe get a little wet “for your art.” One of my favorite photographic memories is of standing on on of the pit lane roof in the pouring rain.while photographing a F1 race at Indianapolis Not all of my images were that great but it was just so much fun.
You may already know this but not all the colors of daylight are the same. Most people look at the “golden hour” and see the beauty of the subject. You’ll often hear people offer comments such as “The sunrise was just beautiful,” or “look at the golden glow in that portrait,” or maybe “what a romantic sunset.” To make successful photographs in low light or when the light can be something other that a perfectly sunny day, you need to know more about the nature of light so that you can capture images that others might get a fleeting look.
It’s all About Color Balance
It all starts with our vision. Our eyes are very good at judging what looks “white” under different kinds of lighting conditions but digital cameras require image processing chips and software to accomplish the same thing our brain easily does for us.
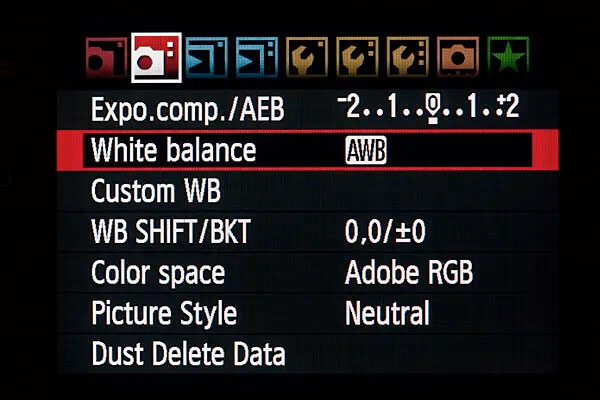
Look at the basics: Your DSLR or mirrorless camera’s Auto White Balance (AWB) setting interprets the light within its range of its parameters, which may be different for different camera brands, and automatically adjusts the image’s color balance. Sometimes this process works extremely well and depending on the mix of light sources other times it doesn’t. It also works better with some lenses than others and images made with a wide-angle lens can have a slightly different color balance than those made with lenses of a longer focal length because what the camera sees is different. When the lighting gets tricky, I usually try AWB first and am amazed at how often this produces a pleasing color balance. If it doesn’t, then it’s time to look at the camera’s other menu options, such as Daylight, Shade, Cloudy, Tungsten, Fluorescent, Flash, Kelvin and (when all else fails) all of which will vary somewhat form one camera brand to another.
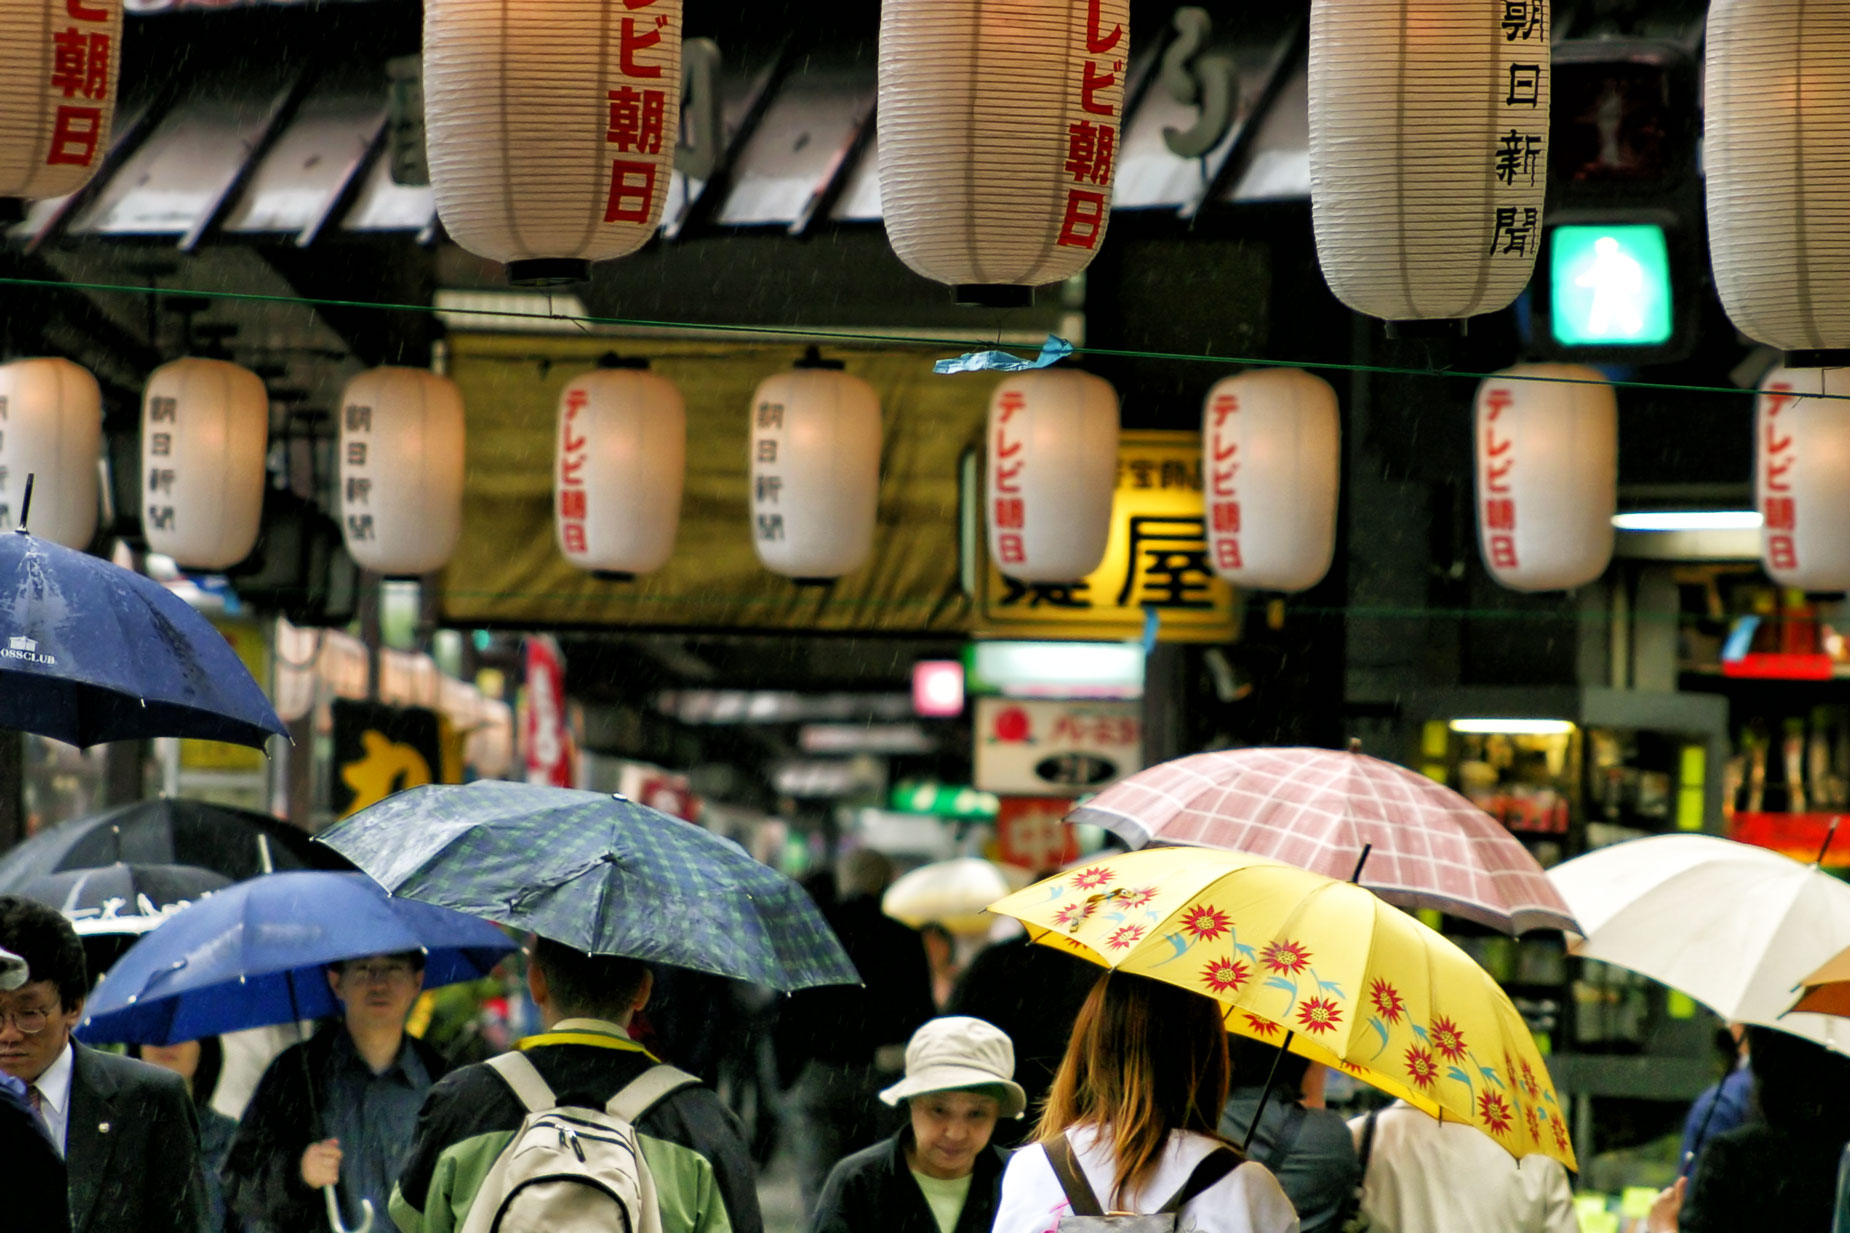
How I Made this Photograph: There are many color balanced settings available in digital cameras. Since the weather isn’t always perfect, in this case I use the Canon DSLR’s Cloudy setting, which is approximately 6000K. Cloudy, overcast and rainy days produce soft light; the only problem is that there’s not enough of it! This photograph of a Tokyo street was shot at ISO 800 and the use of the camera’s Cloudy mode added some warmth that might have otherwise been missing from the scene. The exposure was 1/250 sec at f/6.3 in Program mode.
The Cloudy setting warms up images but not as much as the shade color balance setting typically does. When making portraits in the shade, you might prefer to use the Cloudy setting since that effect is slightly weaker. It’s also a good white balance setting to try for sunsets in order to punch up warm tones. This is where a camera’s LCD preview screen exploits the digital advantage by letting you preview all of these kinds of effects as you experiment.

Along with photographer Barry Staver, I’m co-author of Better Available Light Digital Photography that’s available from Amazon for $20 prices with used copies starting around nine bucks, as I write this,e.