Today’s Post by Joe Farace
If you read this blog on a regular basis you know I strongly believe that great photo ops are available in your own backyard. For instance…
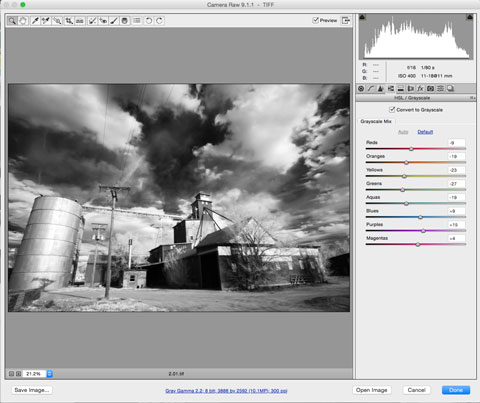
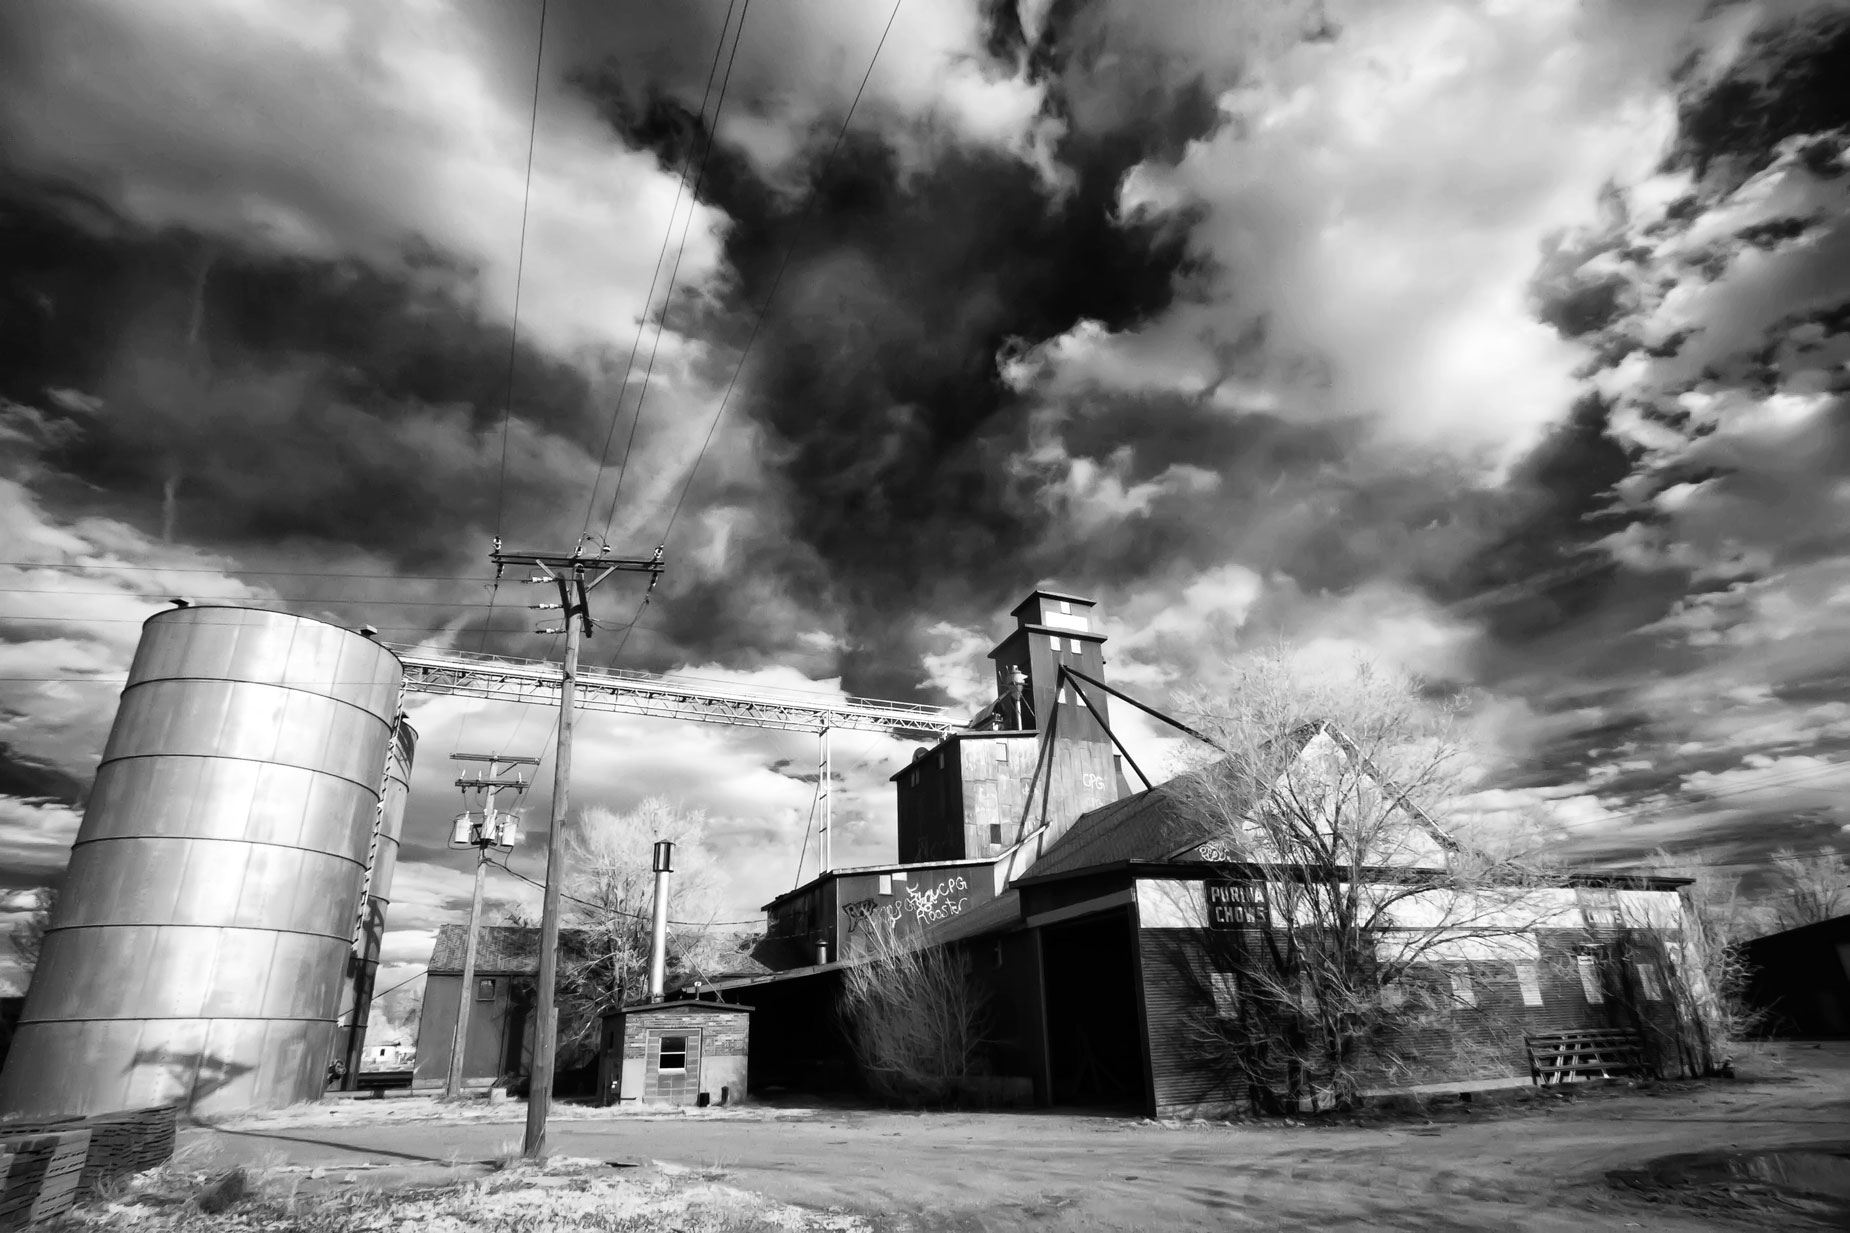
 I made the below infrared photograph just two miles from my former home late one Sunday. The RAW file was converted into black and white using the Adobe Camera RAW software that’s built into Photoshop and the inexpensive Photoshop Elements. I’m still using CS6 because…
How I made this photograph: The camera was a Canon EOS Digital Rebel Xti that had been converted for infrared capture by LifePixel using their Standard IR (720nm) filter. The lens used was Tamron’s wonderful but now discontinued AF 11-18mm f/4.5-5.6 Di-II (at 11mm) with an exposure of 1/80 sec at f/16 and ISO 400. While officially discontinued the 11-18mm lens is available via these Amazon sellers at an attractive price.
Back to Basics
No surprise here: Digital cameras let you capture images in different file formats. The most common format is JPEG (Joint Photographic Experts Group) and some cameras will also let you to capture images in the TIFF (Tagged Image File) format. Most cameras will also let you capture images in some version of a RAW file, although each camera manufacturer has their own flavor. Leica and a few others offer the highly portable DNG* (Digital Negative) file as their standard RAW format and using this format can save your from having to make some kind of conversion later. For more on this subject, read Cooking in the JPEG Kitchen: Cookies and Cakes by Barry Staver and myself that takes a whimsical but also practical look at the differences between all of these formats.
JPEG is the most common file type used by digital cameras and is the name of a standard for image compression. The degree of compression can be adjusted, allowing a tradeoff between file size and image quality. JPEG typically achieves 10:1 compression by discarding colors that may not be visible to your eye and how well the format accomplishes this process ultimately determines image quality. \
Compression enables devices to capture and store (more or less) the same amount of data using fewer bits The highest image quality option is no compression that’s part of TIFF and most RAW formats. All of these file formats produce excellent results and when faced with difficult lighting situations, the unprocessed data contained in a RAW file can be helpful but the small size of the JPEG file is faster and easier to deal with in-camera and maybe with your computer, depending on its age and specifications. TIFF files combine some of the advantages of both JPEG and RAW formats but the files are usually larger that these other two.

Most versions of Adobe Camera RAW software contains monochrome conversion options as part of its gateway for converting different RAW formats but later versions of the software will also recognize JPEG and TIFF files. When working with RAW files you can achieve the results you want with greater control and flexibility while maintaining the structural integrity of the original file.
You should decide which image file format works best for your own personal shooting style and workflow. If you want to shoot quickly and spend less time in front of the computer, JPEG may be the best choice. If you loved working in the traditional darkroom, you might consider working with RAW because the process is as close as you’re gonna find to a digital continuation of working in a traditional, wet darkroom. I especially like working with RAW files from older cameras or with my IR-converted Micro Four-thirds mirrorless cameras to squeeze the maximum quality from the compact 18 x 13.5 mm sensor.
But like everything else on this blog, there is “no my way or the highway.” You can shoot any or all of these file formats depending on the situation, camera used and subject matter. As always, you’re in charge.
*The lack of compression is also a feature of Adobe’s DNG (Digital Negative) file format that some cameras, such as Leicas and, I think, some Pentax models, shoot as their native RAW format. You can download a free copy of Adobe DNG Converter to convert different camera’s RAW formats into DNG, Here’s a post where I talk about using this software.
