Today’s Post by Joe Farace
 Headshots are all the rage these days and there are as many ways to light a head shot as there are to illuminate a traditional portrait. This includes using traditional studio flash systems or LED lighting systems.
Every time I tell a photographer that I’m shooting some of portraits using LED lighting they usually say, “I hear there’s all kinds of color balance problems with these kinds of lights.” I hate to be the one to break it to you but there are color variations in every kind of light source—even daylight. At noon the light from the sun measures 5500 degrees K but on an overcast day the color temperature rises to 6700 degrees K. In open shade, you can encounter 9000 degrees Kelvin.
 One of Farace’s Laws is that no light source is perfect and that applies to LED sources too. That’s because not all LED components are identical. On one hand they have the advantage of offering continuous lighting and “what you see is what you get” but that’s not without some downsides.
Some LEDs have narrow angles of coverage along with problems, such as Pulse Width Modulation than can cause flickering giving the appearance of producing continuous light when in fact it’s not. Back when I was testing lighting systems for the print edition of Shutterbug I found that the number of actual LEDs that were illuminated at the same time could vary causing variations in exposure. You can see some examples of this here.
Then there is the question of what is the actual spectrum of light being produced. Top it all with the fact that some of the LED lighting systems I’ve tested are not all that bright. I have found that one way to measure the quality of LED lighting is by using a device like the Rotolight Spectroscope. It’s useful because it lets me visually inspect a light source’s spectrum and see peaks along with any missing color bands. Similar devices called Diffraction Grating Spectroscope are used by rock and mineral collectors and you can find them on eBay for about $40. Although your eyes automatically adjust for missing color bands or spikes, your camera cannot and this difference results in time spent in Photoshop (or whatever) trying to get the color “right.”
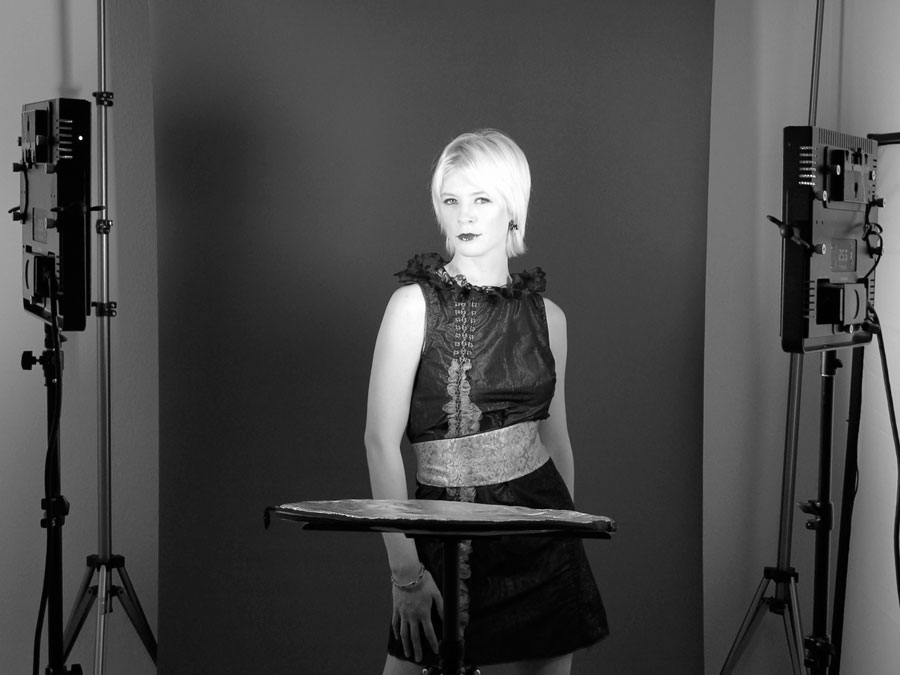
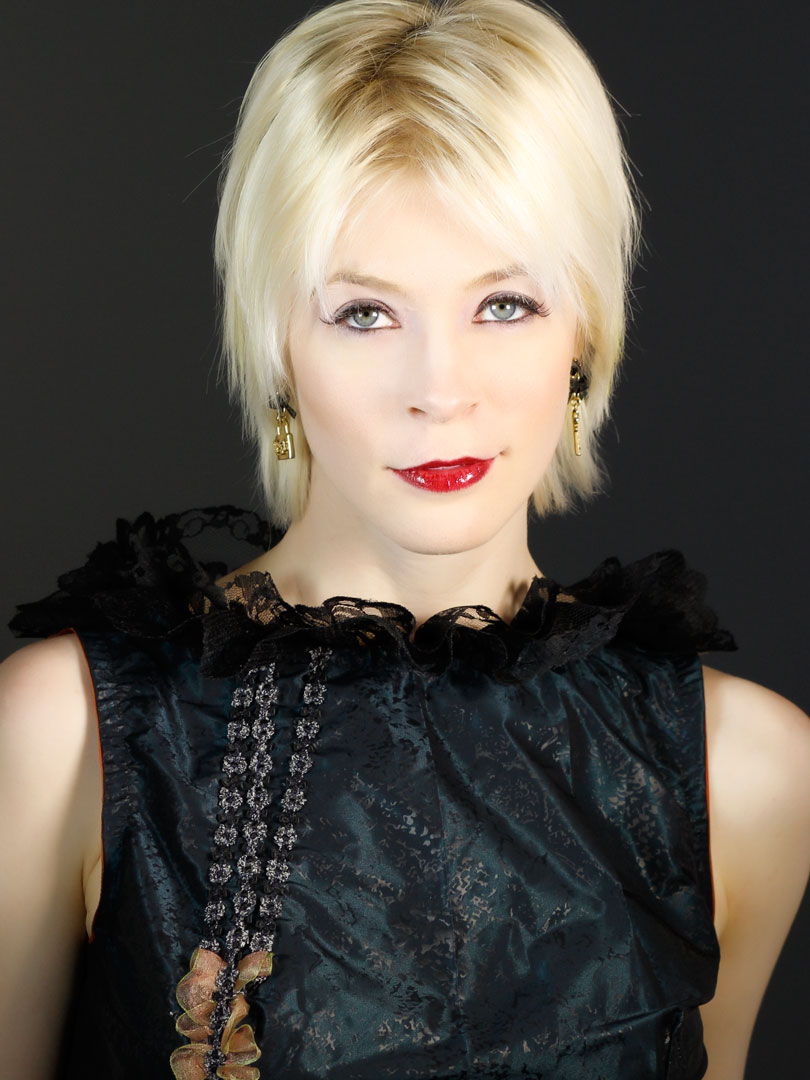
How I made this shot: My lighting set-up shown above is a loosely constructed version of a headshot booth, where in this case one LED light panel is placed at camera right and another is at camera left. A 22-inch reflector was placed on a (no longer available) Savage Tech Table to kick light under the subject’s chin. This lighting setup is perfect to create a cover girl look and the LED lights allow you see Pam Simpson’s lovely aqua eyes better than most electronic flash setups.
The background used is a 5×7-foot Savage Infinity photo grey vinyl that’s hanging on my falling-apart JTL background stands but because of the way the lights were aimed and the LED’s 40-degree coverage, the gray background photographed almost black. To make this headshot I used a Canon EOS 60D with an EF 85mm f/1.8 lens along with an exposure of 1/320 sec at f.4.5 and ISO 640.
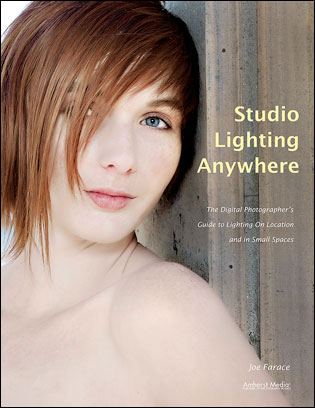
If you’re interested in learning how I shoot portraits and use cameras, lenses and lighting in my in-home studio and on location, please pick up a copy of Studio Lighting Anywhere that’s available new from Amazon.com for $6.26 or used starting at $2.23 used, as I write this, both of which seem like a hard price to beat for this useful book. The Kindle version is $6.08, for those preferring a digital format.
