Today’s Post by Joe Farace
In a recent post I talked about my 2022 portrait photography plans and suggested that I expect that all my future glamour and boudoir portrait shoots—if any, that is—will be made on-location. To that end, between now and New Years Eve, I plan for my posts to gradually moving away fro studio portraits to those, like today’s that were made on location.
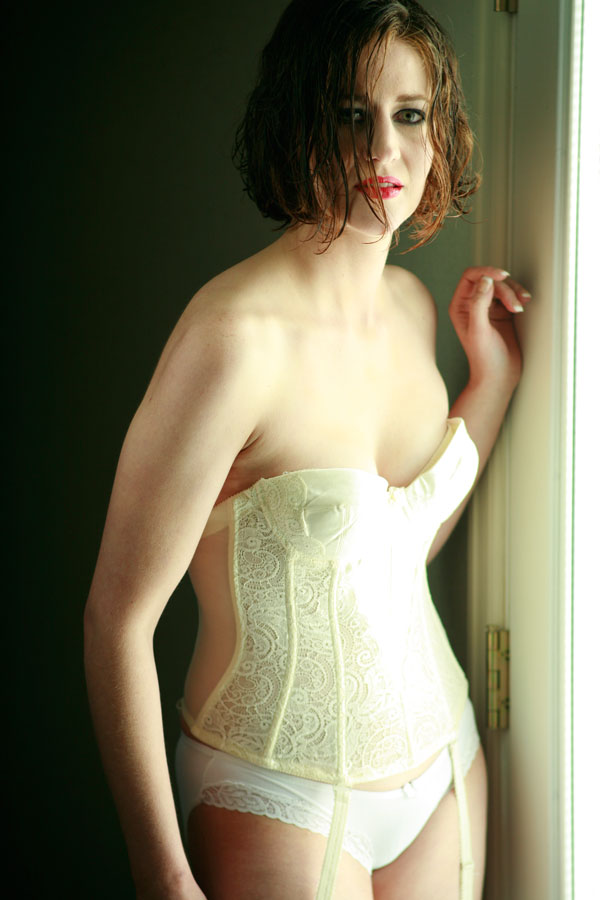
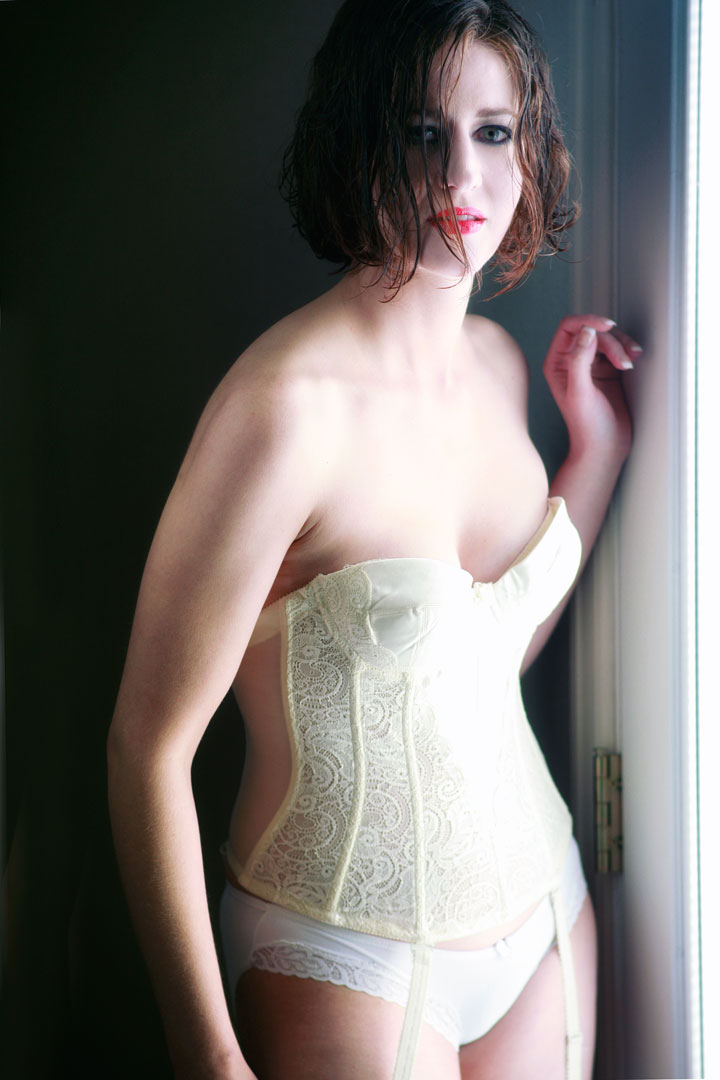
 Your DSLR or mirrorless camera’s Auto White Balance (AWB) mode usually does a pretty good job but like most aspects of digital imaging, it’s not perfect. Even when the source is window light. For example, when making this glamour image of Tia Stoneman, the result, especially skin tones, was warmer than I’d prefer.
That’s when you may need to create a custom white balance for a particular setting or lighting condition. And while your wouldn’t think window light would be challenging, you can use the same technique when photographing indoor exhibits, conventions centers, and museums. Best of all creating a custom white balance is easy and takes less time to do than reading about it here.
Start by photographing a sheet of white paper. Tip: The flip side of the Kodak Gray card is white. You might want to shoot in manual focus in case the white card confuses your camera’s AF. If your test image is extremely over or underexposed, proper white balance may not be achieved. If that happens, adjust exposure and start over.
Select Custom WB from your camera’s menu, which lets you pick your test image, then click OK. You may have to (sorry) read your User’s Guide to see exactly how this process works for your camera but it’s usually just a matter of making a photograph, pulling a few menus and pressing a button. No matter what camera you use. It’s that easy.
 How I Made this Portrait: Today’s featured available light photograph of Tia Stoneman was made using light from a window that was in the back door of my former home. She is wearing an off-white (ivory?) corset that didn’t photograph as pure white under AWB; the door frame behind her is white as well. You can see the original SOOC image file at above right. But color temperature can vary not only by time of day but time of year and who know what colors were bouncing in on Tia from outdoors.
As an actress, Tia was an extremely versatile model and could switch from sexy glamour model—here, she reminds me of Eva Green in Sin City 2—to a wholesome mom. The camera used for this portrait was a Canon EOS 5D Mark I along with (one of my favorites) Soft focus EF135mm f/2.8 lens with the soft focus setting at “zero.” Exposure was 1/200 sec at f/3.5 and ISO 400.
You can see more of Tia all over this blog. Just type “Tia Stoneman” in the box that open when you click the magnifying glass icon in the upper right-hand corner.
Tia was my first and original muse: To make photographs to illustrate how-to blog posts and stories as well as camera and lens reviews, For the kind of photographs you see on this blog and, in the near future, a new book, I like working with women from ages 21-45 of any ethnicity. No experience is necessary. If you have a friend (or maybe yourself) who would like to be my new muse, contact me through the Contact page or send me an e-mail at joefarace at gmail dot com. We can schedule a test shoot or interview to see if this is something you might like to pursue.
If you’re interested in learning how I shoot available light glamour portraits, please pick up a copy of Available Light Glamour Photography which is available new from Amazon.com for $29.18 with used copies starting around nineteen bucks, as I write this. The Kindle version is $28.04 for those preferring a digital format.
