Today’s Post by Joe Farace
“Bridges symbolize change and flexibility! They show us this simple philosophy: When you are on one side, you can easily move to the other side!” ―
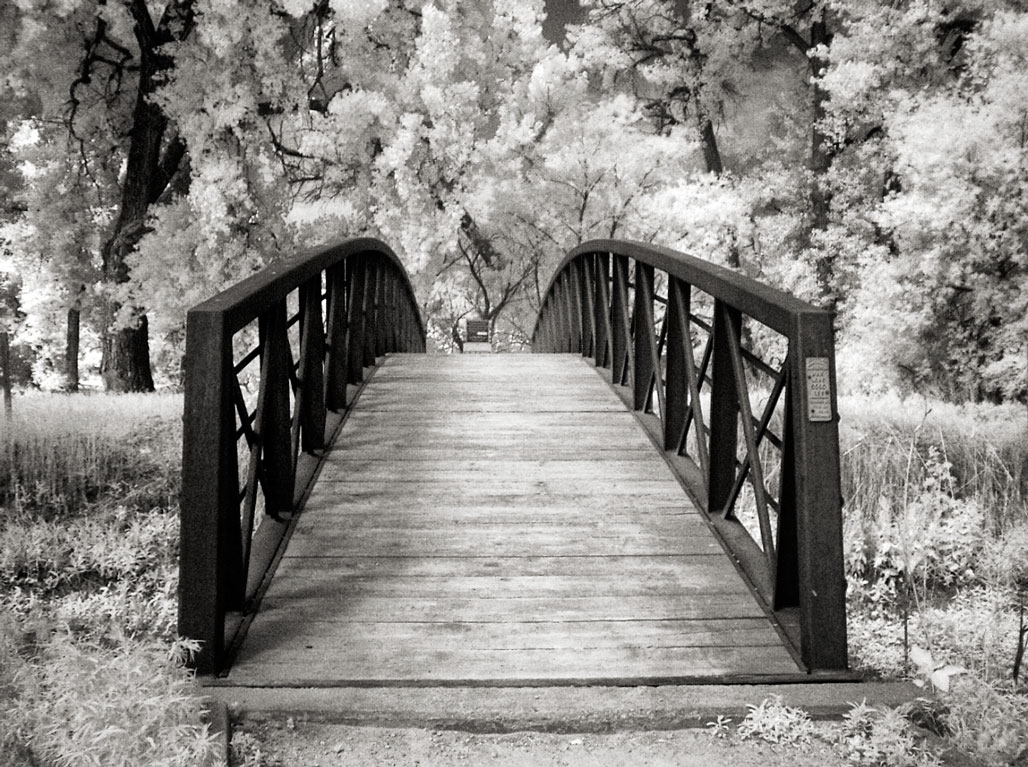
The featured image is from my book The Complete Guide to Digital Infrared Photography. By the way, this was not my title for this book. As is quite common in the photo book world, this title was shoved down my throat by the publisher. I preferred something much less pretentious and more accurate, such as Getting Started with Infrared Photography. This image can be found in Chapter Four on “Capturing Options.”
 How I made this photograph: This image was made at Barr Lake State Park in Colorado. It was shot using a tripod-mounted FujiFilm 3.1-megapixel S20 Pro camera with a Super EBC Fujinon 6x optical zoom lens (equivalent to 35 – 210mm) using a 58mm Hoya R72 Infrared filter (720nm) that, at the time, was the least expensive way to create IR images with a on-camera filter. Right now, a 58mm Hoya R72 is still relatively inexpensive at $49.95 and is one of the three basic filters that can be found in my infrared filter kit. Exposure was 1/5 sec at f/2.8 and ISO 200. The original JPEG image was toned using Pixel Genius’ PhotoKit.
While the above image was made using an infrared filter and that remains the least expensive way for anyone to get started with infrared photography, this method does have some limitations, mainly the slow shutter speeds that are produced by the highly dense filter. (I couldn’t find a “filter factor” for this filter.) That’s why almost all of my recent IR photography has been done using infrared-converted cameras. For a look at a comparison of the two methods, please read my post Infrared Capture Choices: On-Camera Filter or Conversion? when you have time.
