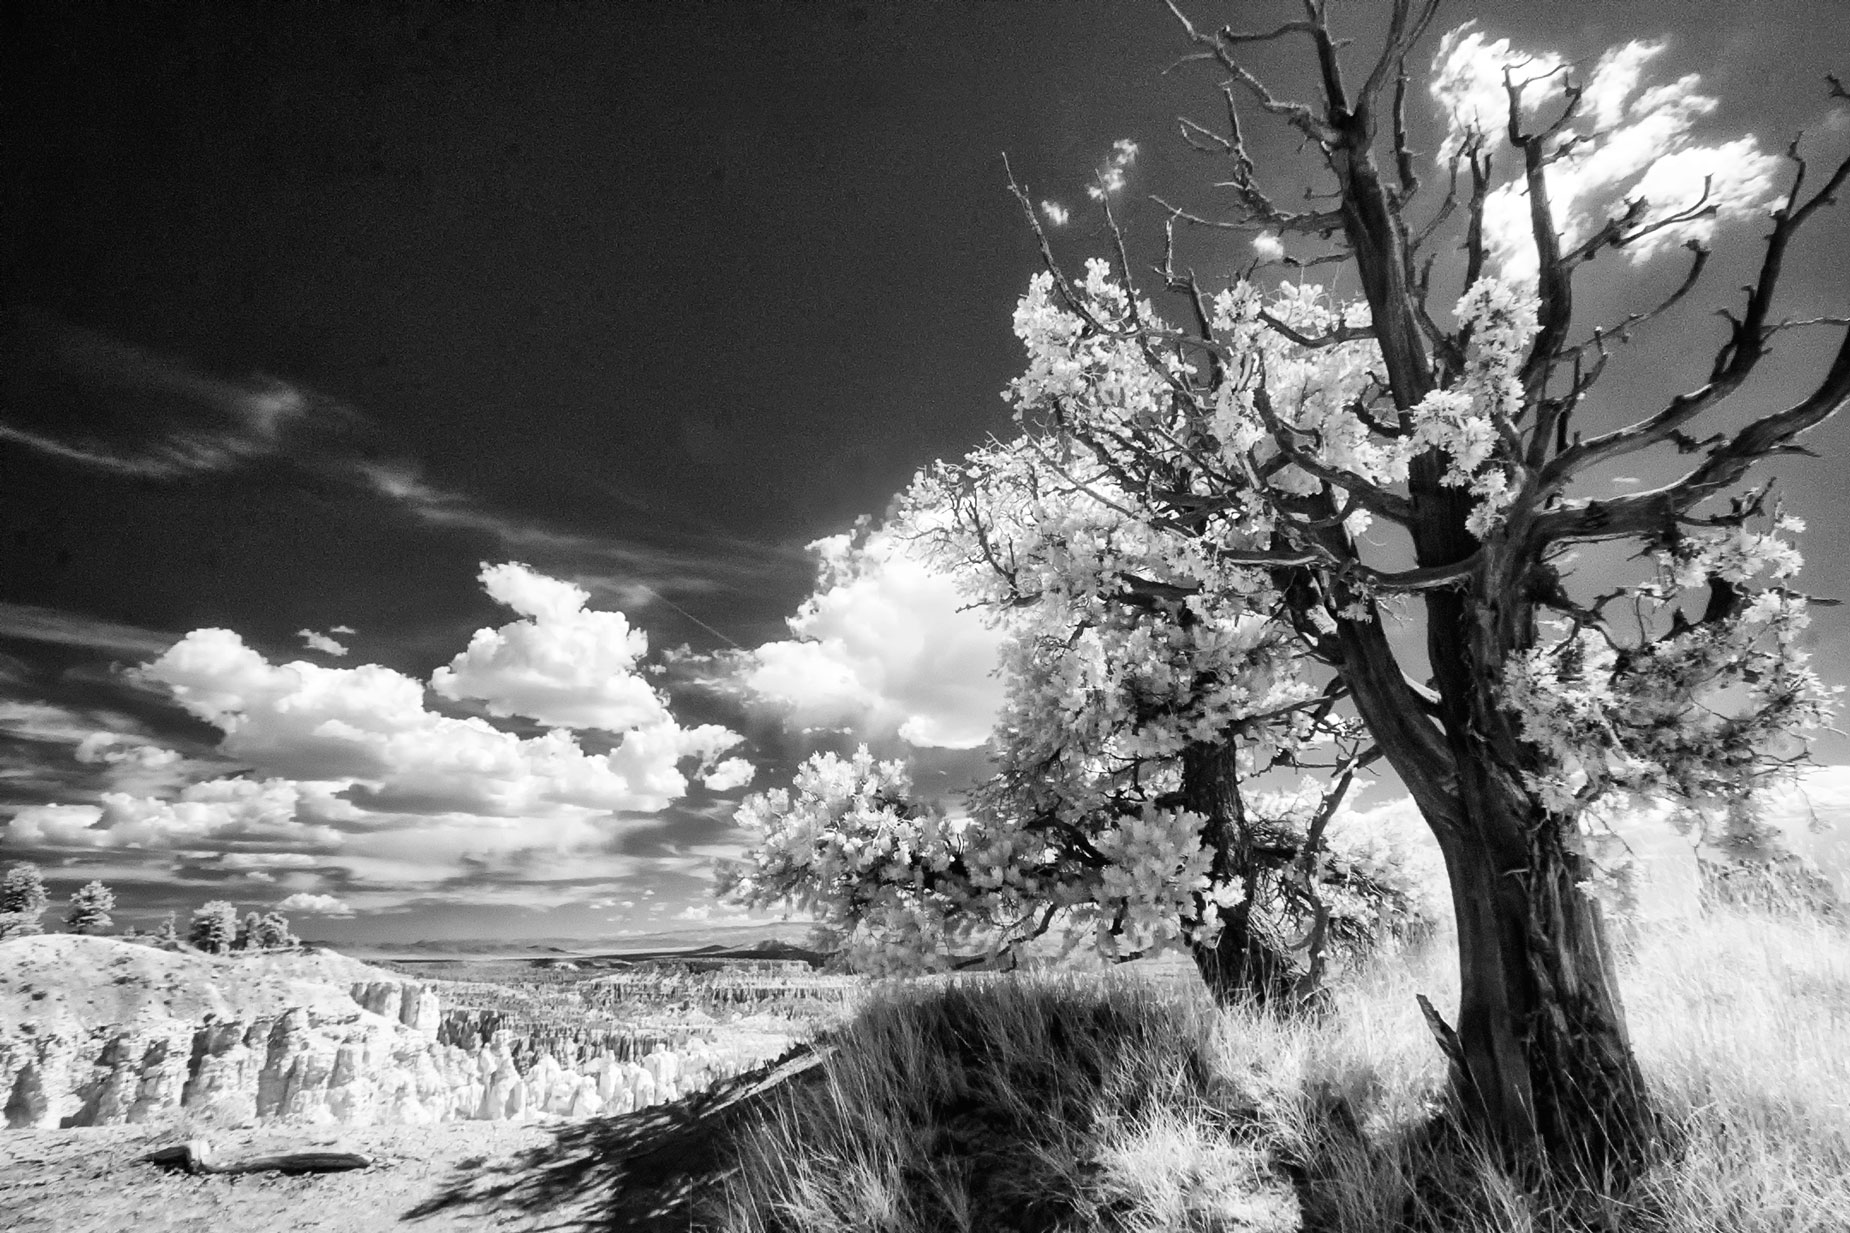
Today’s Post by Joe Farace
“There is nothing so American as our national parks…. The fundamental idea behind the parks…is that the country belongs to the people, that it is in process of making for the enrichment of the lives of all of us.”—Franklin D. Roosevelt
When learning how to previsualize infrared imaging possibilities, I suggest the first thing you should do is forget everything you think you know about photography with visible light. That’s because when shooting infrared images everything you know about visible light is wrong.
In fact, one reader once told me that the main reason why he enjoyed shooting IR was because he could only shoot during his lunch hour, which is the worst time for color photography but is the absolutely best time to shoot infrared.

Exposure meters aren’t typically sensitive to infrared light, so theoretically it’s difficult to determine exact exposures but that doesn’t mean you shouldn’t, at least, try. Your camera’s LCD screen can provide a reasonable amount feedback but any resulting histograms may be misleading. That’s because subjects that seem equally bright when viewed under visible light may reflect infrared radiation at different rates and exhibit different IR brightness levels.
So here’s a few tips for your first infrared shoot:
- The simplest approach is to shoot a bracket of three to five different exposures until you discover where the best exposure lies. Because some/many camera’s LCD screens are unreliable, you may not be able to fully evaluate your infrared images until after you look at your files on a computer. When you do, make a few notes about the results so you’ll be ready the next time you shoot IR.
- Or…These days most DSLRs and mirrorless cameras will have some kind of auto bracketing function that lets you automatically makes a specified series of shots at exposures that are over and under what’s considered “normal.” Because every camera is a little different in the way they handle bracketing, read the manual for specific directions.
 If your camera doesn’t have auto bracketing function (or it’s perhaps confusing to use) it should have an Exposure Compensation feature that lets you adjust exposures in one-half or one-third stops. If all else fails, your DSLR pr mirrorless camera will have cameras have a Manual mode. Typically I look through the viewfinder in Program mode to see the suggested exposure, then transfer that shutter speed and aperture to the camera set in manual mode and then bracket on the overexposure side because most times your infrared image files may be slightly underexposed when using any kind of automatic exposure mode.
- Just because you don’t have a converted IR camera doesn’t mean you can’t use all these same tips when shooting with IR filters. When using these dark (you can’t really see though them) filters you’ll need a tripod because of the long exposure times they will produce. And don’t forget to use a cab;e release/
- When using IR filters, I suggest that you focus on your subject first, then put the filter in front of the lens. With some filters I just hold them with my fingers during the exposure or have somebody else, as Mary is doing here, hold it, which is just another reason why a tripod will come in handy when your shooting by yourself.
