Today’s Post by Joe Farace
When shooting infrared photographs you have the power to transform mundane subject matter into unforgettable images. Everyday scenes that you might walk right by and never think of photographing, take on a more dramatic look when seen in infrared, especially landscapes.
 Back in the bad old days of infrared photography, you had to use special film stock and load and unload that film into your camera in total darkness to reduce the possibility of damage by fogging. To shoot IR film you also needed special filters—that part hasn’t changed—and either process the film yourself or find an ever-dwindling pool of specialty labs to do it for you. When shooting infrared film the process is more click-and-hope but when capturing digital IR images you’ll immediately see the results on the camera’s LCD screen.
One of the most interesting premium IR filters available is the Singh-Ray I-Ray Infrared Filter, which is now available in two variations: 630 and 890nm versions. These filters are almost totally opaque, having a 4000x Filter Factor, with the 830nm filter eliminating all visible light and transmitting more than 90% of the near-infrared electromagnetic wavelengths between 700 and 1100 nanometers. Like all Singh-Ray filters it’s not inexpensive. The price for a 52mm 830nm filter is $160 but is well worth it if you are serious about shooting digital IR images.
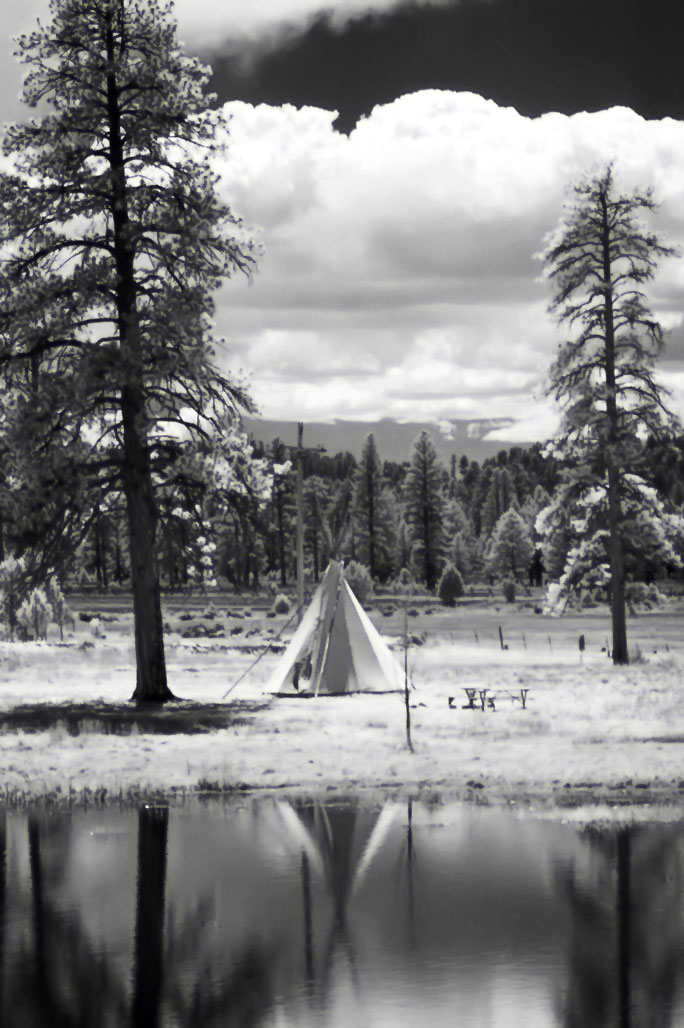
How I Made These Shots: This photograph (above) was just one of a few images I was able to make before the wind picked up and wiped the reflection from this lake in Arches National Park. Photo was made with a Pentax K100D and SMC P-DA 50-200mm f/4.0-5.6 ED lens at 80mm and mounted on a tripod. Exposure in Manual Mode was one-half second at f/9.5 at ISO 800. Filter was the Singh-Ray I-Ray Infrared Filter.
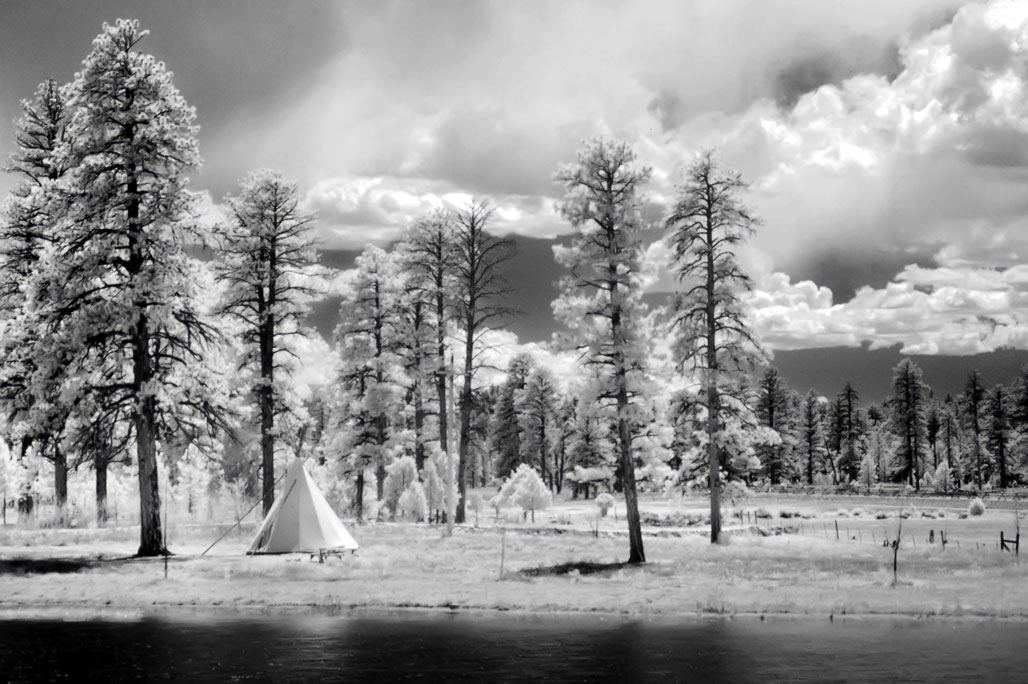
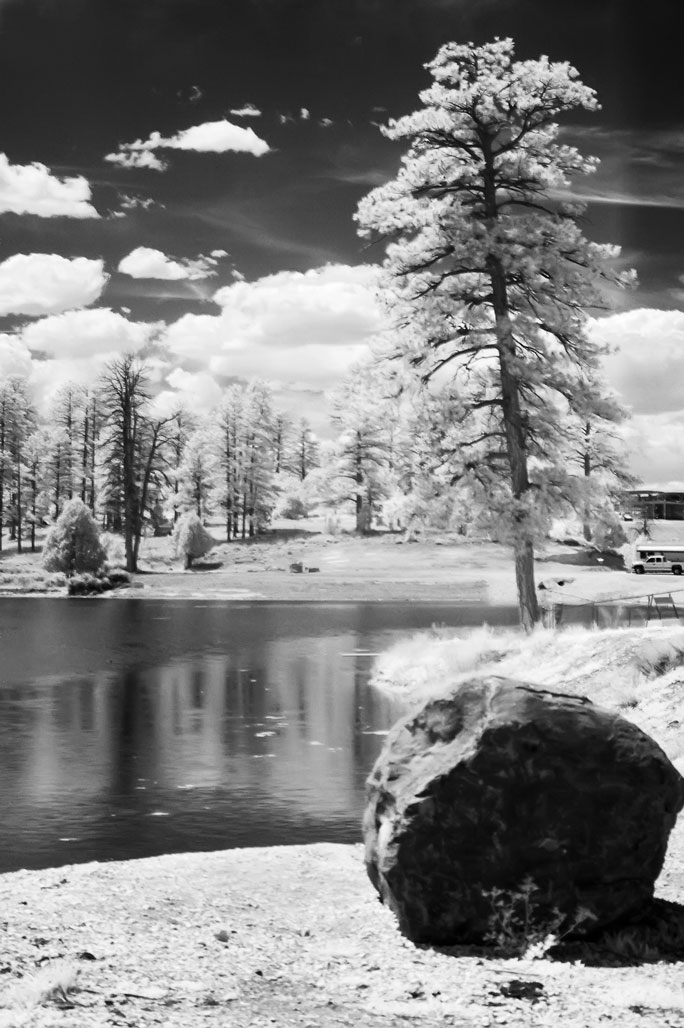
 With the proper filter you can capture near infrared images such as this one (at right) that was also made near Arches National Park. Exposure was one second at f/9.5 at ISO 800 with the camera and SMC P-DA 50-200mm f/4-5.6 ED lens mounted on a Titltall tripod. Image was converted to monochrome in-camera—but not at time of capture—using the Black & White Digital Filter that’s found in the K100D’s Playback menu
 The K100D series of DSLRs has hidden capabilities to capture monochrome Infrared photographs; all you need is the right filter to unlock it. The photo (at left) was made in Manual mode with an exposure of one second at f/9.5 at ISO 800. (Yup, it was on a tripod) These long exposures are required because most IR filters are almost black so they filter all visible light, allowing only invisible (IR) light to pass through. Filter was a Singh-Ray I-Ray Infrared.
The initial image as captured has an overall magenta cast, so the first step is to it turn it into a Monochrome photograph was using Photoshop’s Desaturate (Image > Adjustments > Desaturate) command. After that a little contrast boost should finish it off. If you want to get fancy, as I did with this image, you can create an Adjustment Layer-Curves and use it to tweak parts of the image’s contrast curve.
 I’ve found that Life Pixel does a great job with IR conversions and they have done most of my Canon DSLRs and all of my Panasonic Lumix G-series mirrorless cameras. This is not a paid or sponsored endorsement, just my experience.
My book, The Complete Guide to Digital Infrared Photography is available from Amazon for $41.99 but used copies starting around eighteen bucks as I write this. Creative Digital Monochrome Effects has a chapter on IR photography and is available from Amazon for $23.80 with used copies start around two bucks, less than your next cup of joe at Starbucks.