Today’s Post by Joe Farace
 What happened on Day 1? I took my converted Lumix GX1 to the giant “jacks and balls” at Parker CO’s new library and immediately began to doubt my choice of camera. The glare on the GX1’s fixed screen was so bad that it was difficult to shoot any composition that I liked.
Then there was dealing with one of LifePixel’s Hyper Color filter’s main features: No in-camera white balance. LifePixel suggests using your-in camera’s white balance settings (“even Kelvin”) to get a variety of tones into your images. Bouncing in an out of the White Balance menu turned out to be a pain in the patootie, so I needed a solution for that too.
Both problems were easy to solve: I borrowed the DMW-LVF2 tilting viewfinder from my unmodified black-bodied GX1 and slipped it onto the modified GX1’s shoe and I was set to go. If you don’t already own an LVF2, I’ve seen them on eBay for around $150, which I agree is too much. Maybe when my ships comes in, I’ll purchase a second one or maybe not.
 Switching white balance was easier. The GX1, like many mirrorless cameras, has custom settings on the Mode dial allowing each one to customized. I found there were really only three White Balance settings that produced dramatically different color and set up the C1 and C2 modes accordingly. For the third, I made it the default when shooting in any of the standard modes. (I typically shoot Infrared in Av.) Creating these custom settings is simple; it’s all in your manual and takes mere seconds to set up. More importantly switching white balance modes was now just a dial spin, no menu diving required.
Day 2: I had to go into Parker to run some errands and took along the modified Lumix GX1, now with LVF2 viewfinder and custom Mode settings for white balance in place. I should point out that it might be spring where you are but Springtime in the Rockies, no matter what Roy Rogers sang about, is unpredictable here in Colorado. We had snow flurries the night before I wrote this. Right now, there are no (count’em) leaves on any trees other than evergreens, which are somewhat immune to the Wood Effect.

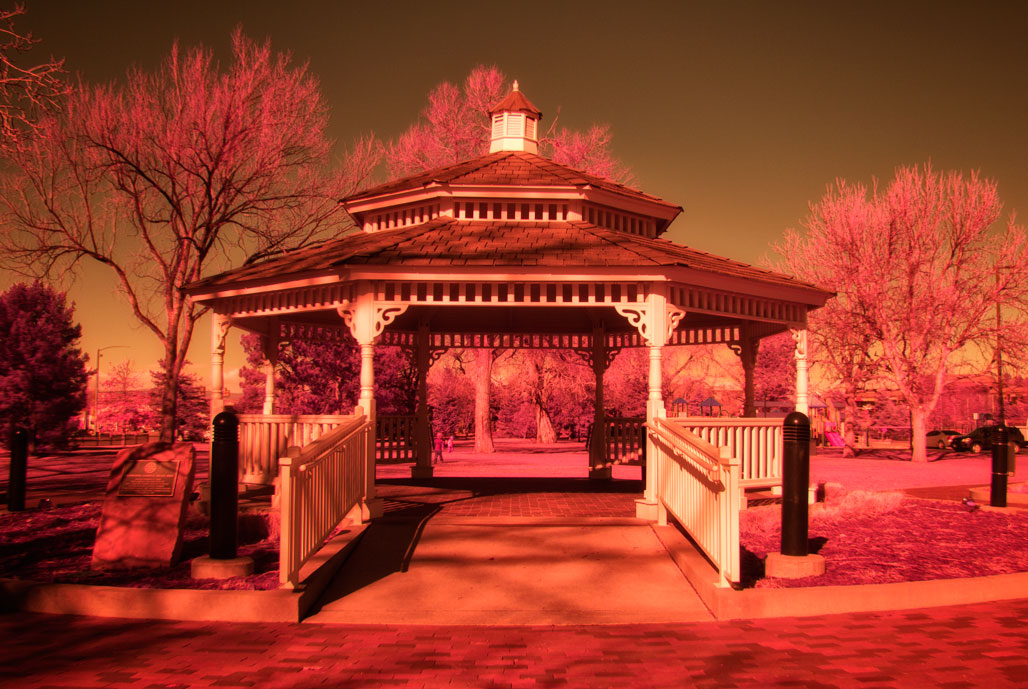
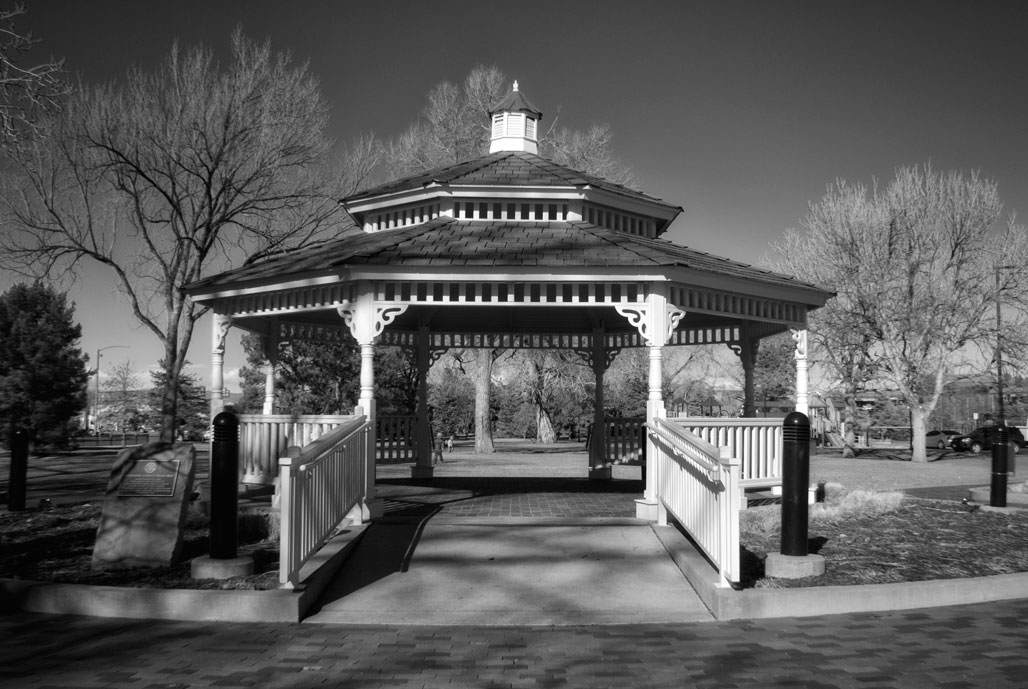
Nevertheless, submitted for your approval are some photographs of the gazebo in O’Brien Park, one with SOOC color slightly tweaked in Vivenza. LifePixel says, “you can have even more control of your black and white images with this filter” so I decided to give it a try with the same file processed in Silver Efex Pro,
I feel like I’ve just begun to unlock this conversion’s potential. Look for more explorations—including portraits—using the Hyper Color infrared filter as I get more experience with it.
Life Pixel does a great job with IR conversions and they have done most of the conversions for my Canon DSLRs and all of my Panasonic Lumix G-series cameras. This is not a paid or sponsored endorsement, just my experience.
My book, The Complete Guide to Digital Infrared Photography is available from Amazon with new copies available for $27.76 and used copies starting around six bucks, as I write this. Creative Digital Monochrome Effects has a chapter on IR photography and is available from Amazon with new copies for $8.45 and used copies selling for around $2, less than the price of a Starbucks latte.
